One of the things I seem to struggle with is wearing all of the great accessories I’ve collected over the years. It seems I always wear the same few pieces…because I can see them, they are on top of the pile (know what I mean?).
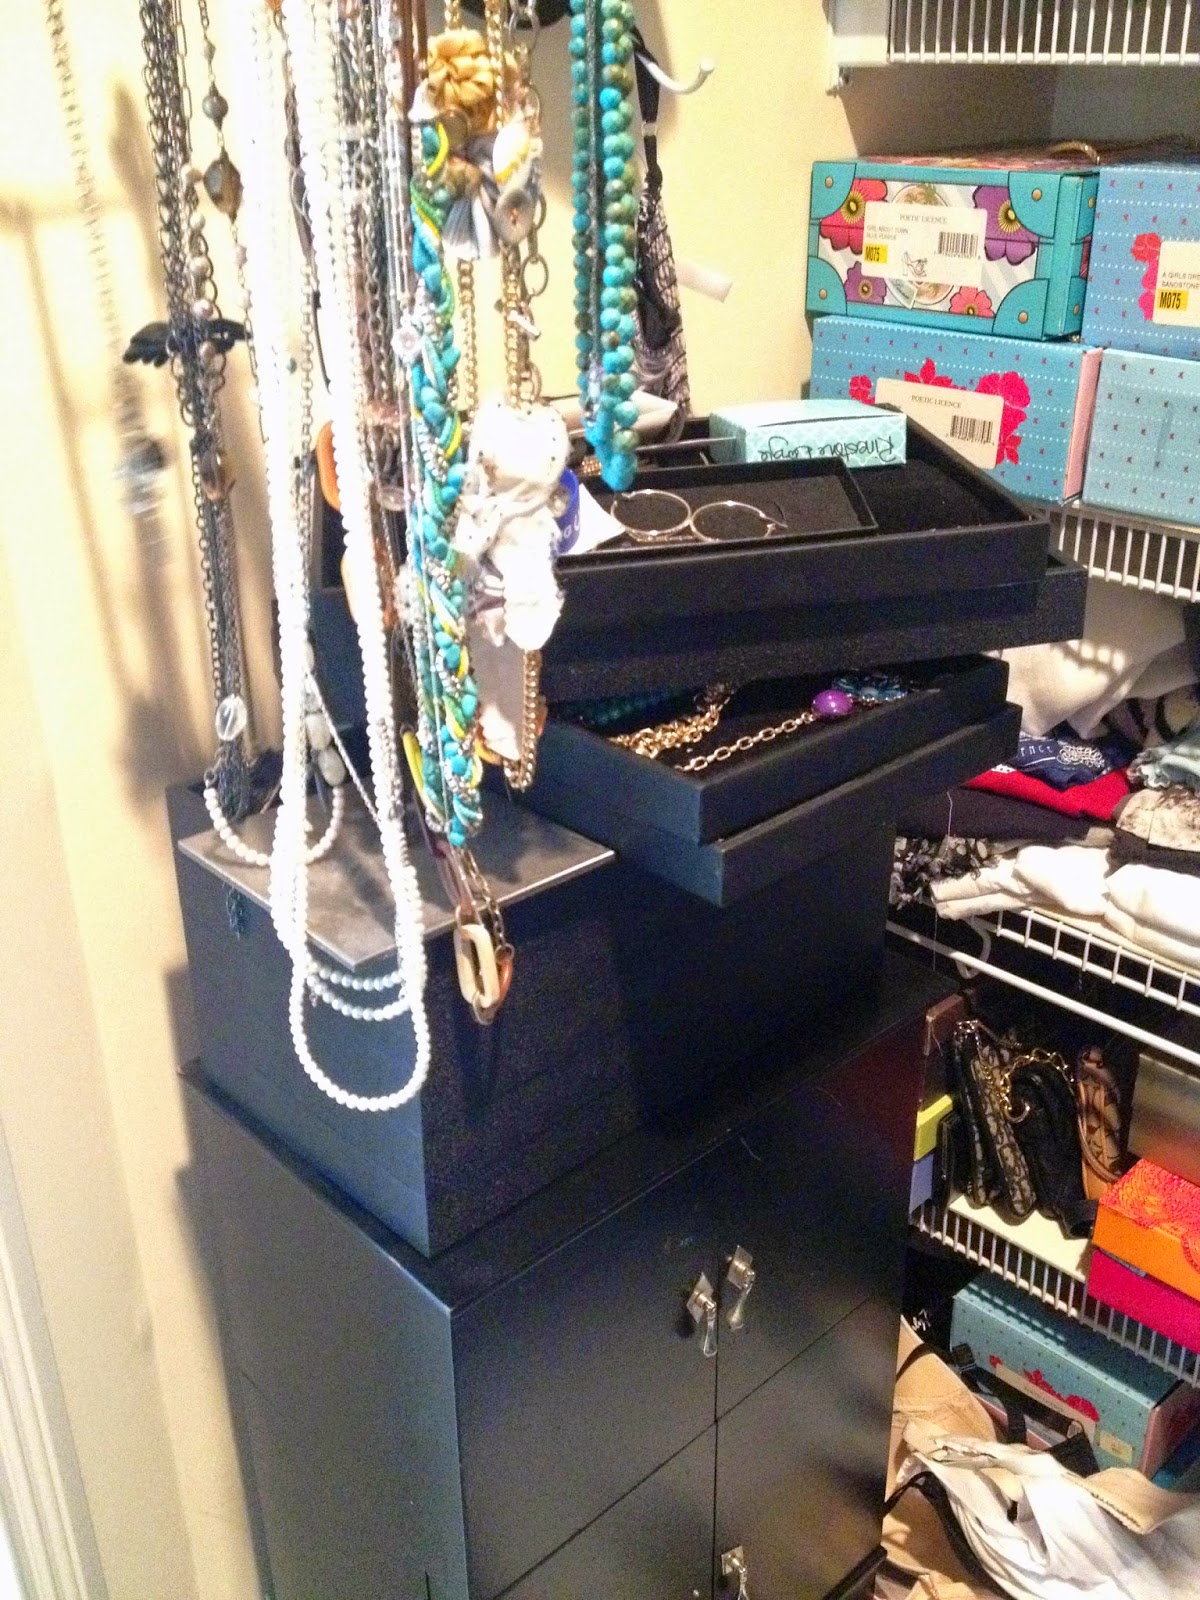
The notion of being able to see all of my jewelry coupled with a good storage option has been something I’ve been frustrated with for a long time. I’ve tried hanging everything on a necklace tree, I purchased a piece of furniture that held my jewelry, I even invested in stack-able trays thinking that was the ticket to storing all of my jewelry pieces.
None of those things worked.
When a modern mom has a problem like this, what does she do? She turns to Pinterest of course! I saw some DIY jewelry organizers that I thought might work, so I decided to make my own. And I must say, it is working very well! The best thing about this DIY project is you don’t have to be crafty or own a bunch of tools to have a great looking final product.

STEP 1
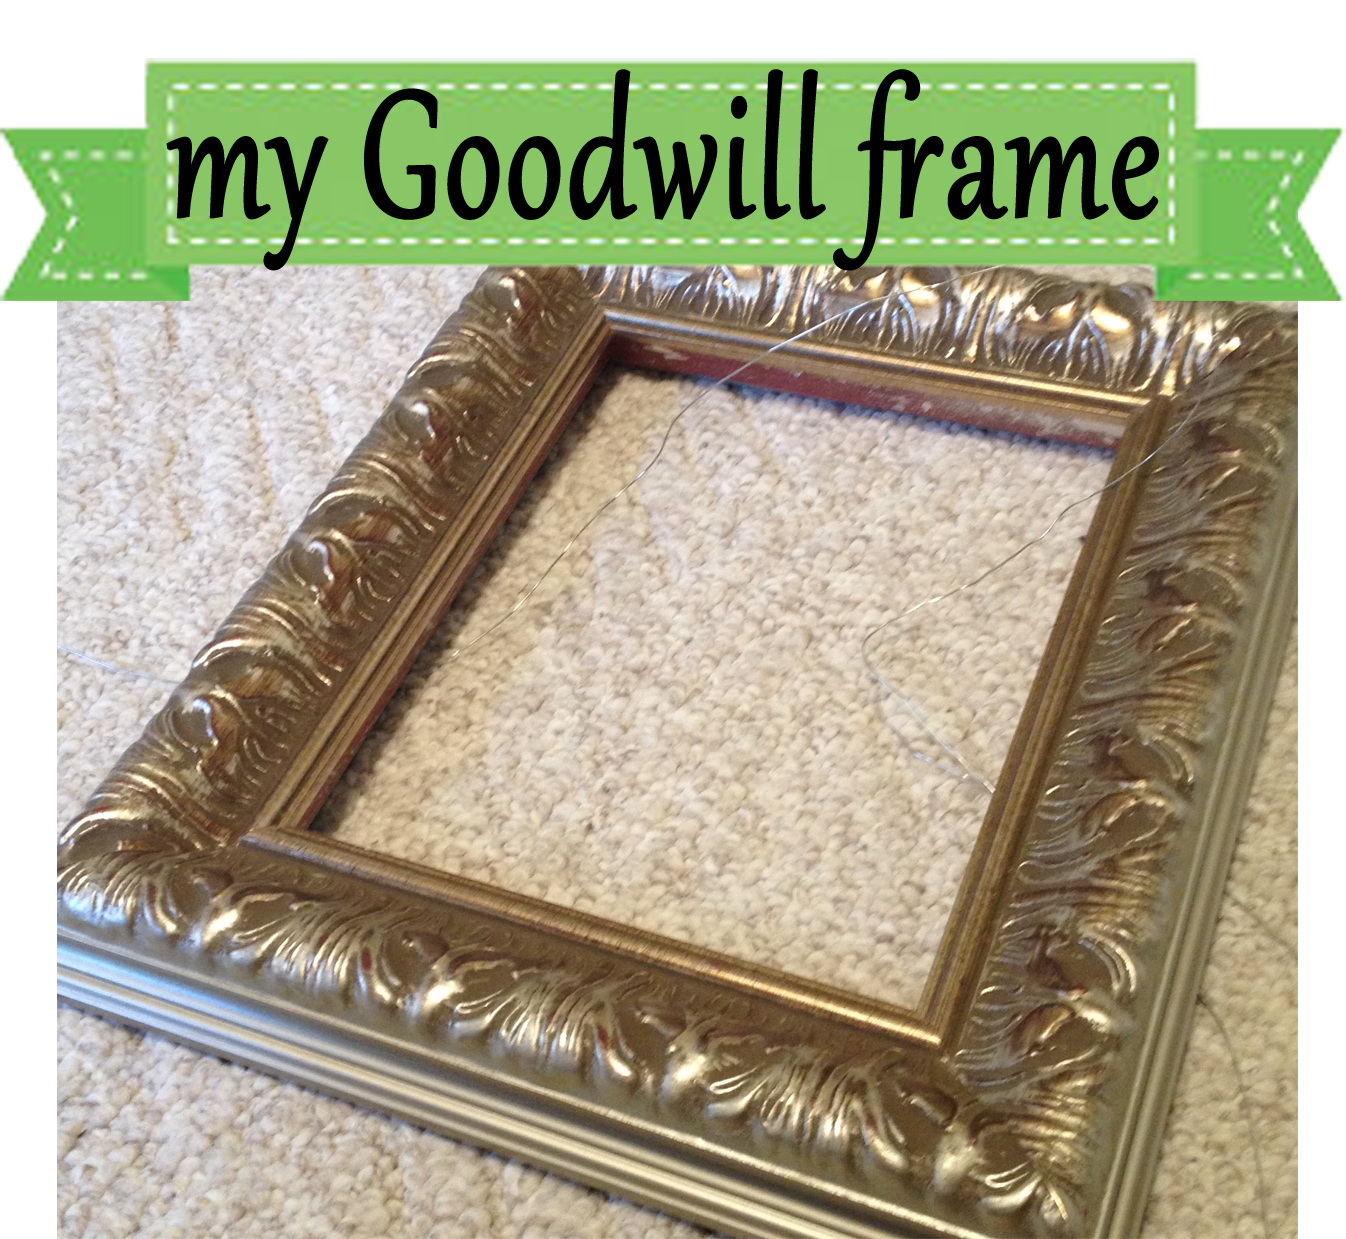
First, head to your local Goodwill store and find a picture frame that you love. It doesn’t matter what is inside (what the picture is), just look for a decorative frame (or maybe something simple) that will match your decor. The best frames for this project will be large bulky frames. Look for something that is made of wood and that is at least 1 1/2″ thick. I found 3 frames to use for this project. Two smaller frames (about 8×10), and one larger frame (about 24×30). I will use the smaller one for bracelets and earrings, and the larger one for necklaces.
STEP 2
The second step is to head to a craft store or hardware store. I stopped by a hardware store and purchased $14 worth of supplies. They include:
- A variety of small ‘S’ hooks
- A roll of chicken wire (sometimes called Hardware Cloth)
- Some heavy duty thumb tacks
STEP 3
Prepare the picture frame by removing all of the backing.
Next, measure how much of the Chicken Wire you will need to cut to fit the frame. I cut the piece to fit the back of the frame, leaving about 1/4″ border. Using wire cutters (mine are technically floral cutters), trim a piece of the Chicken Wire to fit the back of your frame.
STEP 4
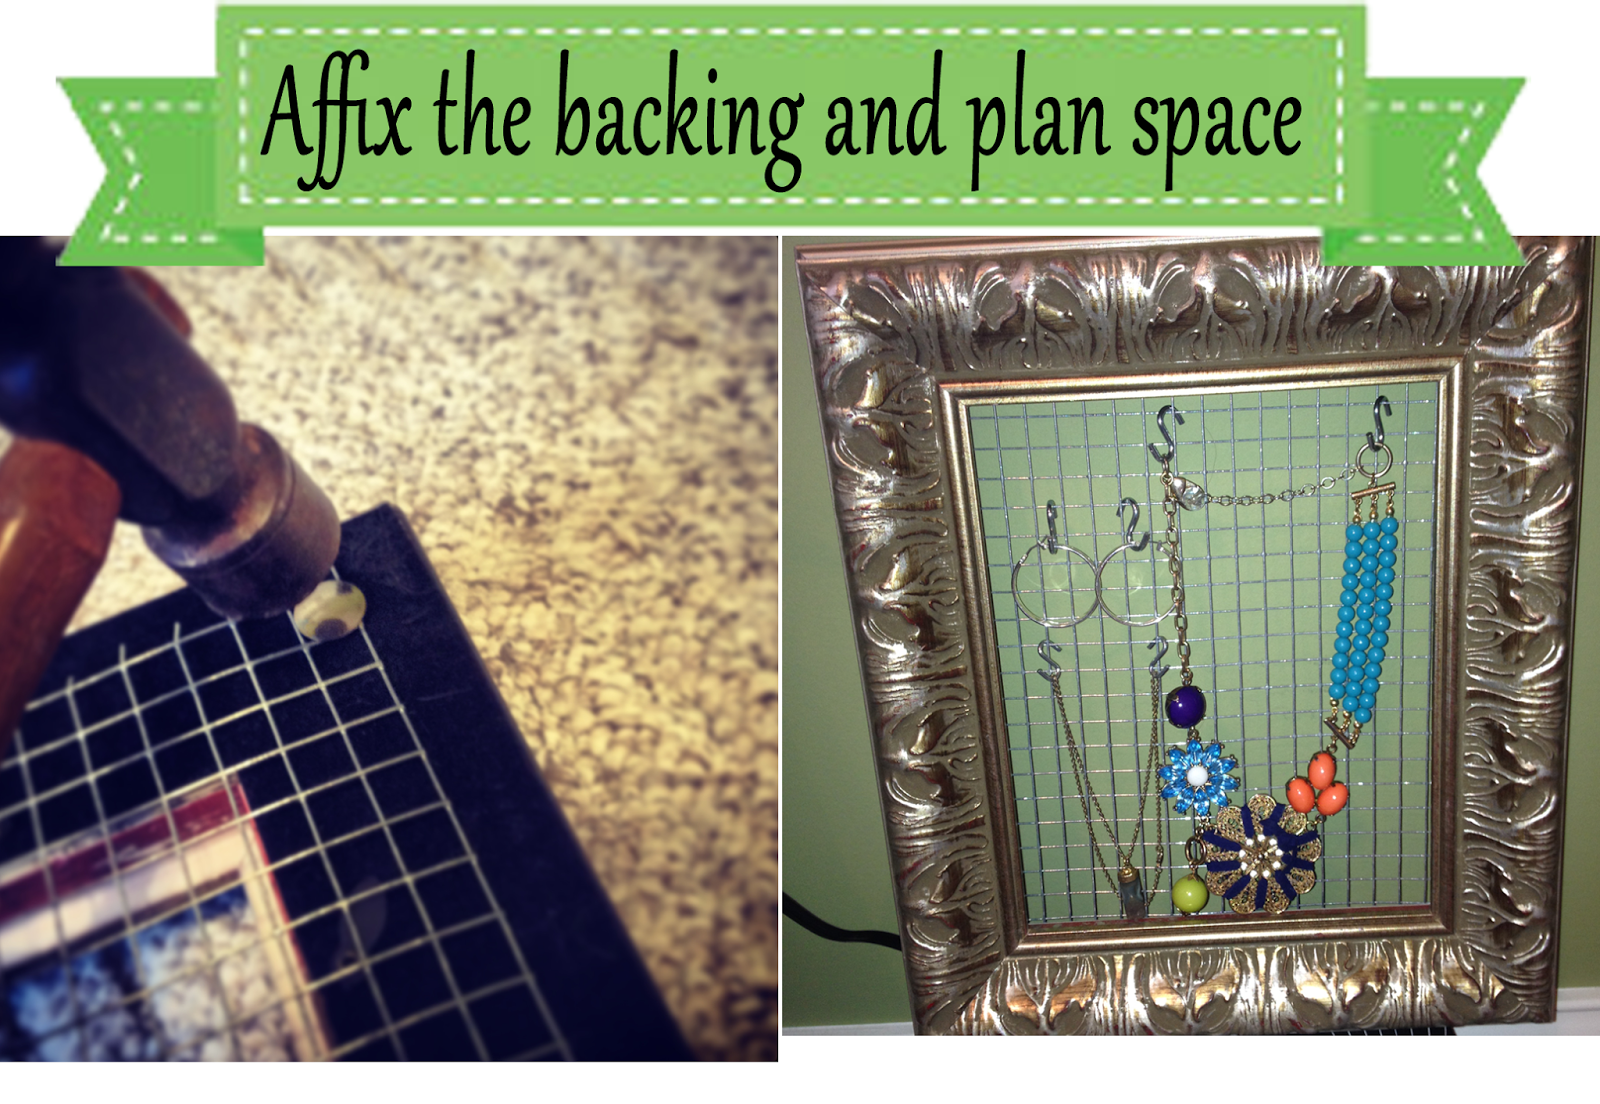
Affix the backing using a hammer and the large thumb tacks. Next, using the ‘S’ hooks, plan how you will organize your jewelry pieces on the frame. It is OK if the chicken wire is a little loose, or not flat. If the wire is flat against the wall, it will make it harder to hang the ‘s’ hooks.
I didn’t finish the edges of mine, but I think I might add some heavy duty tape (like packing tape) to the edges on the back of the frame. This will help secure the wire to the frame, and protect the wall from the raw edges of the wire.
Step 5
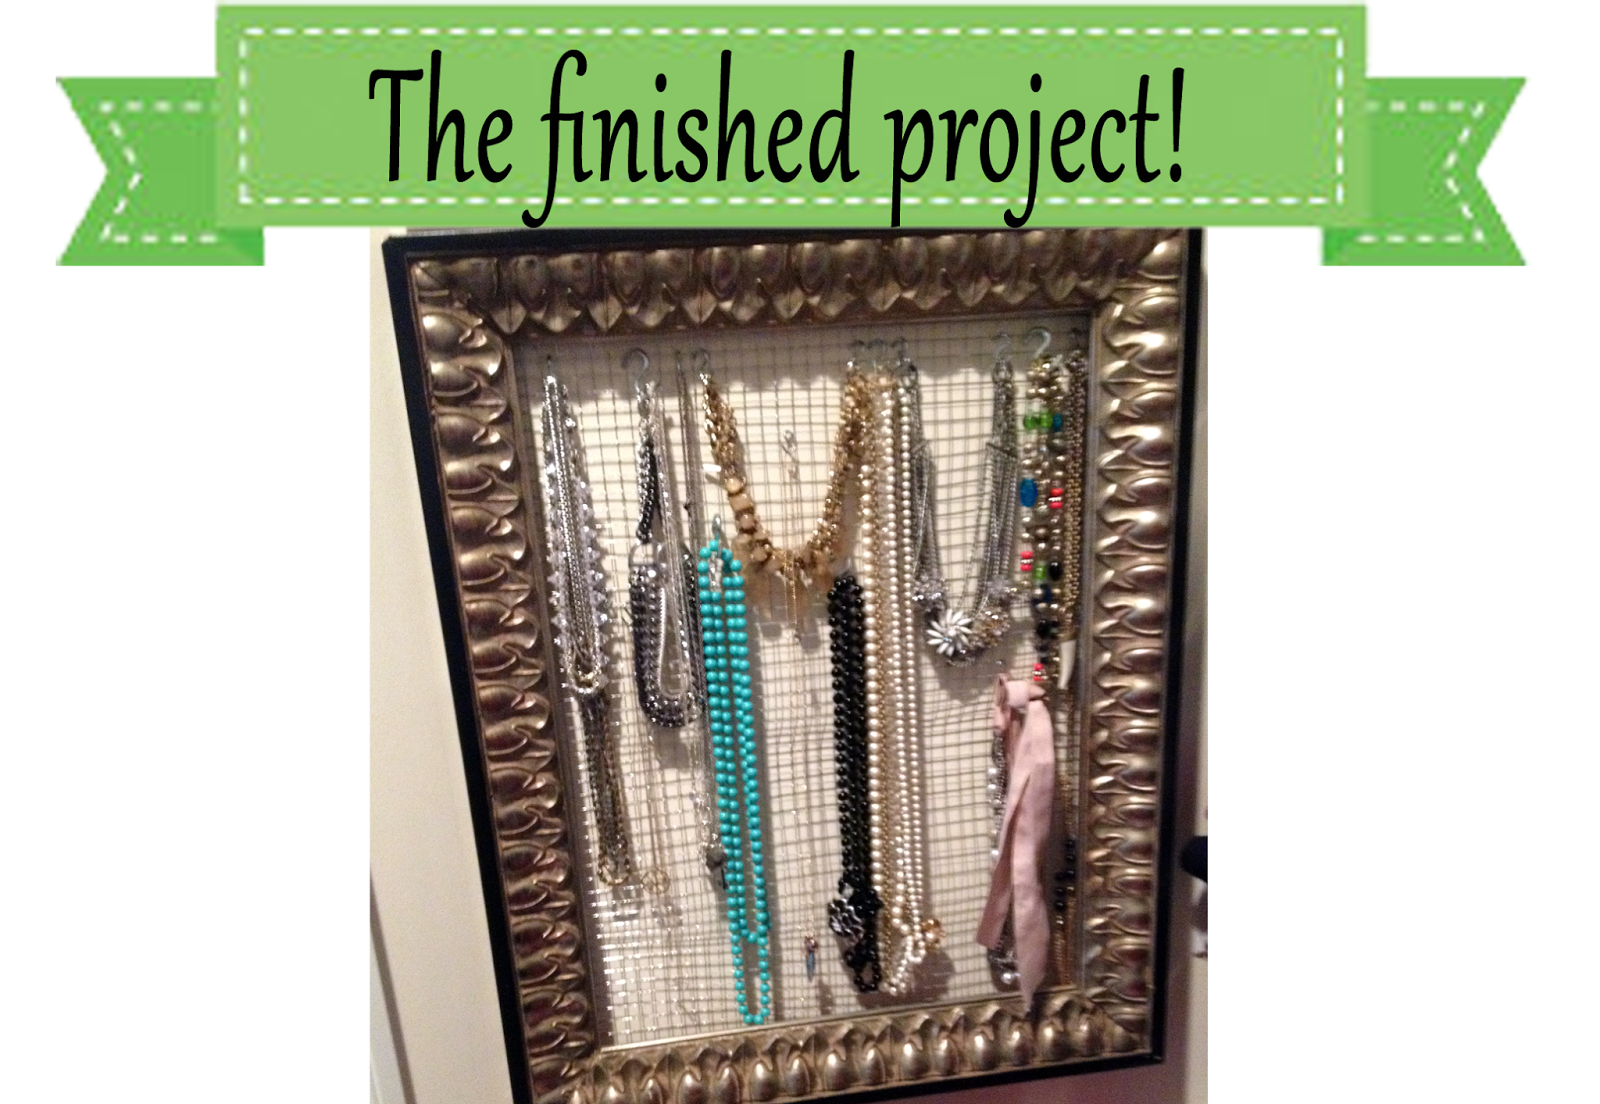
The last step is to nail your jewelry organizer to the wall. I used 2 basic picture hanging nails. Enjoy seeing all of your jewelry pieces neatly organized! And the best part, it takes up unused wall space in your closet! BONUS!


