Simplify NOW for Holiday Season

The calendar doesn’t lie, we are heading into the Holiday season fast and furious!  With the hustle and bustle of the holidays comes stress and chaos. Say Yes to Less now and simplify your life so the holidays are less stressful.  This will allow to enjoy more time with friends and family. …and isn’t that what the holiday season is really all about?

5 ideas to help you start decluttering BEFORE the holiday season takes over:

2019_oct_cathy_holiday1

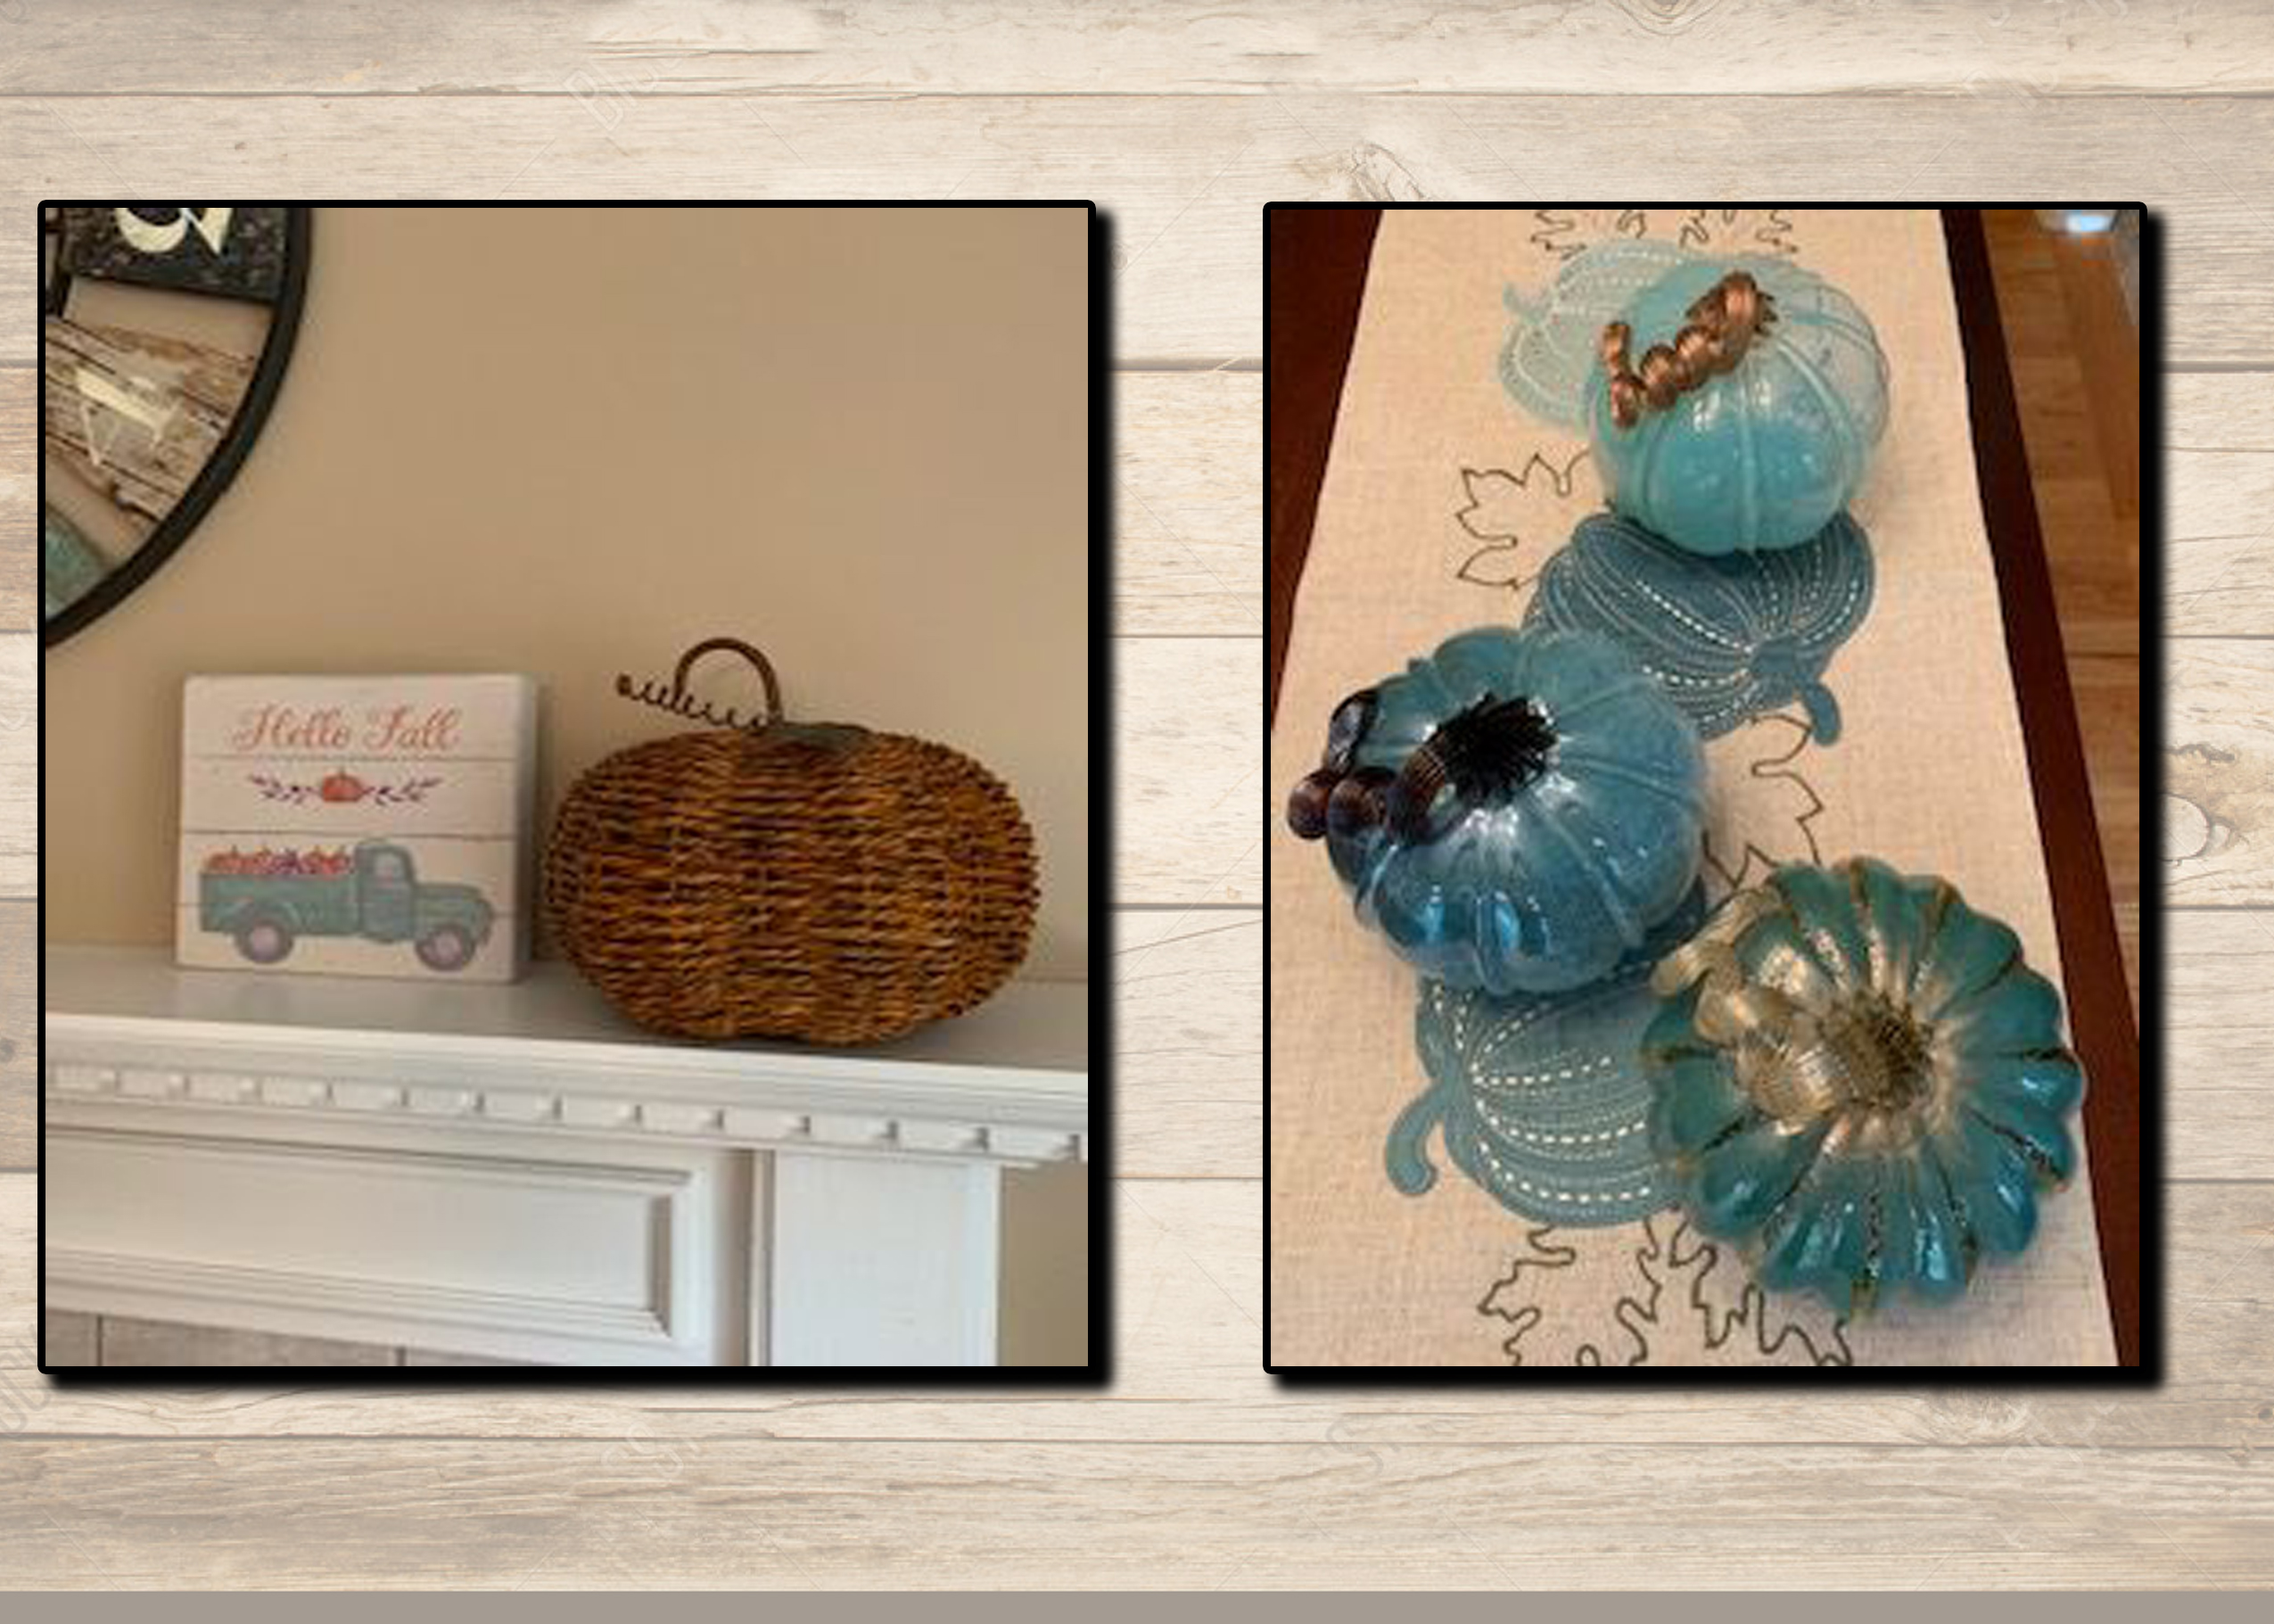
  1. Holiday Decorations.  Throughout different stages of our life, our decorating needs change as does our taste in decor.  Have you recently become an empty nester?  Donate the kid-focused decorations to Goodwill and try a new color scheme. Your local Goodwill Store is also a great place to start your new holiday decor collection; or if you are crafty, look in the aisles of Goodwill for things you can paint or #repurpose or #upstyle and make your own.  Just got married?  Time to start building your holiday decor collection!  Be sure to only keep what fits in your storage space.

2019_oct_cathy_holiday2

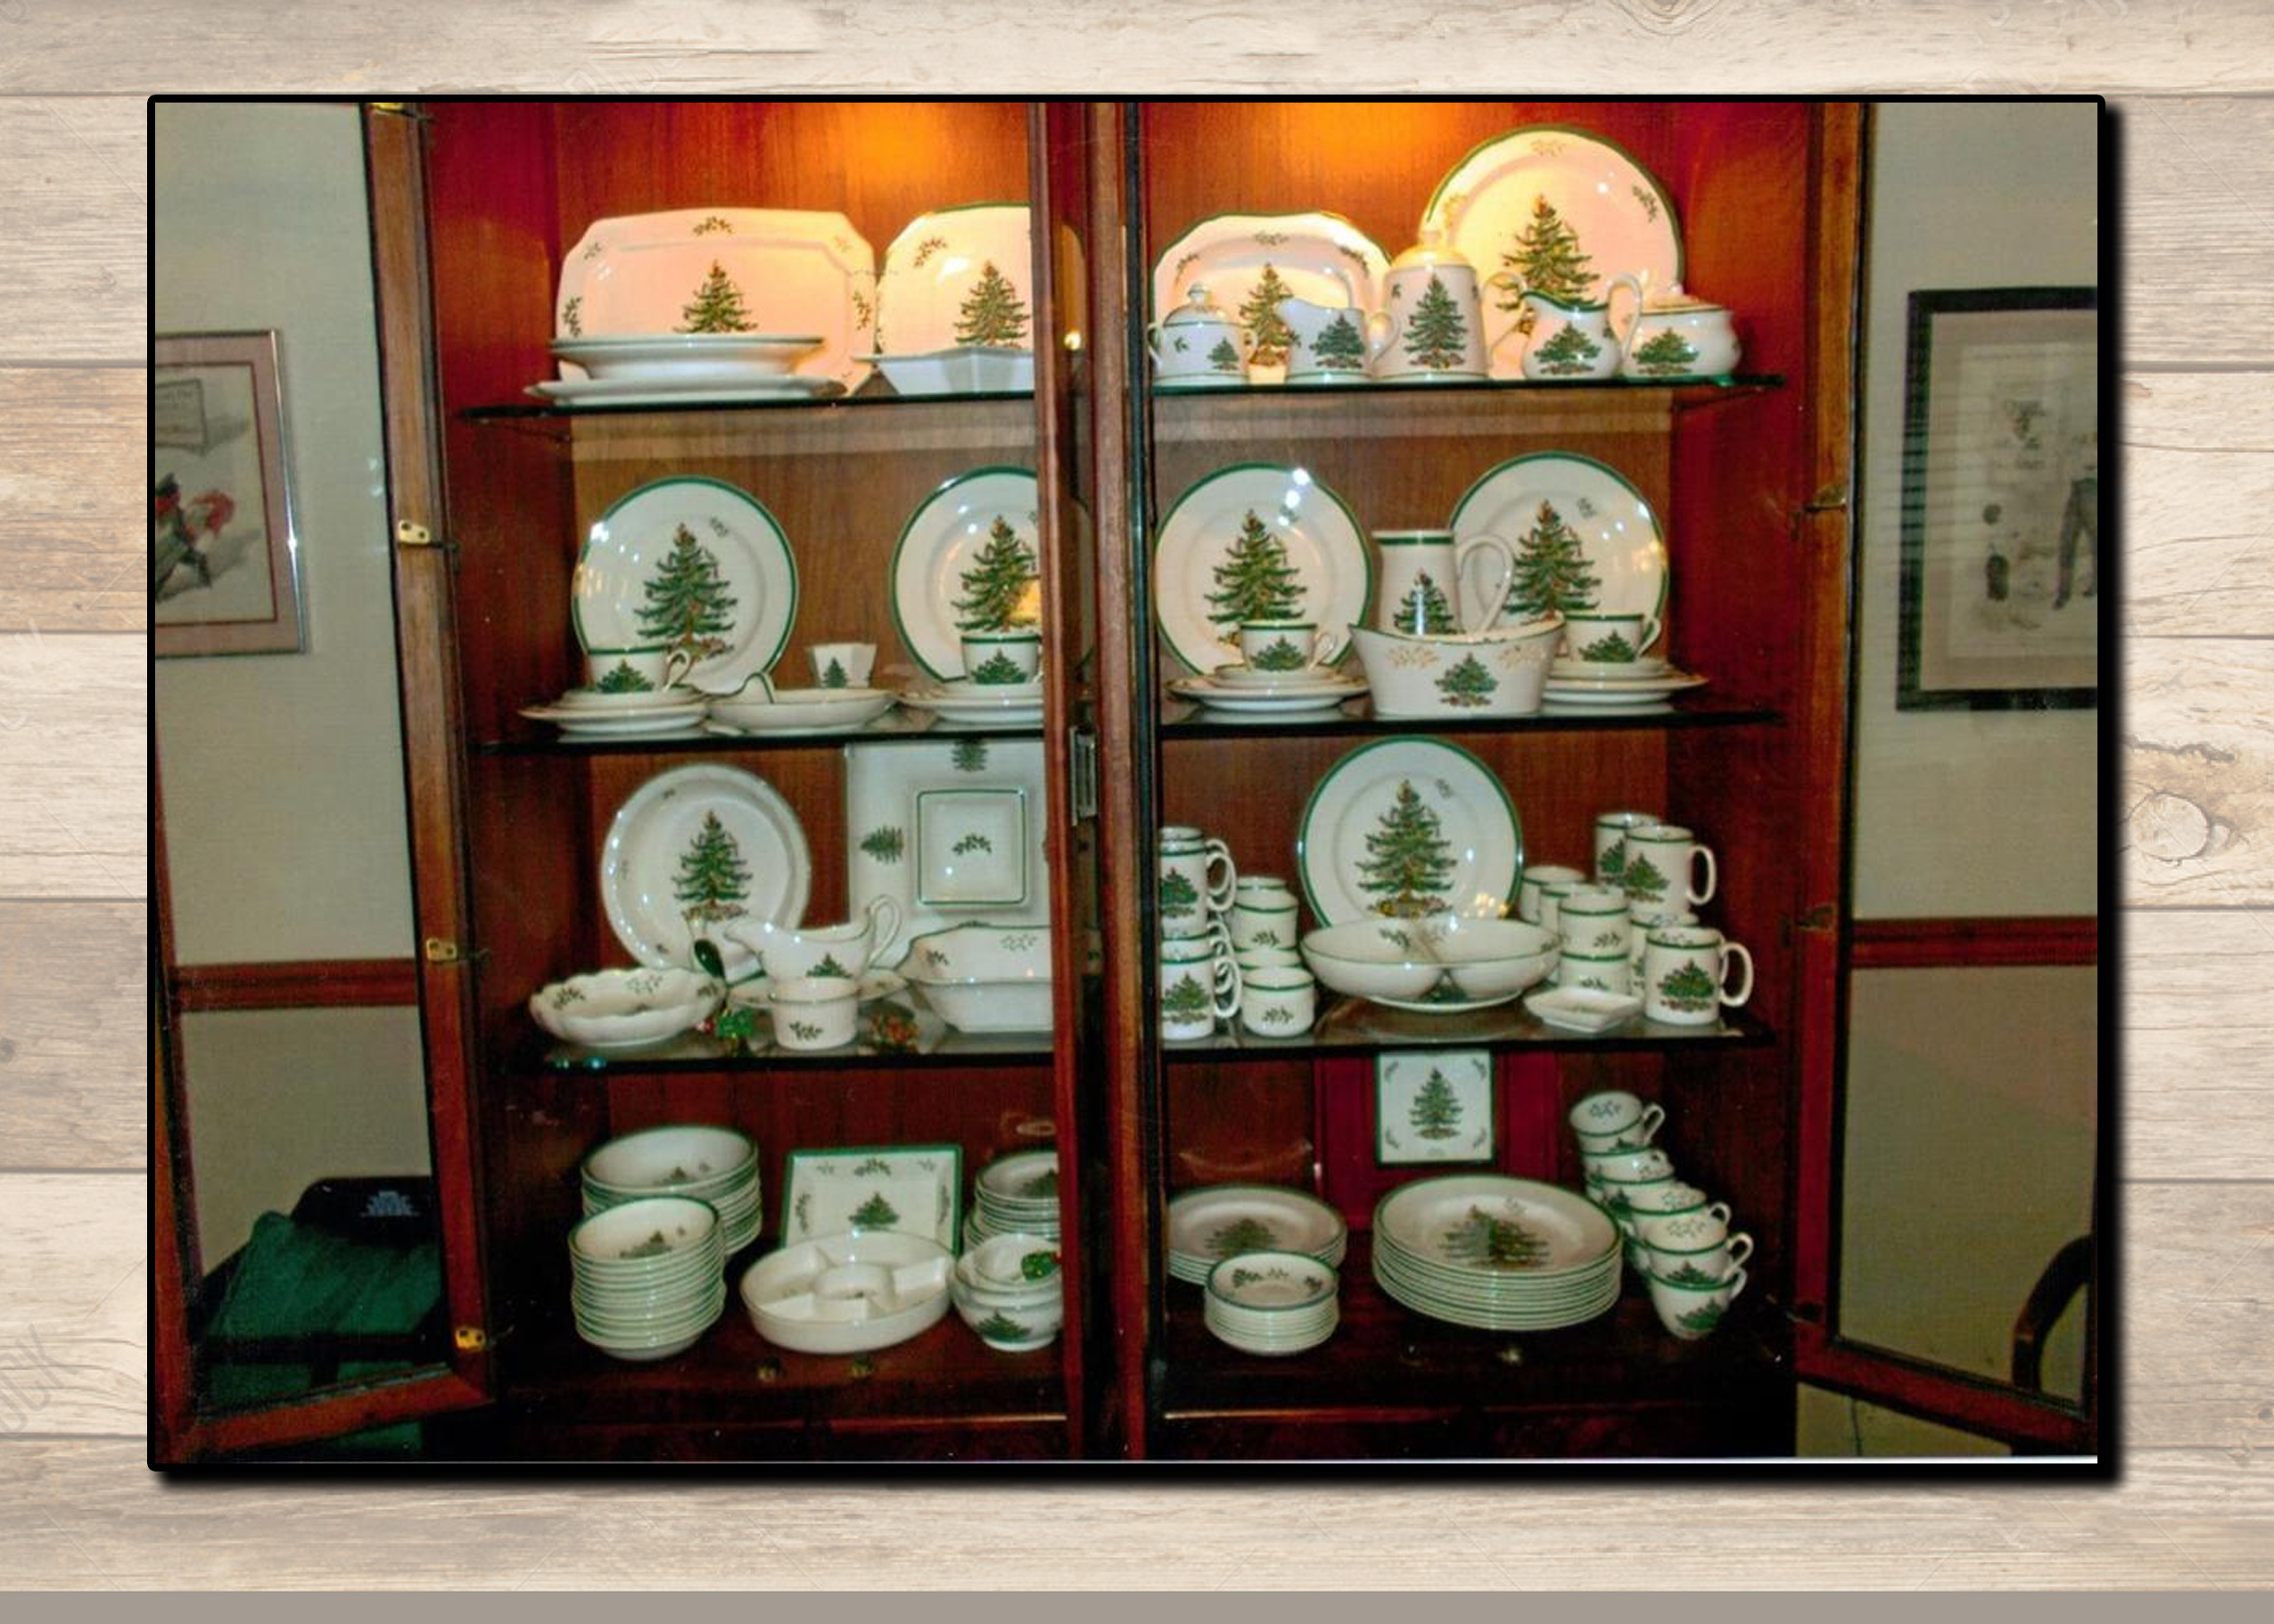
  1. The Kitchen.  Ask yourself how many things in your kitchen you really use.  If you haven’t used the turkey platter in 20 years, donate it to Goodwill and free up room in your kitchen.  Have a set of holiday dishes you love, but are missing a few pieces? Goodwill is a fantastic place to search for those random pieces to complete your collection.

2019_oct_cathy_holiday3

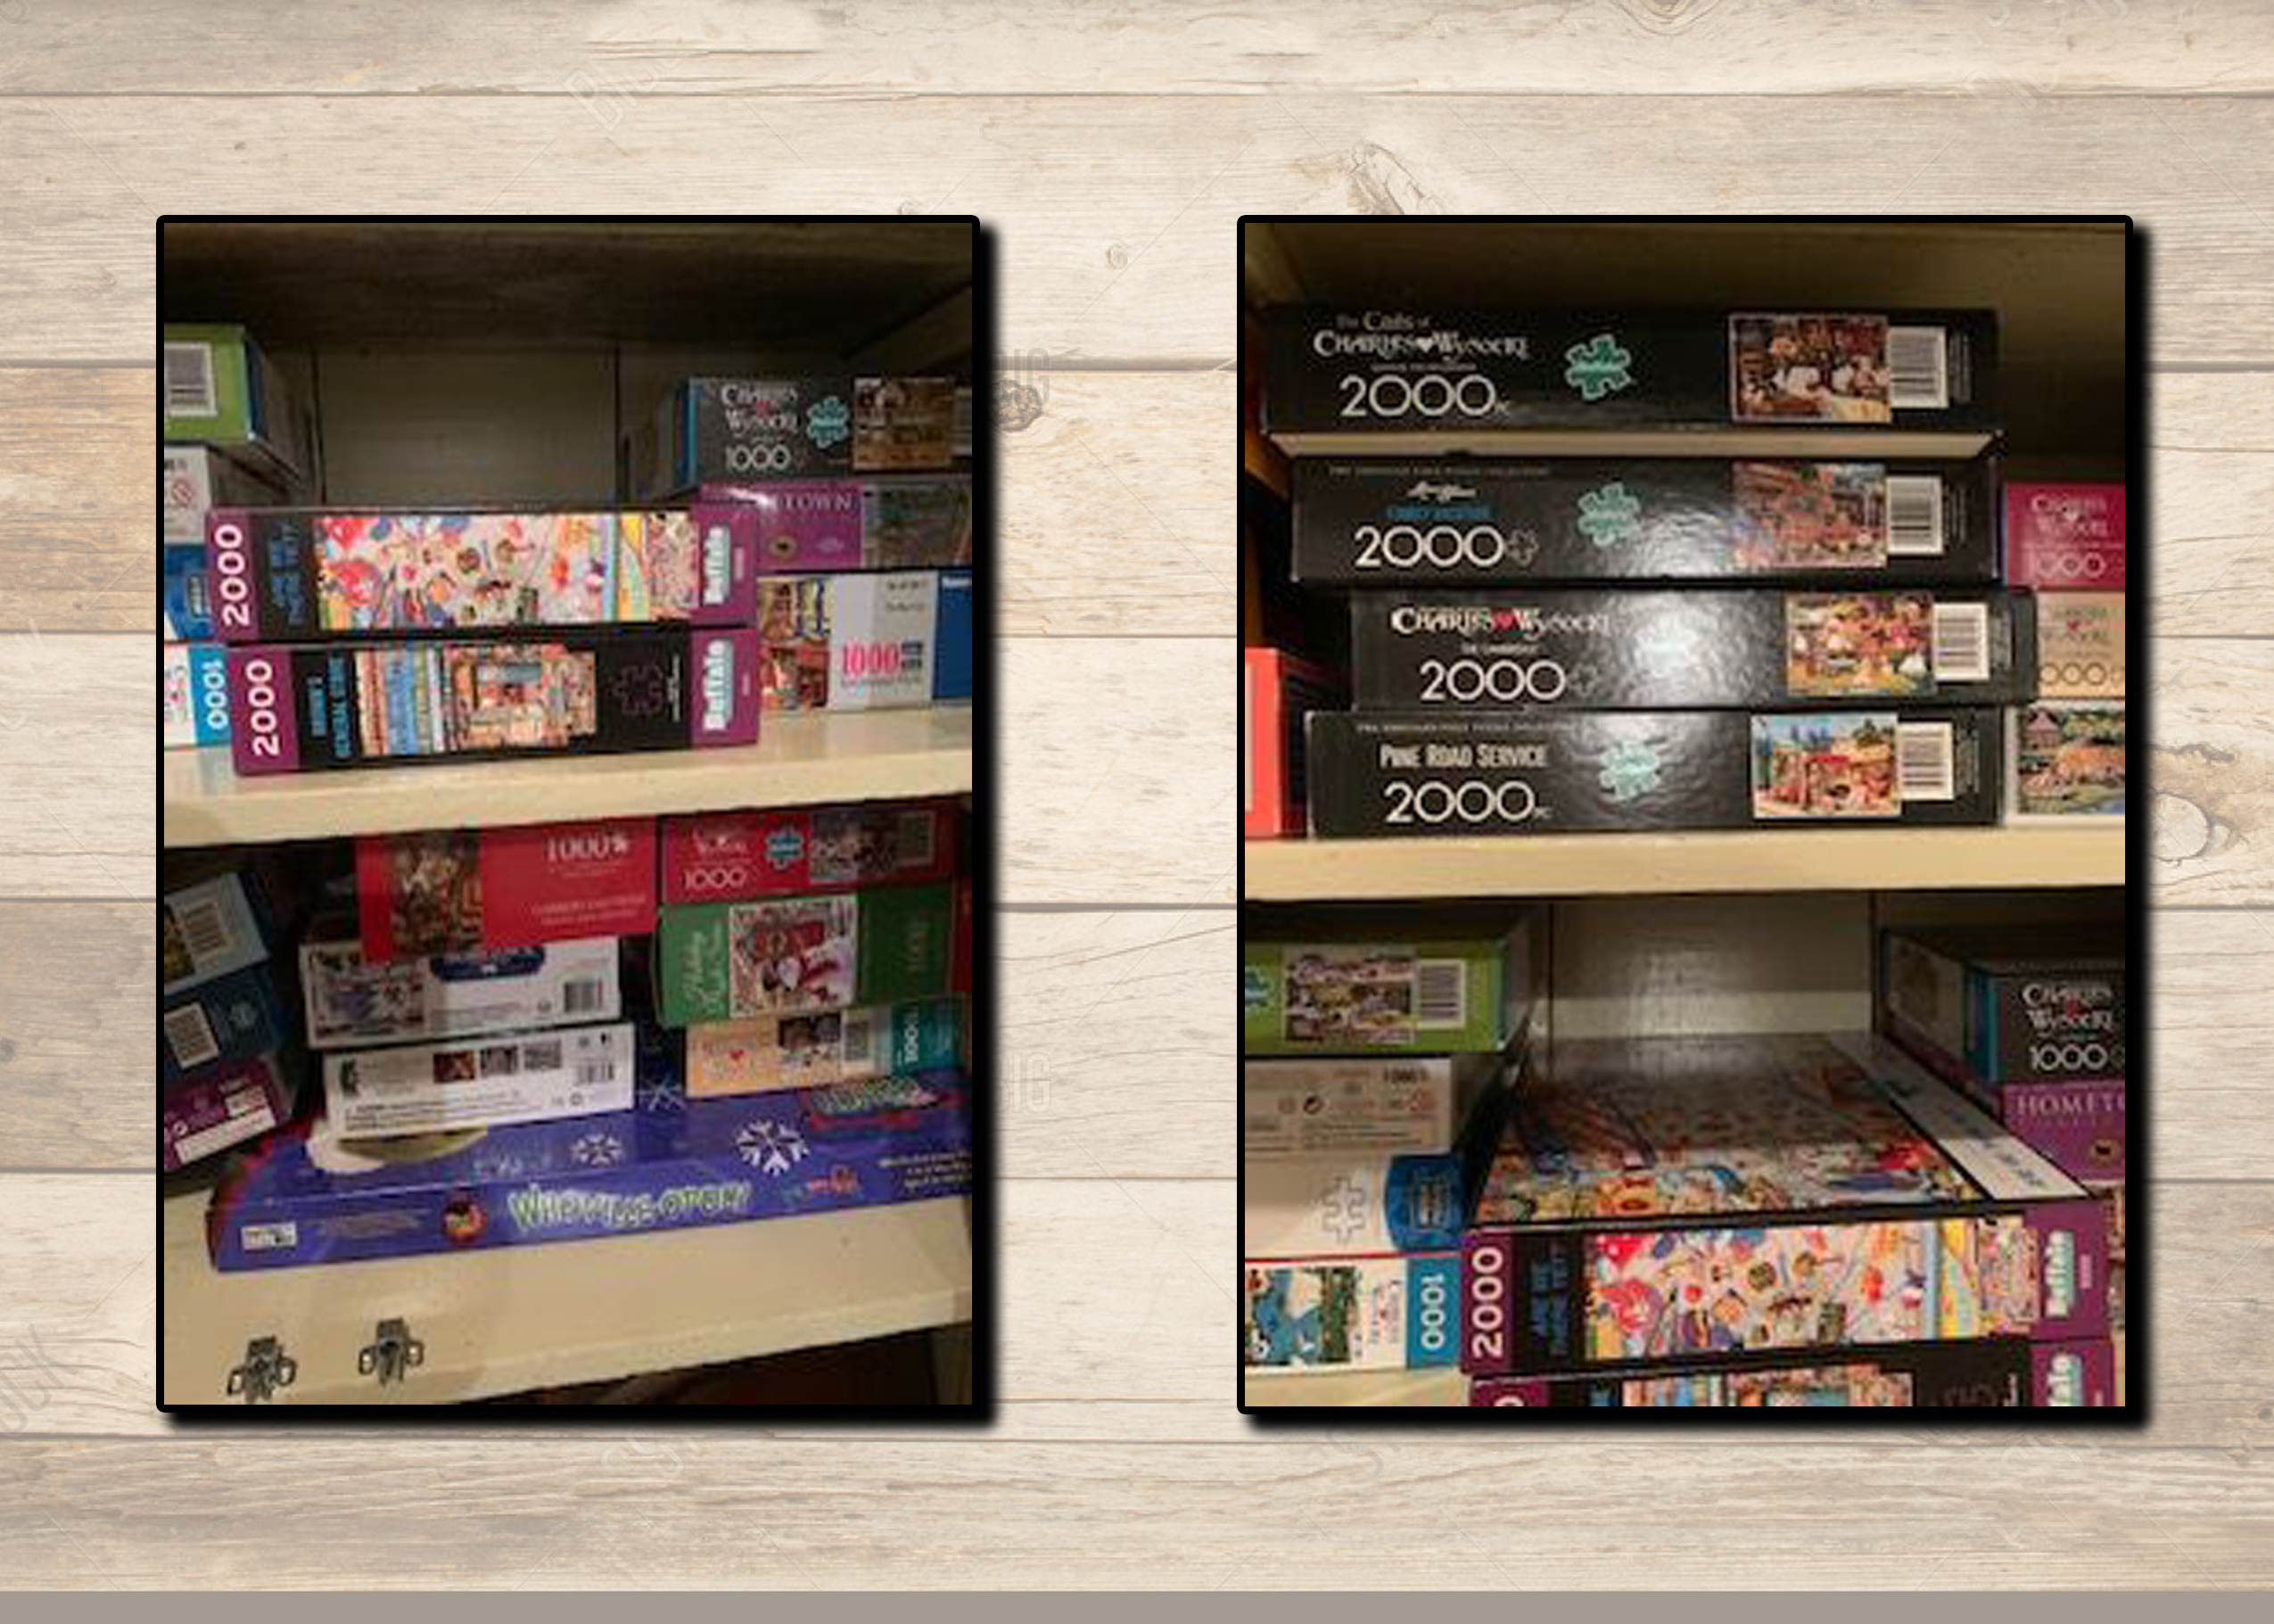
  1. Kids Stuff.  Now is the time to go through all the toys and games and pare down by donating gently-used toys to Goodwill.  Why not brighten someone’s day when they find that treasure you’ve donated?  Since I know many of you will have a ton of this kind of donation, here is a helpful tip:  did you know you can also use a Goodwill Drive-Thru to get help with unloading?

2019_oct_cathy_holiday5

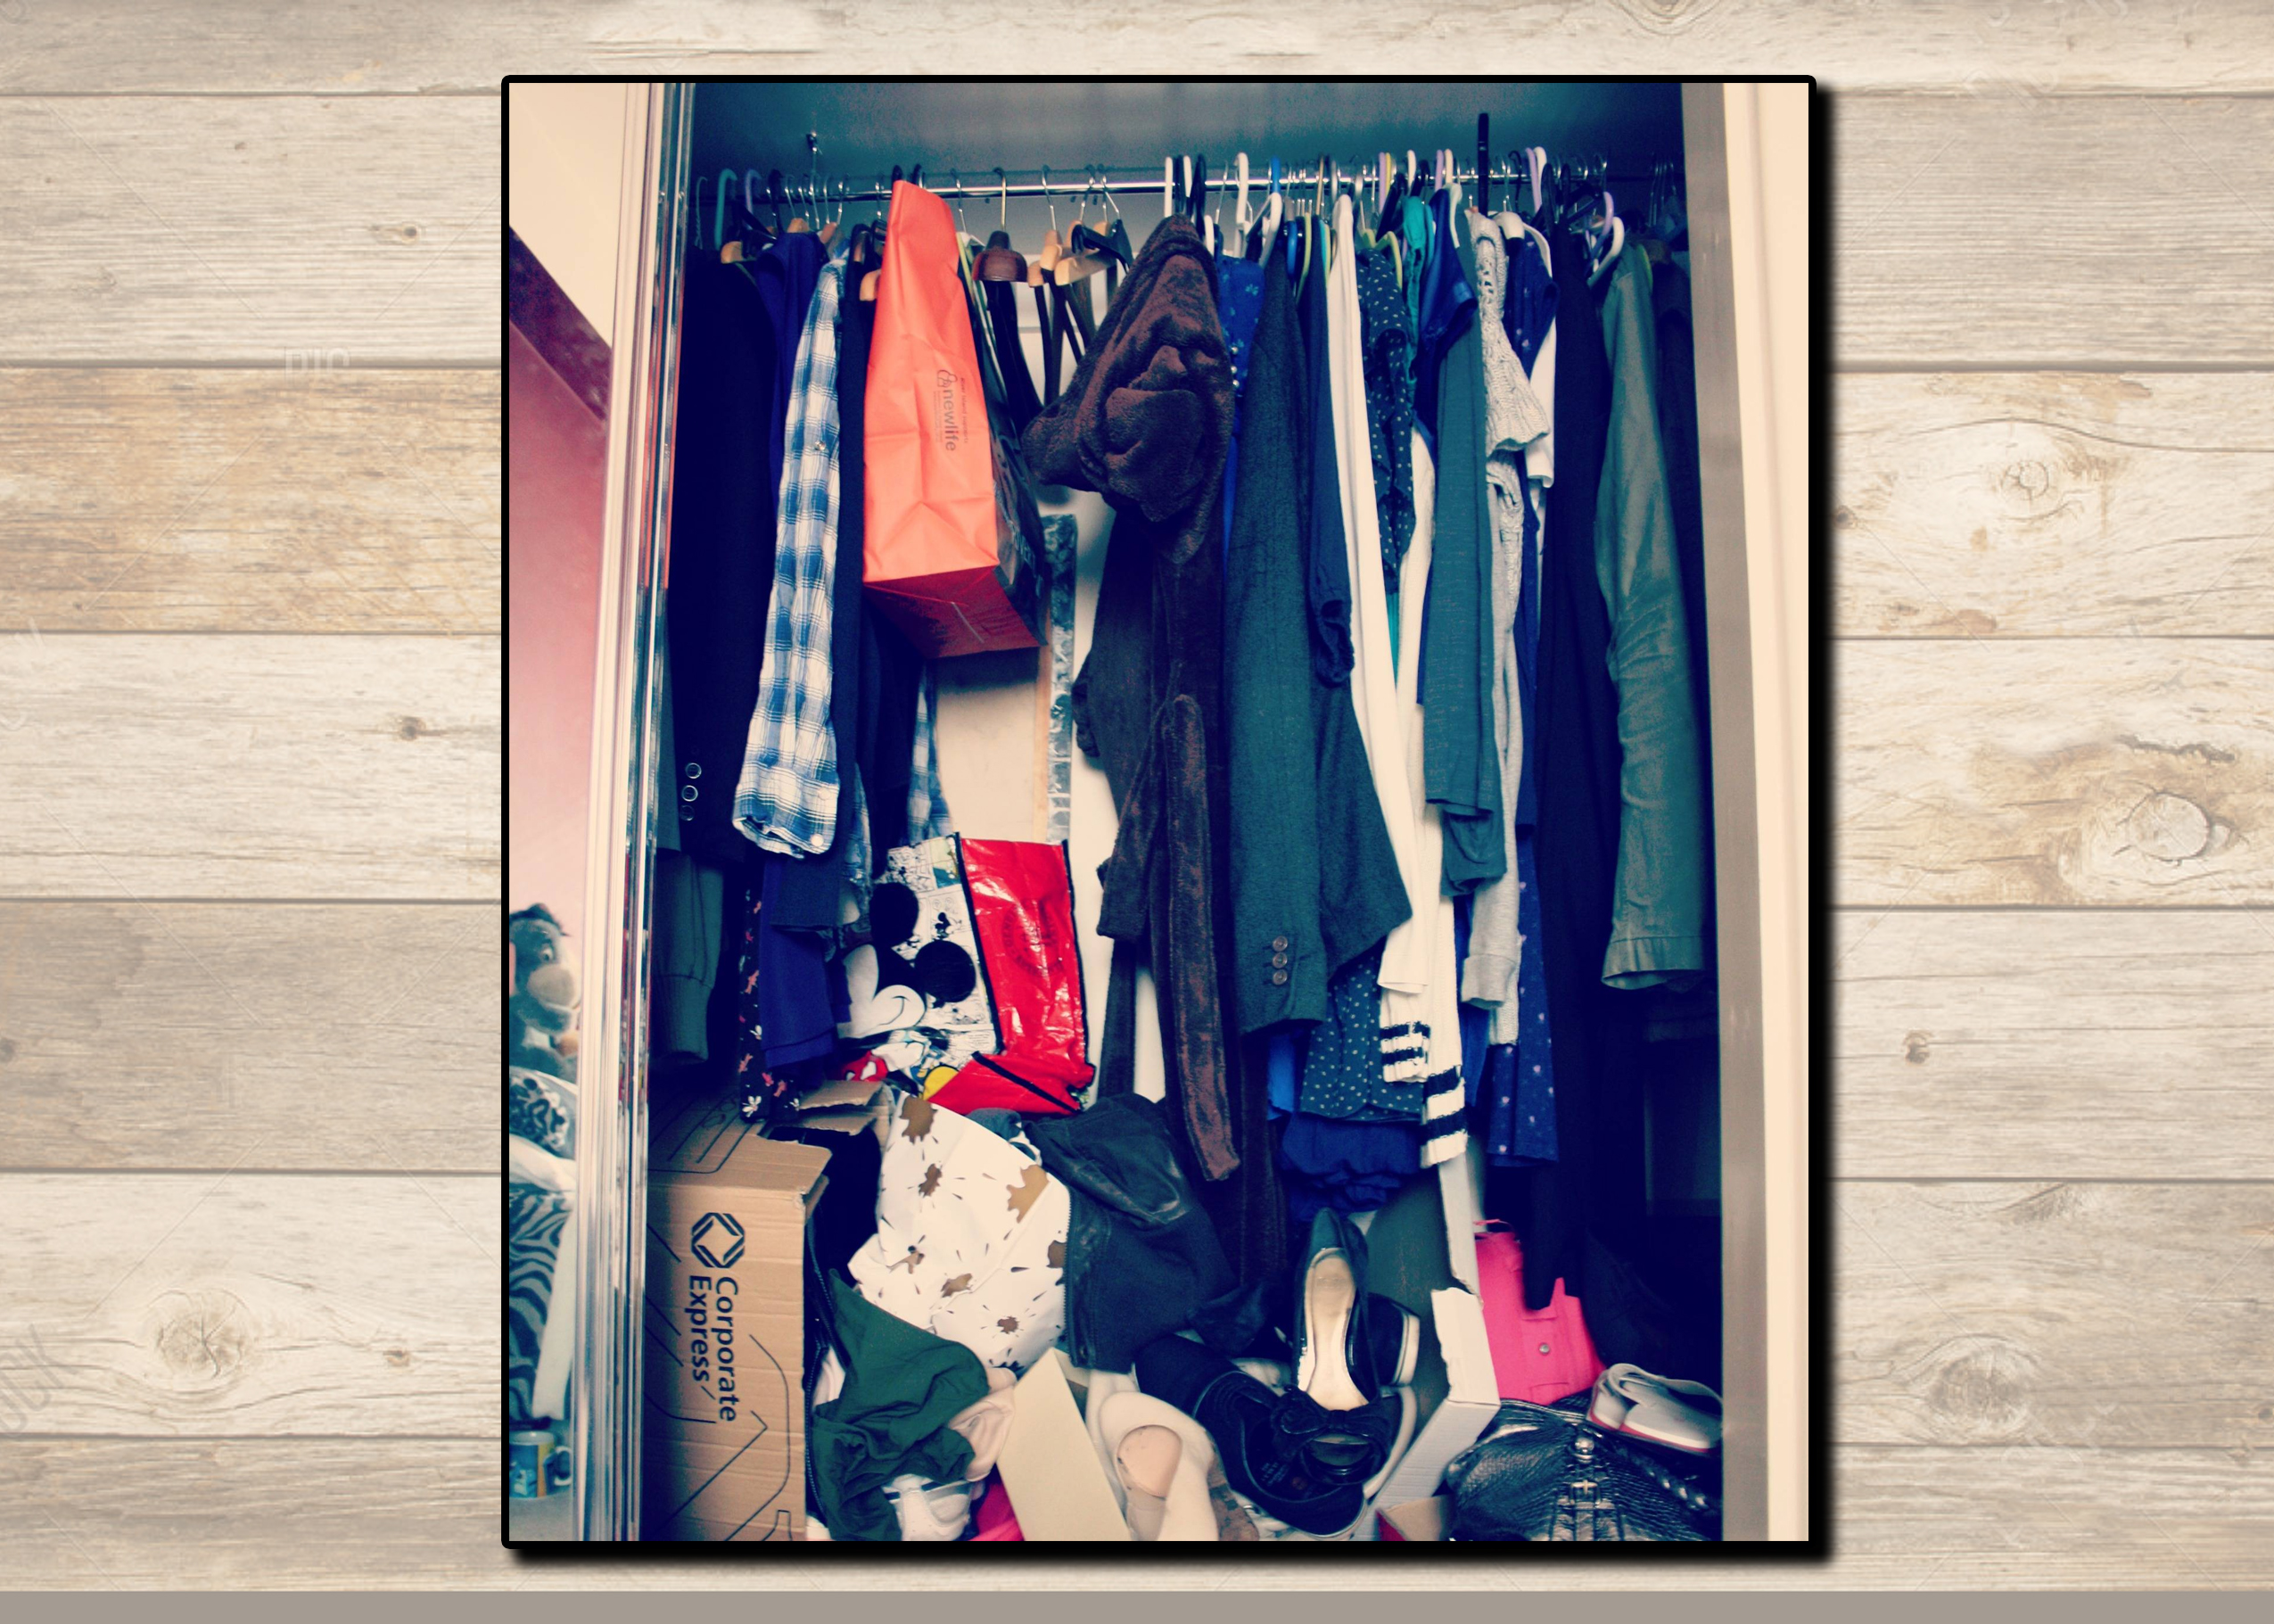
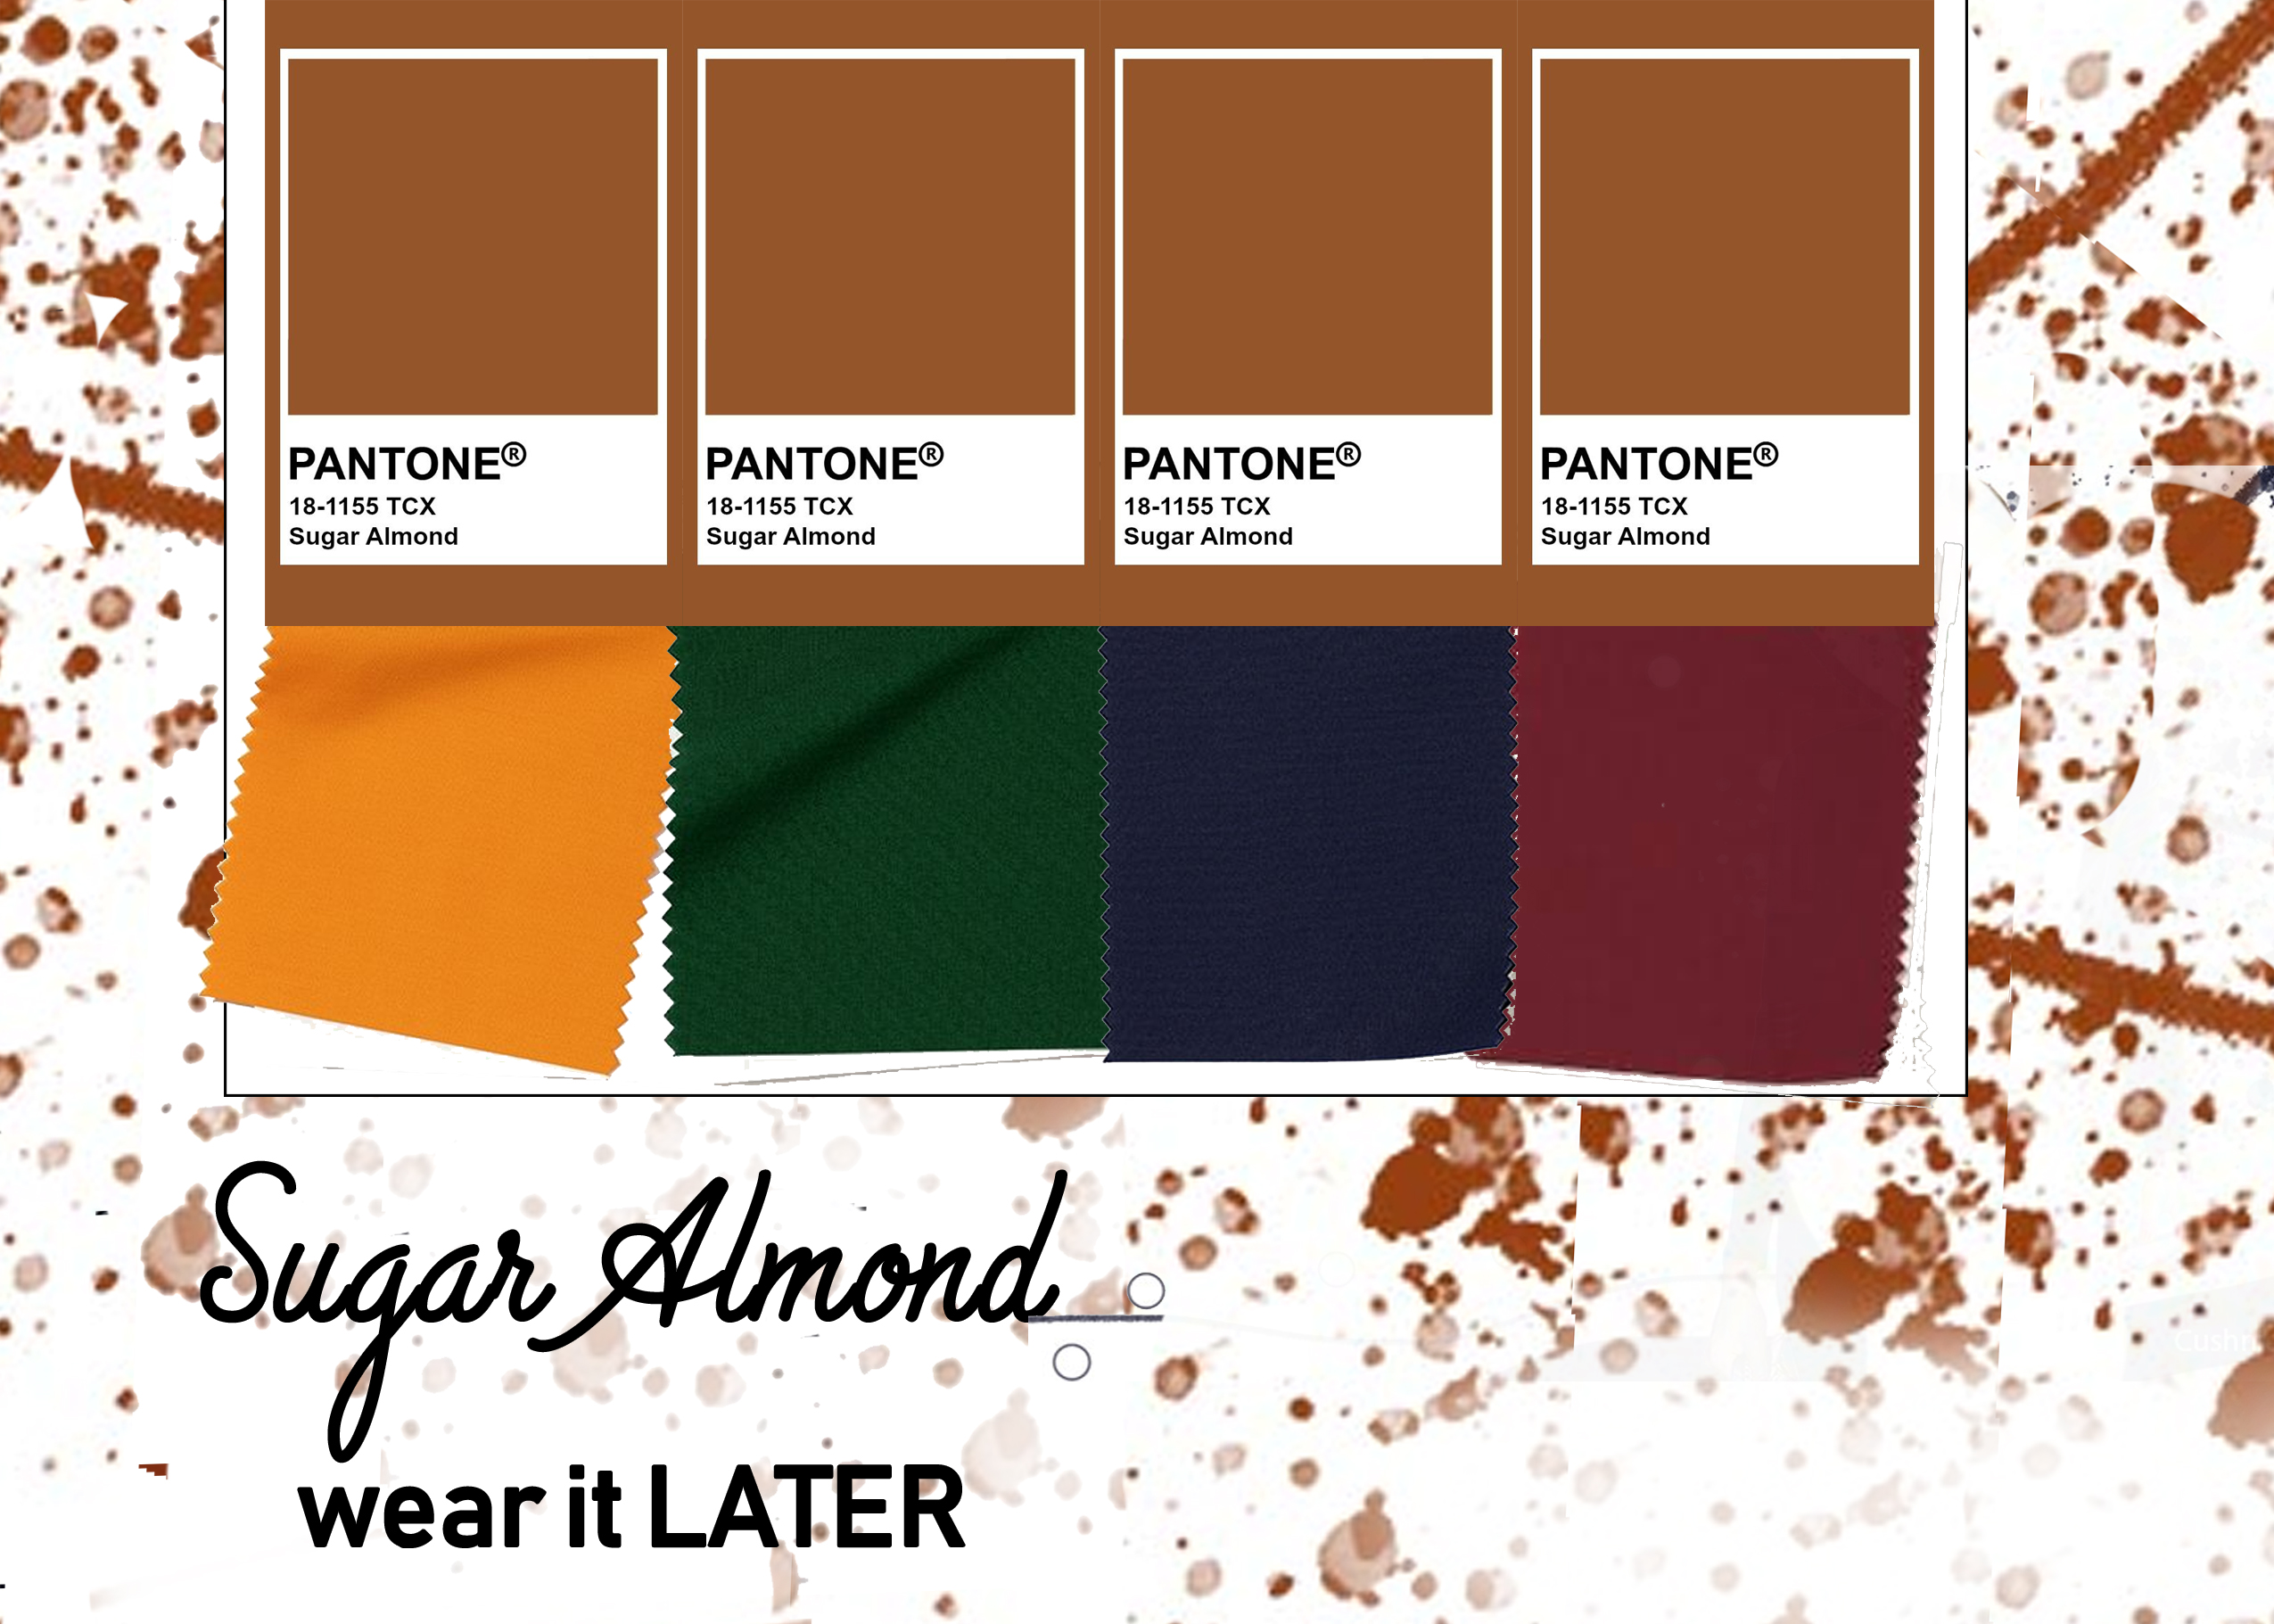
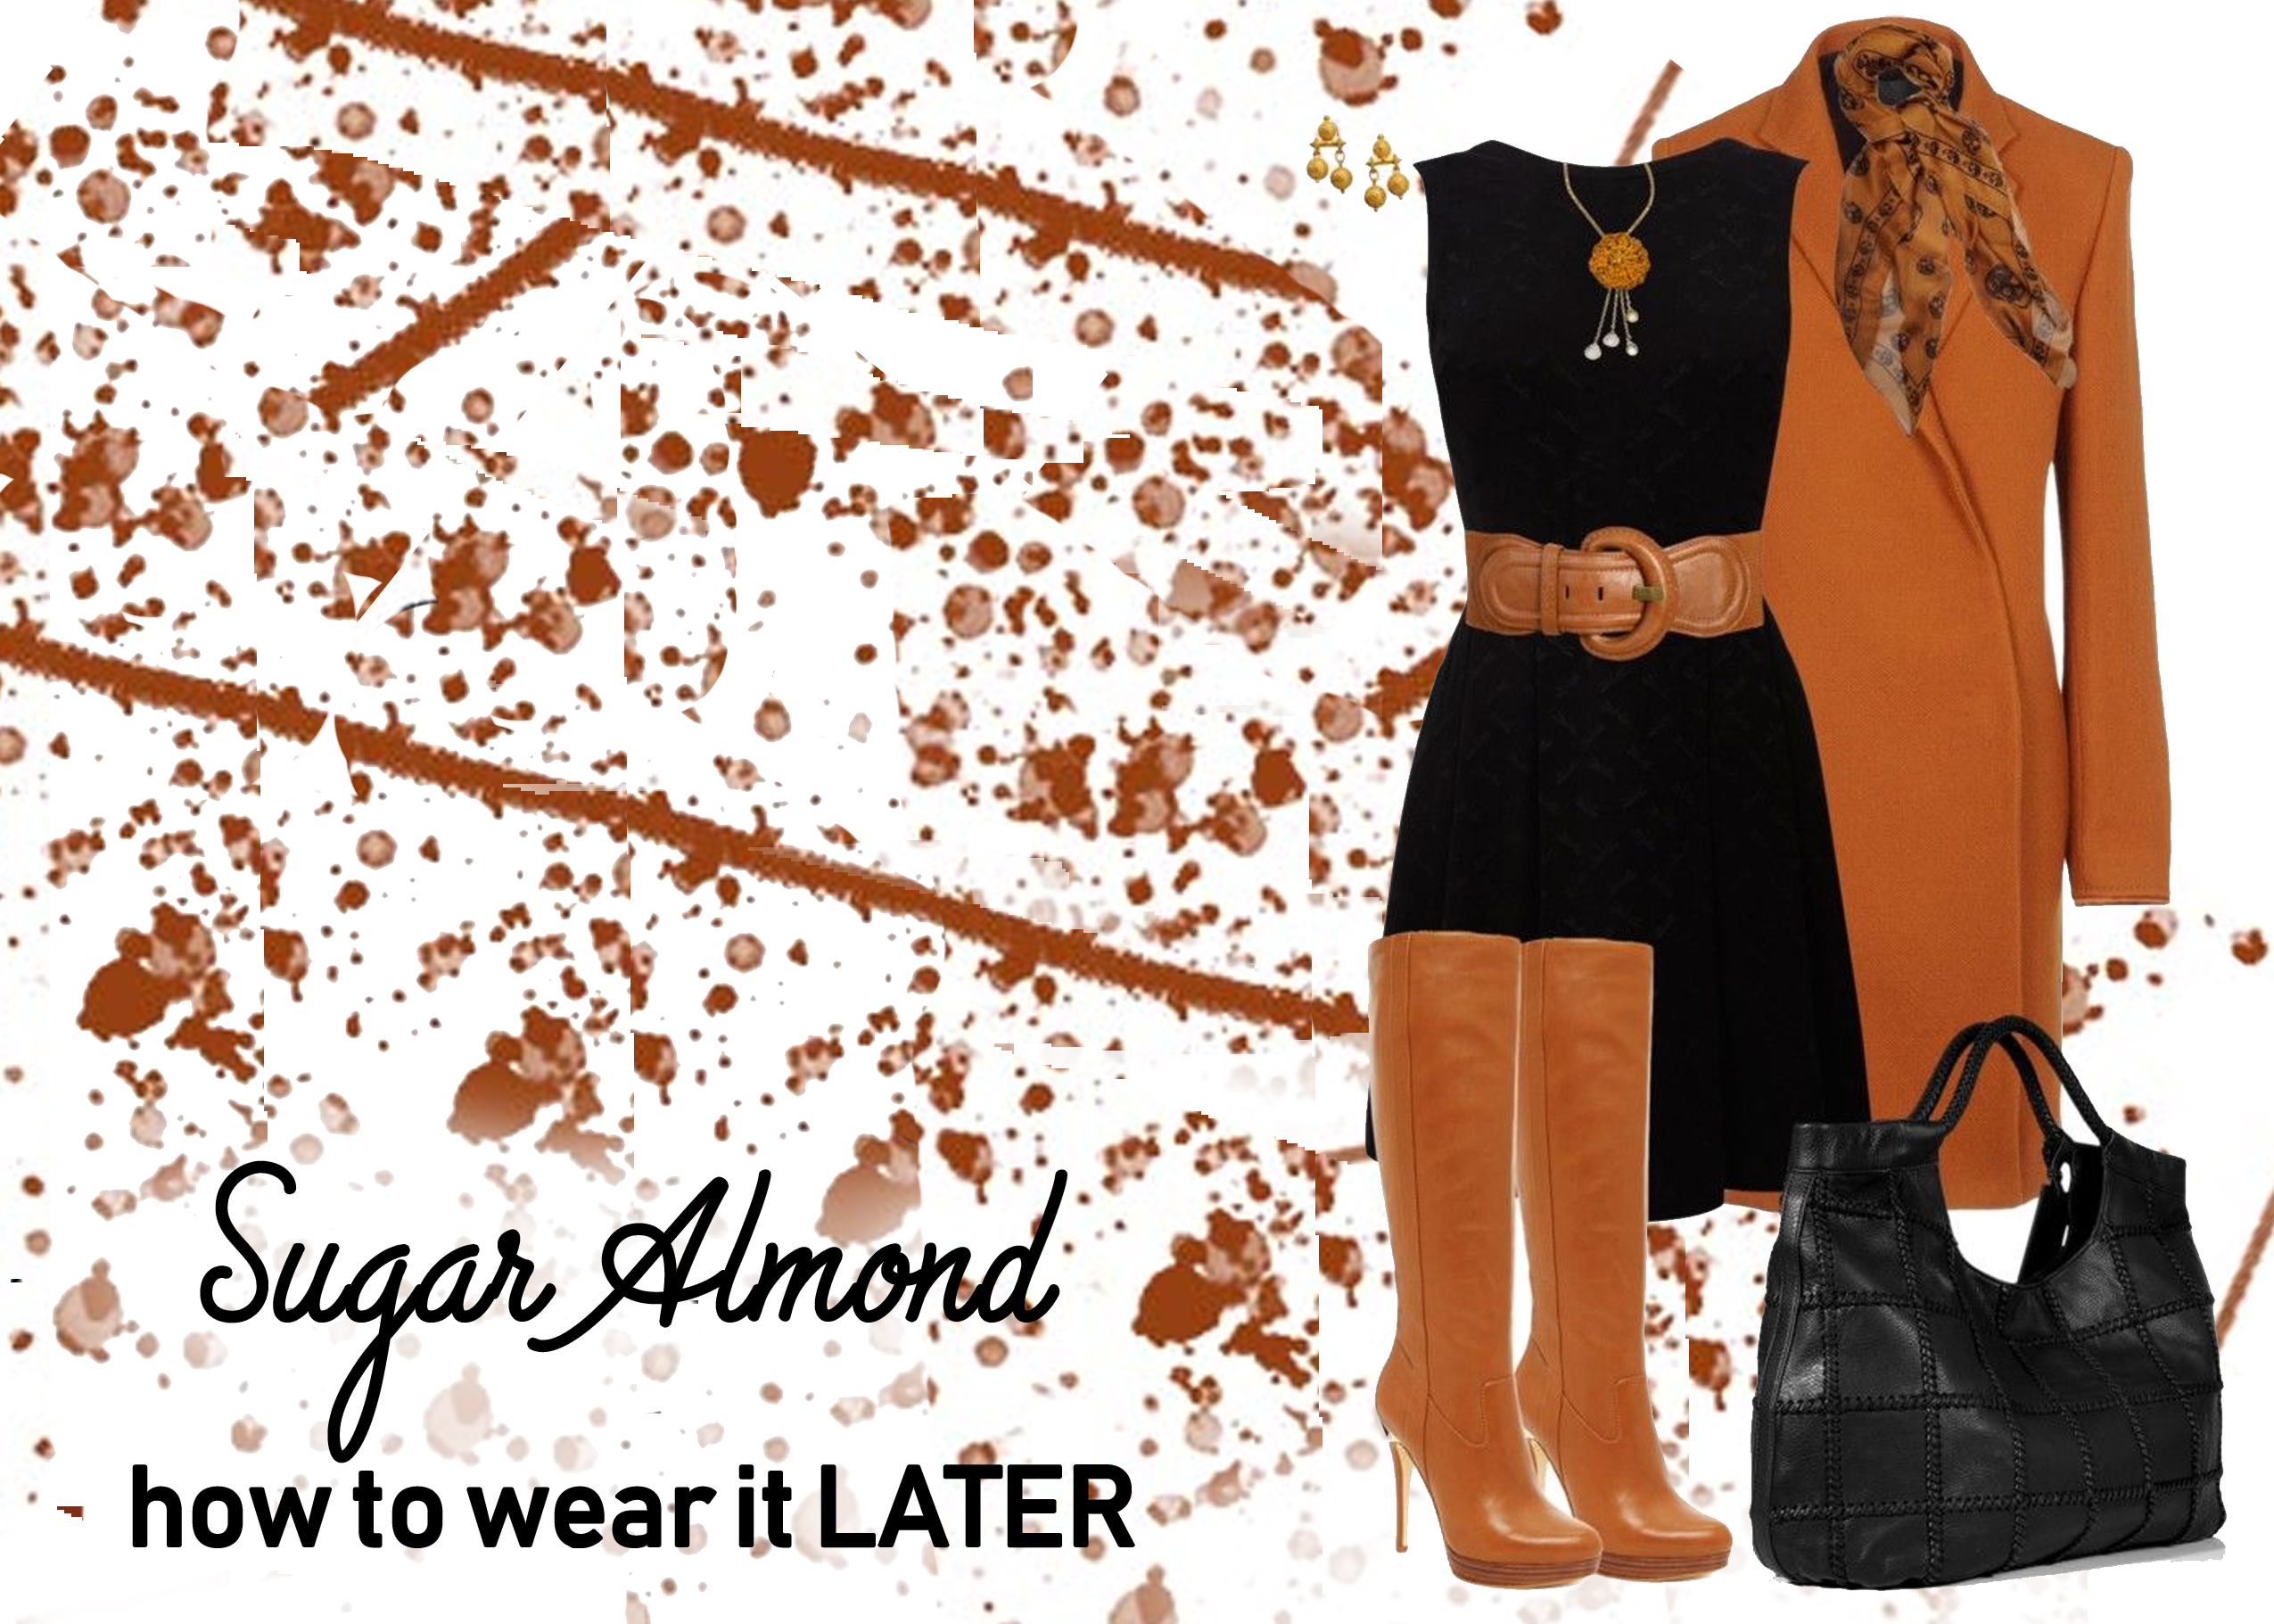
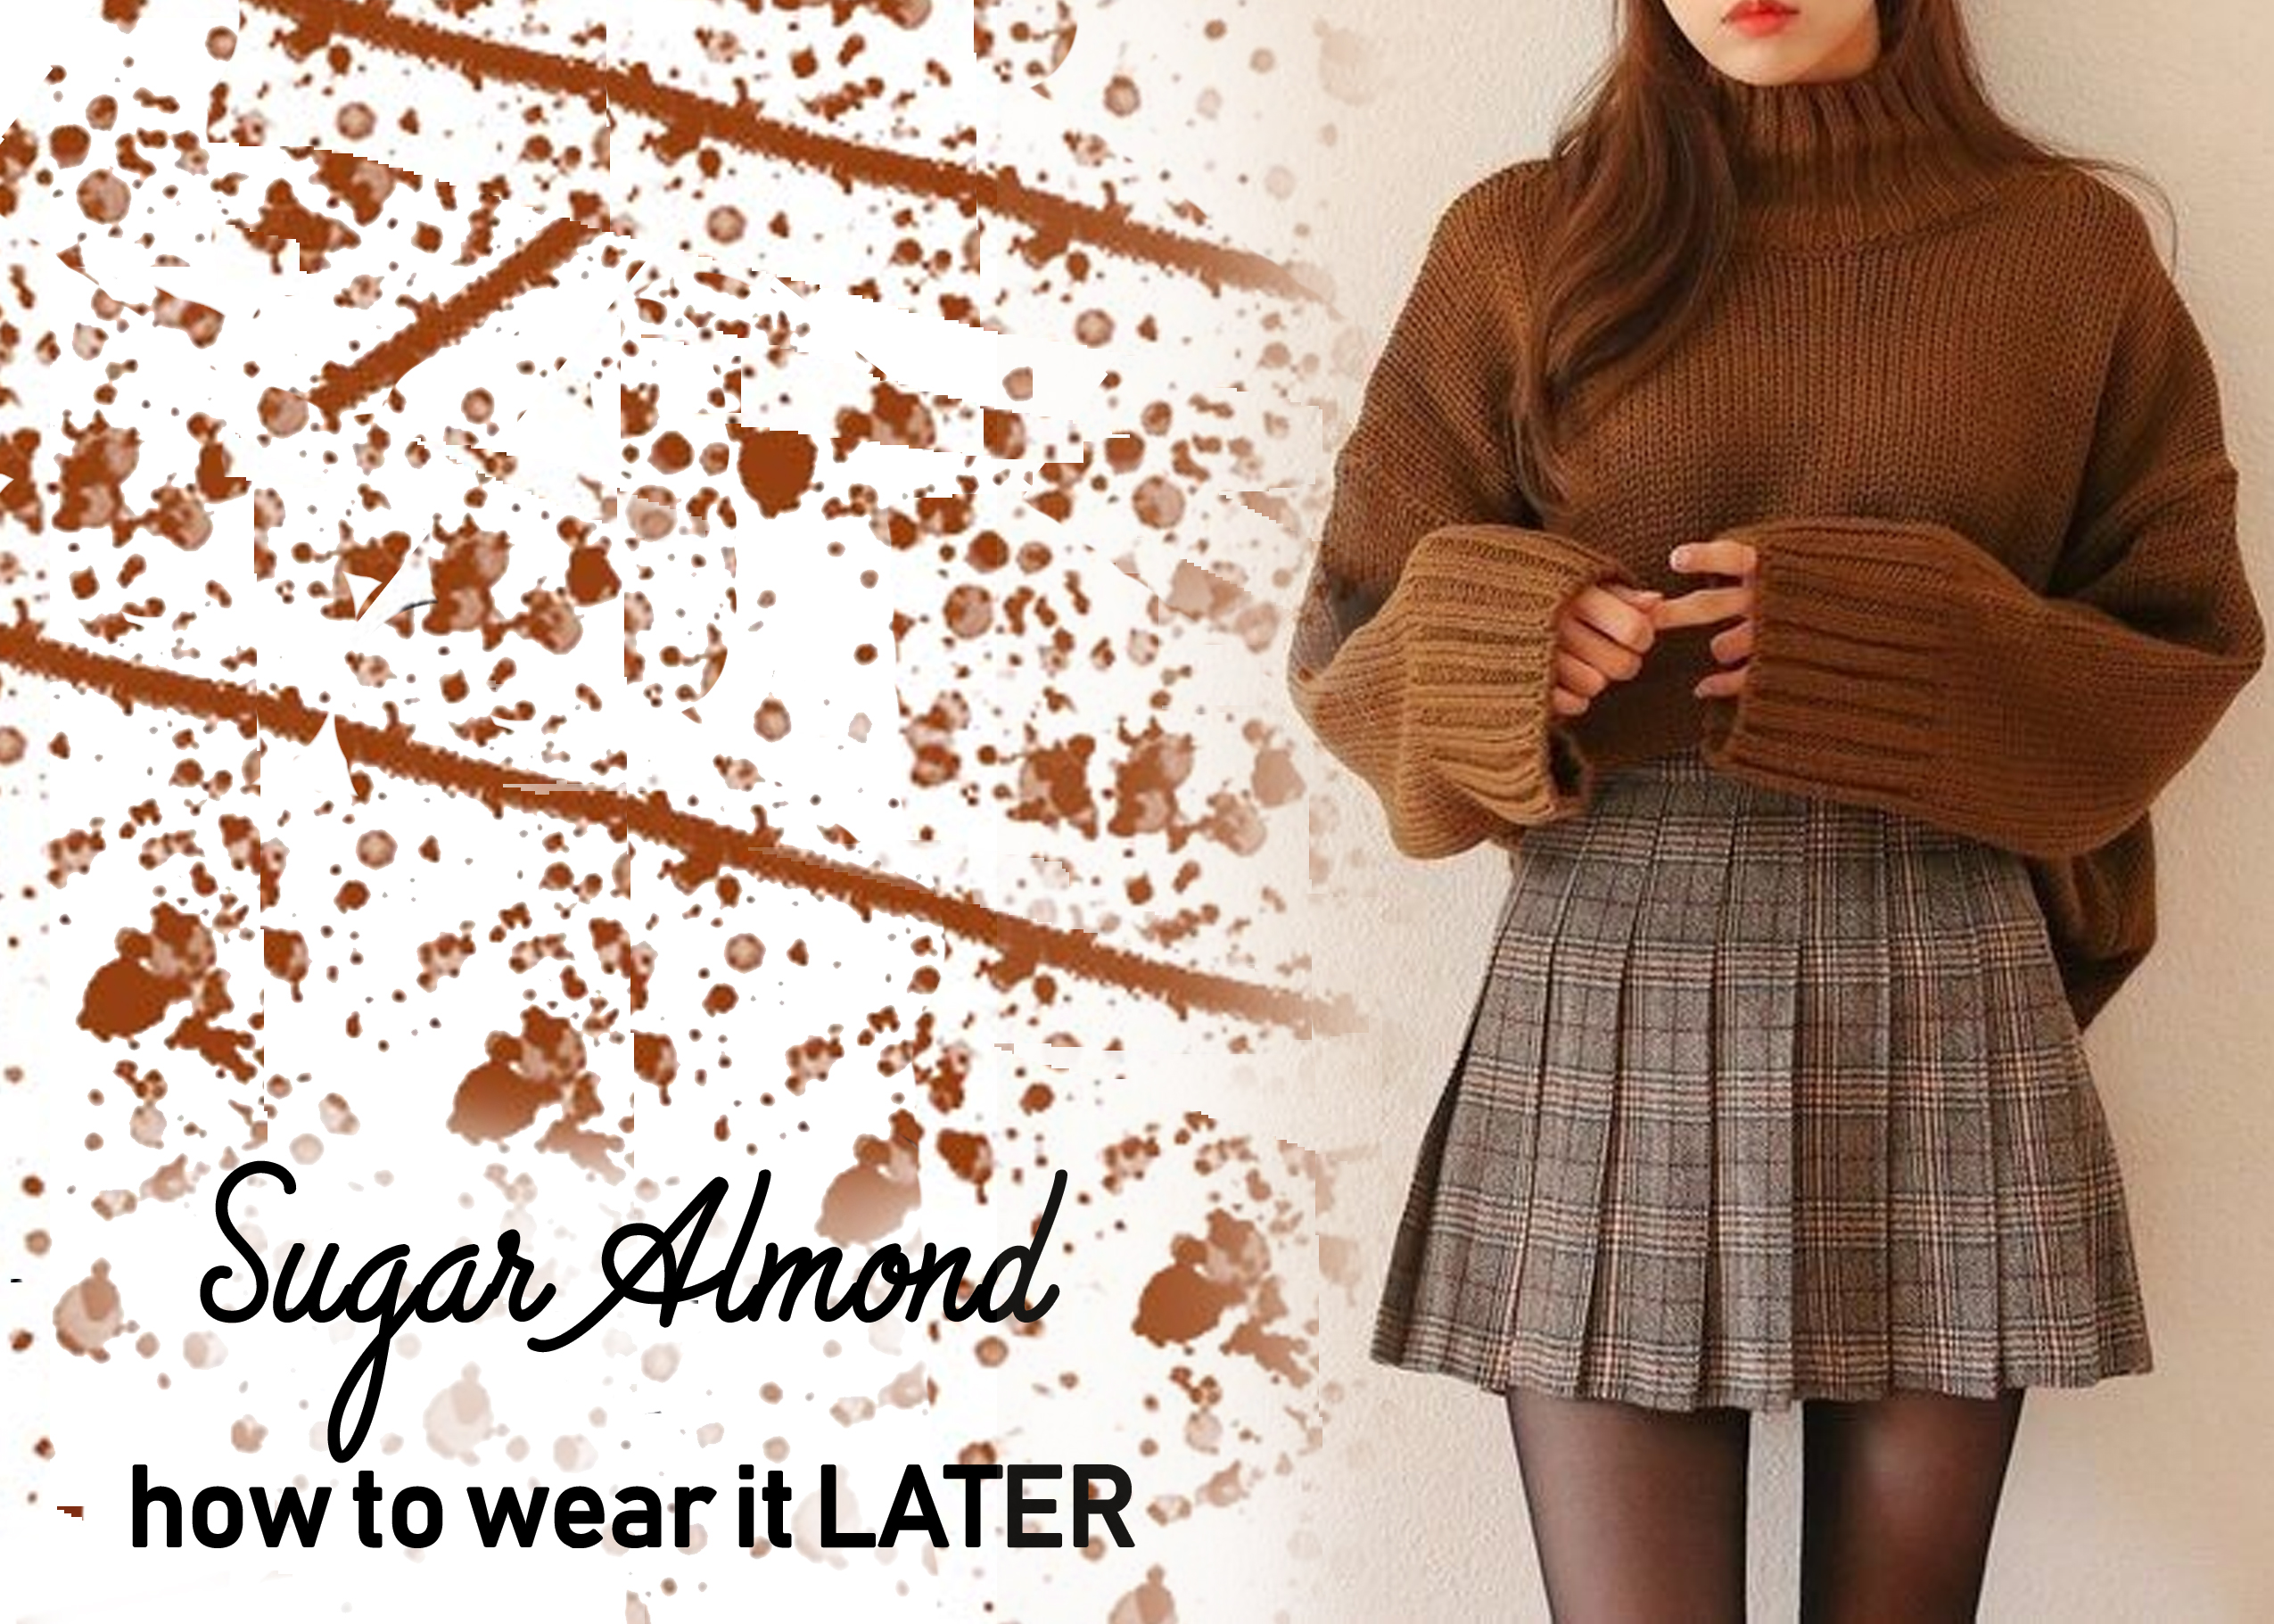
  1. Closets.  As you change your closets over for the new season, it is the perfect time to access those out-of-season things.  Did you wear it over the summer?  Is it showing signs of wear?  Donate what you don’t love and what doesn’t get worn to Goodwill.  And when you are filling your closet with your current season clothing, make a shopping list of the things that are missing.  Maybe you don’t have a scarf or mittens to match your winter coat?. When you are at Goodwill donating, take a look to see if you find something perfect to add to your closet!    

2019_oct_cathy_holiday4

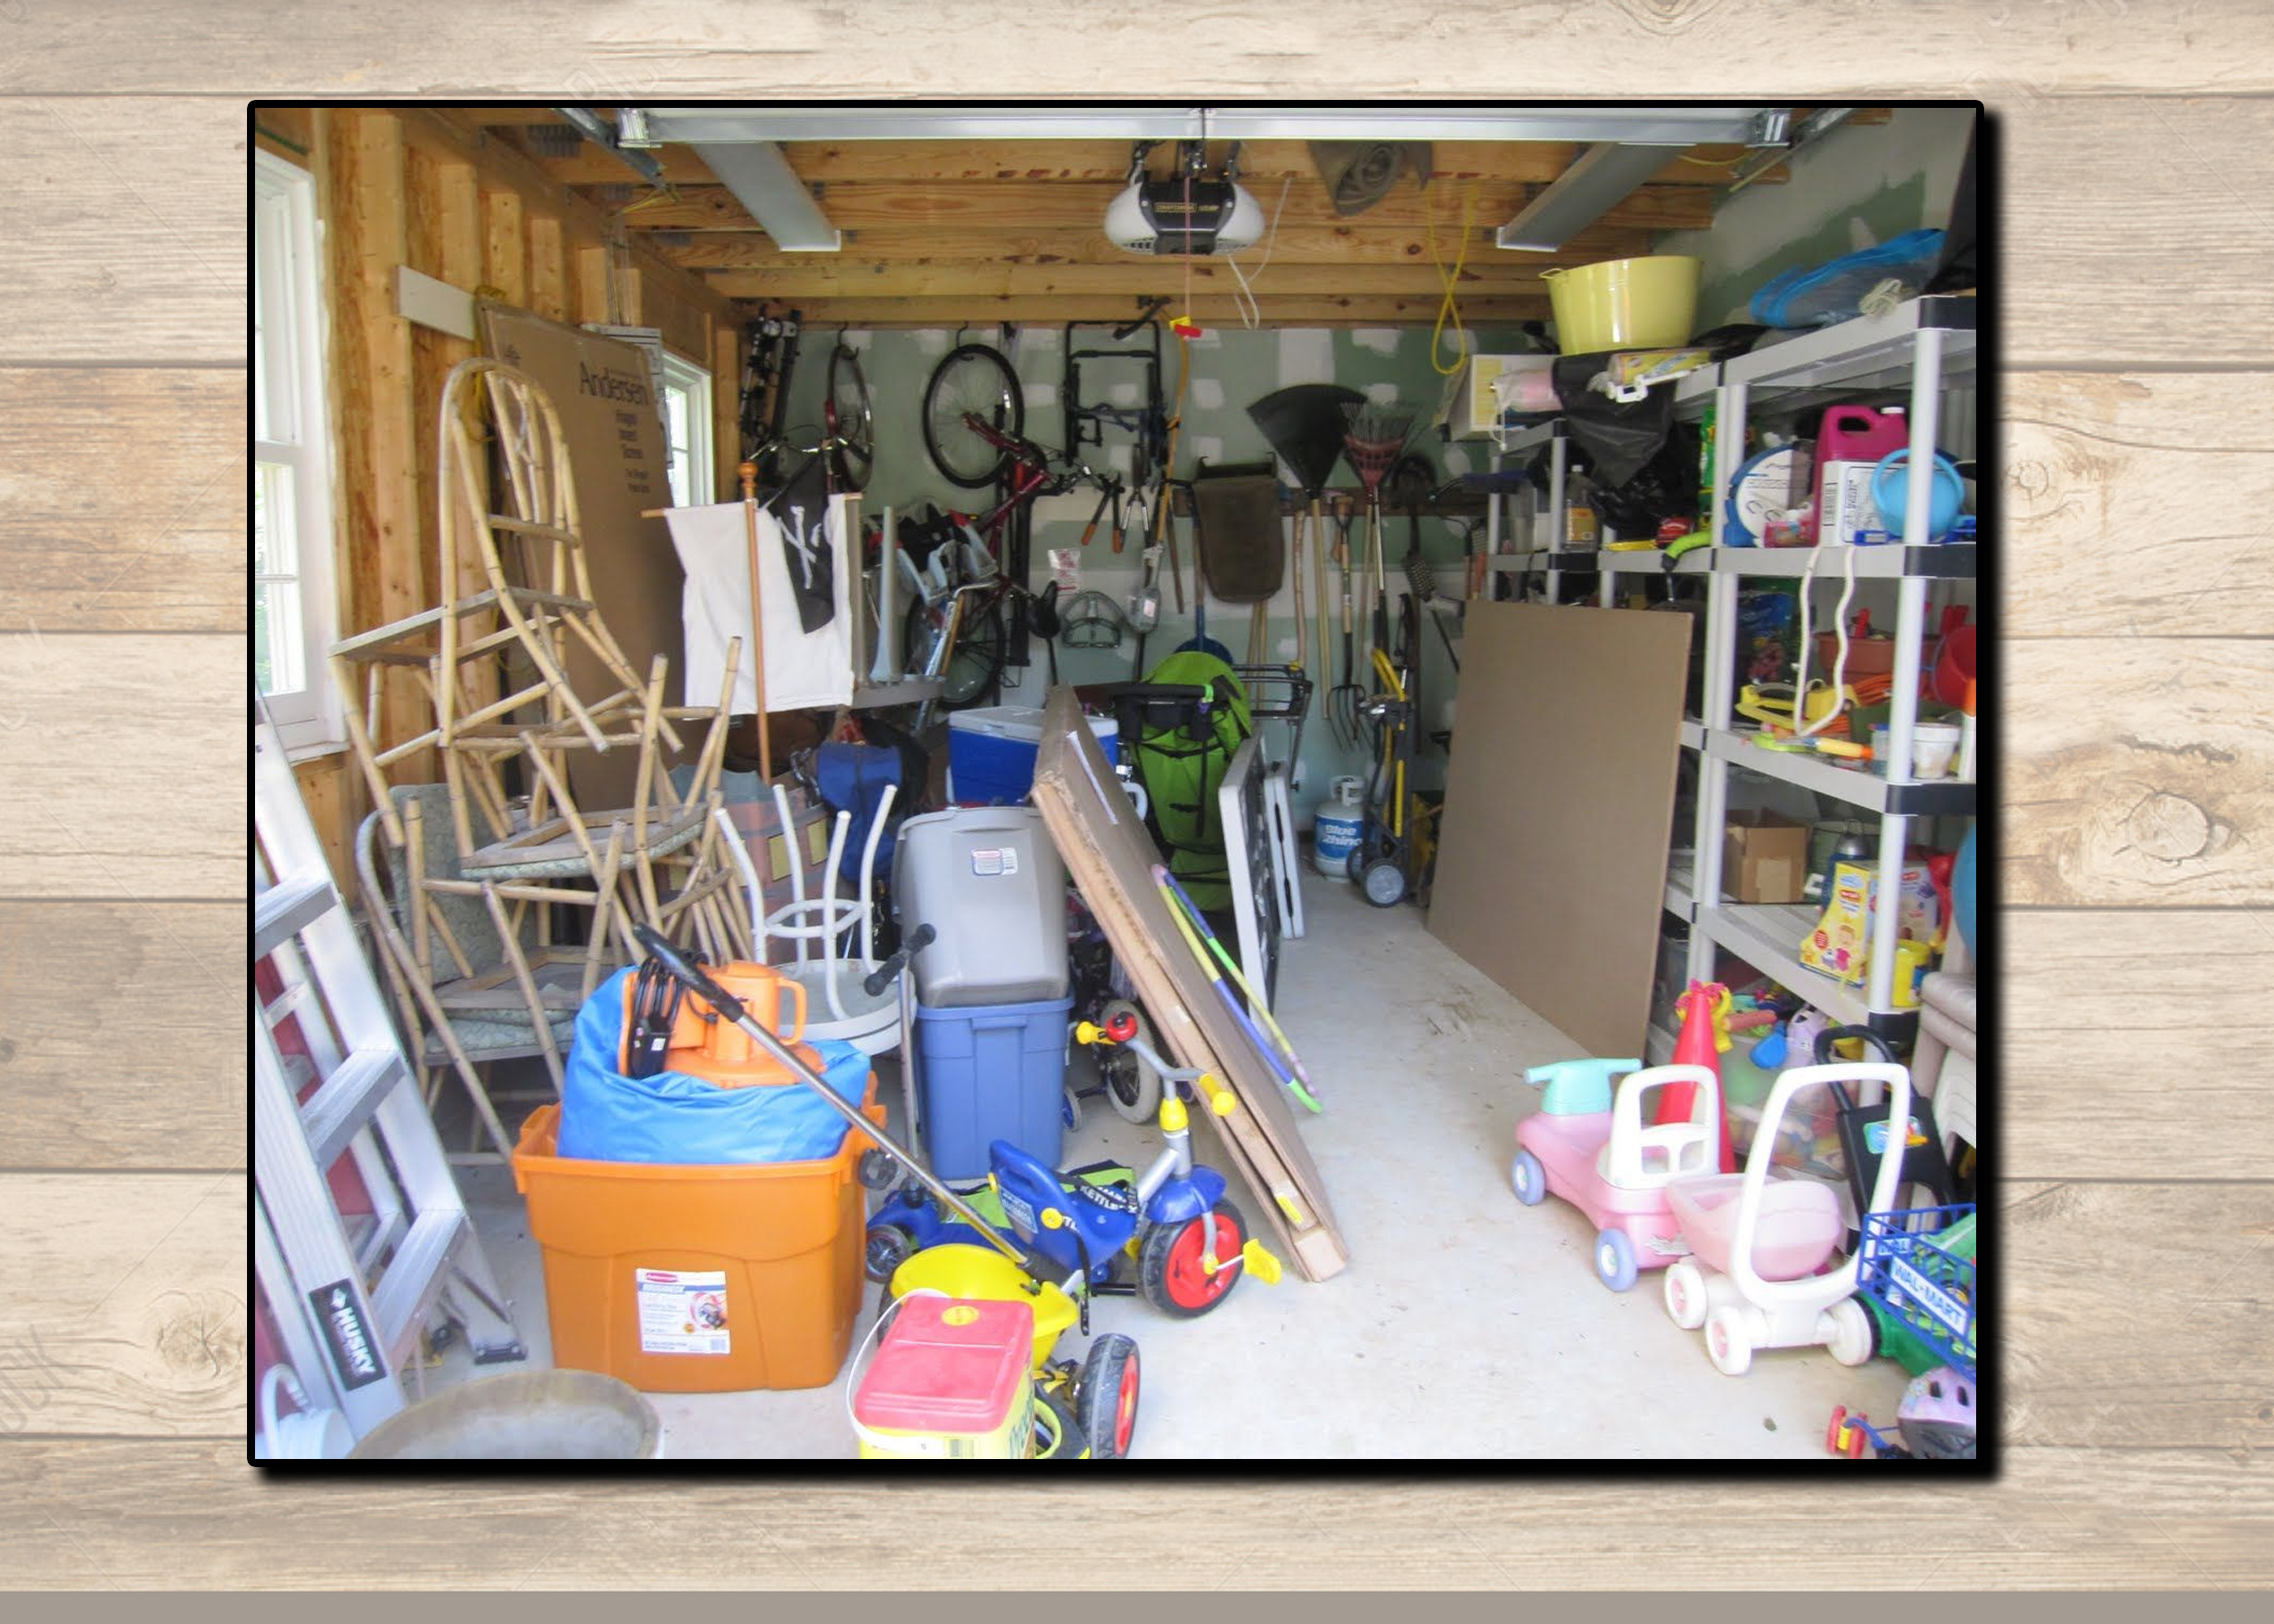
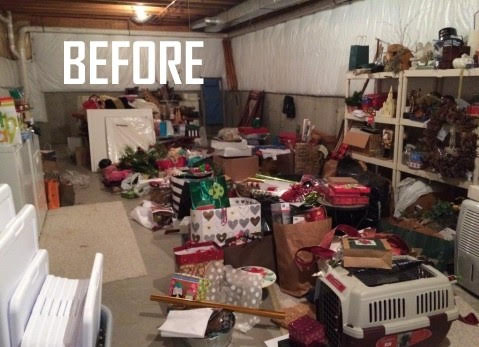
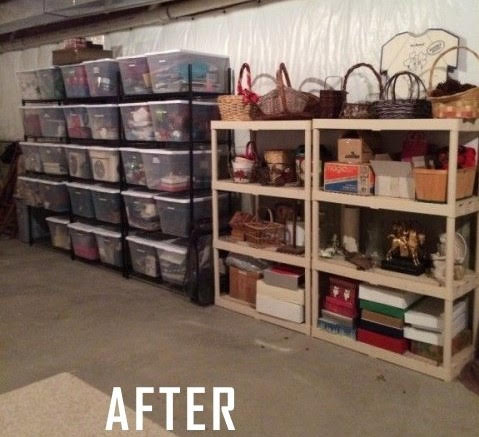
  1. Garage. Over the summer, we all drop things in the garage when we’re busy having fun during the warmer months.  Now that the weather is changing, clean up that clutter!  Bring in all the outdoor planters and pots, organize all of the storage areas in your garage and fill your car with those things you really don’t need cluttering up your garage…and donate them to Goodwill.  In the Spring, you will be so happy you did this now!

Say Yes to Less and have a less stressful holiday season!

2019_guest_blogger_cathyF


Fall Fashion Trends – wear now and later

How to wear fashion trends Now and Later

I know the calendar says it’s Fall, but the temps outside still say it’s summer. Here are some ideas on how to wear one of our favorite fall trends now and later.

2019_FWtrend_1

One of the most popular colors this season is called Sugar Almond. This is a great autumnal color that you need to search for now at your local Goodwill Store.  This color looks good on just about everyone, and will definitely be a hue you’ll want to add into your wardrobe.  Think of this color as a neutral. It really looks nice with a lot of other colors. Here are some ideas on how to wear it now…and later!


2019_FWtrend_6

Wear this deep fall hue with colors that feel more like warm weather. TREND TIP: The colors shown above are actually from the Fall trend color palate. When worn together, they feel very warm-weather. But, when paired with dark neutrals (like Sugar Almond), they take on an autumn feel.


2019_FWtrend_2

This brown hue is easy to wear now and keep cool.  Find an easy light weight pant, and pair it with your favorite summer blouse or t shirt. SHOPPERS HINT: if searching for a paper bag waist pant like above, look for trousers that are in a larger size than you normally wear. The key is to have this style unstructured and slouchy.


2019_FWtrend_4

This color looks great with denim blue. Longer skirts are very on-trend this season, finding one in Sugar Almond and pairing it with a denim shirt will look fantastic on you! TREND TIP: Silk and satin skirts are all the rage right now. Look for this style skirt at your Goodwill Store, and don’t be afraid to try something in a different size. Make it your own with a big belt or cutting a slit in the side.


2019_FWtrend_7

Once the temperature outside catches up with the calendar, this rich fall color can easily work into the other bold colors of the season. TREND TIP: The darker colors above are also part of this season’s trendy color palate. Prints that have all of these colors in them will be everywhere!


2019_FWtrend_3

Adding a shoe or boot in this color will be your favorite go-to this season. And, yes. You can wear black and brown together! SHOPPERS TIP: Shop for basics that are high quality pieces… things you will wear for many years…and of course, pieces you can wear a number of different ways. If you can’t think of 3 different ways to wear something, it might not be a smart addition to your wardrobe.


2019_FWtrend_5

You will see a lot of plaid this season, and chances are you’ll see Sugar Almond in many of these prints. A cute skirt and chunky sweater is perfect for cool fall nights. SHOPPERS HINT: look in the men’s section for this color too!


We’d love to see your #dressingroomselfies showing what you found in this color at your Goodwill Store! Post your finds on social media, and use the following hashtags: #GoodwillTrends #KathyFriendStylist

2019_guest_blogger_Kathy

Book Page Art DIY Home Decor Idea


Book Page Art
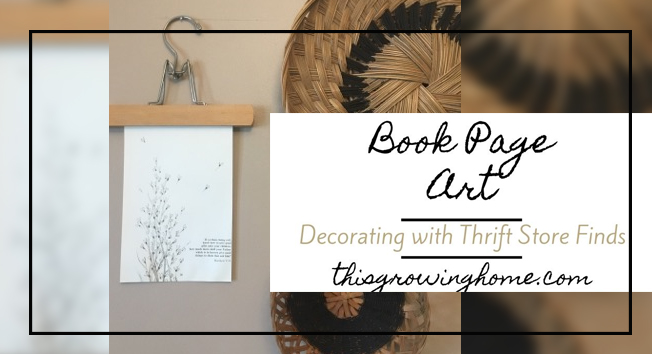
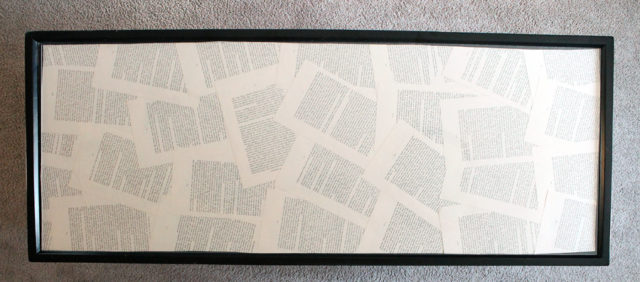
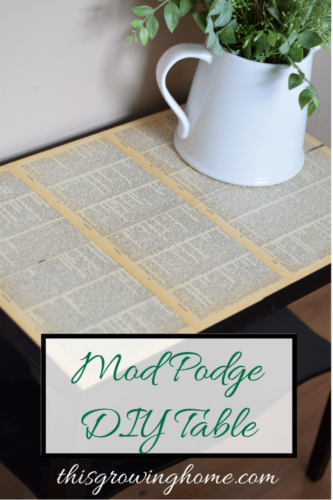
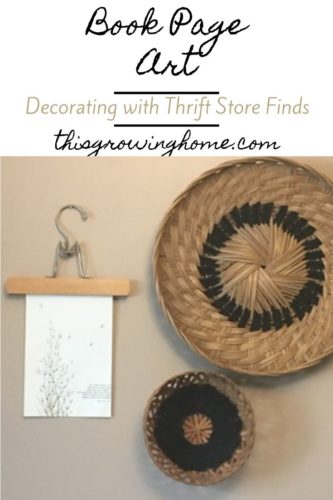
Book Page Art as DIY home décor? Yes!

When you’re headed out for some Goodwill shopping therapy or are trying to come up with easy DIY home décor ideas from the thrift store, I bet your thoughts don’t immediately jump to books. In fact, a lot of shoppers walk right past the book department or don’t realize Goodwill has one. Well, I’m here to say you’re missing out on a gold mine of serious home decorating potential! Book art is a trendy way to decorate your home in a variety of ways.

Buying decorative prints or wall art for your home can get very expensive very fast. So, when I’m looking for something to fill a space on my wall that is easy, beautiful and unique, one place I always check is Goodwill’s book department. While that may sound a little strange, I guarantee it’s worth a look! An easy home decorating option is to pull some pages from books and display them in frames or unique hangers.

Clipboard Frame

Book Page Art clipboard frame

Here’s an easy DIY project for a unique hanging option: DIY Clipboard Frame https://www.thisgrowinghome.com/farmhouse-clipboard-frame-diy/

Framed Page Art

Book Page Art framed book pages
from www.lovegrowswild.com

Book pages on their own are beautiful and have a ton of decorating potential. There is just something about the printed text that makes my heart skip a beat. And you can get creative by drawing, painting, or printing images onto those pages. Old Hymn pages are also great for this!

Map Art on Hanger

Book Page Art map on hanger

But if that’s not your style, there are still great options. When it comes to home décor, floral prints or maps are very popular. Grab an old Atlas or field guide and pull out your favorites! You can also see if they have a copy of your favorite book or author. I’ve even used a book of poems before. Or try hanging some vintage recipe book pages in your kitchen. Like I said, there are a ton of options!

Mod Podge Book Page Table

Book Page Art Mod Podge table

Here’s another great DIY with book pages: Mod Podge DIY Table https://www.thisgrowinghome.com/mod-podge-diy-table/


So, stop in at your local Goodwill store and get started on an amazing mixed media gallery wall! Everything in the post pictures came from a local Goodwill store, including the wooden pant hanger.

I will definitely be keeping an eye out for more of those.

For more home décor or DIY posts, check out my website at ThisGrowingHome.com


Budget Friendly Ways to Organize Your Home

Shop Goodwill for double-duty (and budget friendly) organizing ideas for your home.  Think outside the box!  

Shopping for new boxes, bins, baskets, and Lazy Susan’s is expensive.  However, a budget friendly way to organize your home is through creative Goodwill finds.  Wander around your local Goodwill Store to shop for creative solutions.  Here are 10 double-duty organizing ideas. 

1.  Goodwill is a great place to find used furniture. You might find a beautiful piece but don’t have room for it in your home.  Consider re-purposing the drawers as under-the-bed storage.  Just add wheels for easy access.


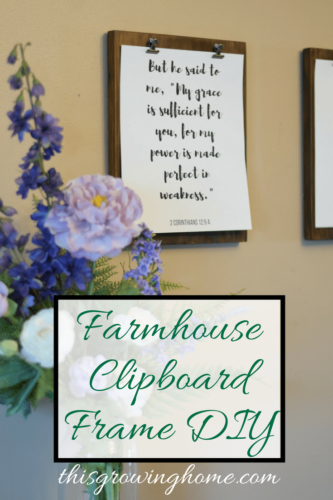
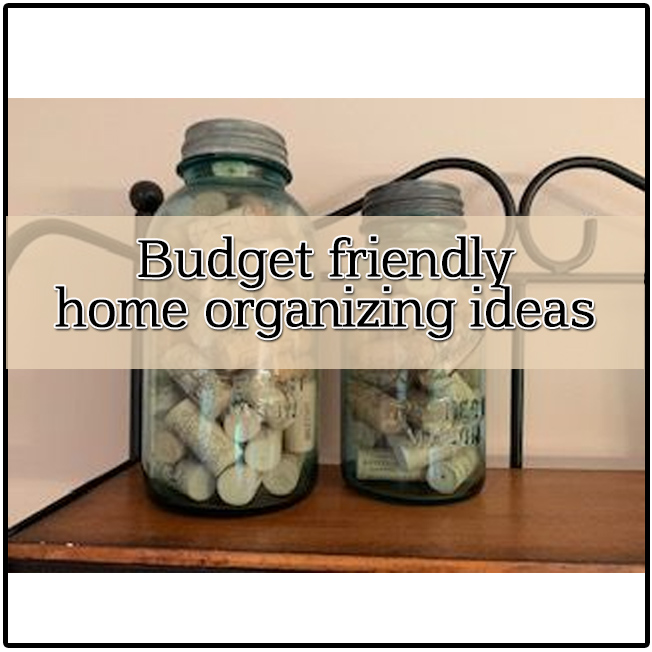
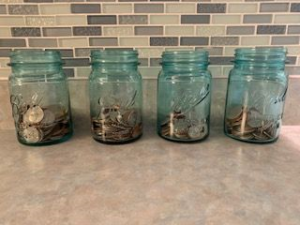
2.  My trip to Goodwill in search of storage items turned up mason jars in all shapes and sizes.  Jars are fantastic for storage of dry ingredients and non-perishable items for your pantry.  For instance, use the jars for tea bags or spice packets.  You can also use jars to organize office supplies like paperclips and push pins.


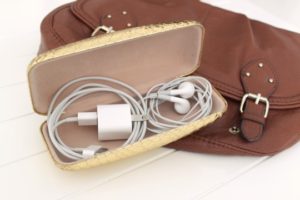
3.  Eyeglass cases serve as a creative way to store things while traveling. Use a vintage case for holding jewelry or earbuds and your phone charger.


4.  With summer being the time for travel, organization is important to make your trip less stressful.  For instance, pill holders can be used for earrings, rings and so on.


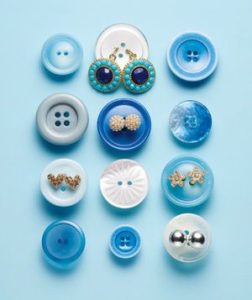
5. Many times I see bags of craft supplies at Goodwill, and in those bags are dozens of mismatched buttons.  Try putting your earrings through the holes of the buttons to store them  This will help keep them together.


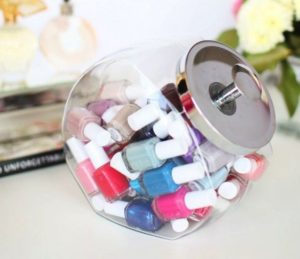
6.  Cookie jars of all shapes and sizes can be used to store things like nail polish or kids crayons.


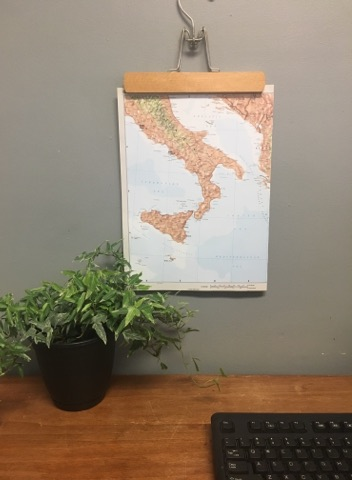
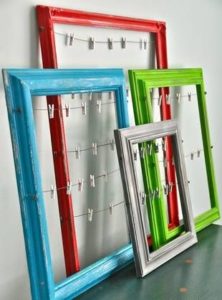
7.  When you find a beautiful frame at Goodwill but don’t love the art contained in the frame, consider using the frame for something creative. First, it can easily be painted.  And then, attach several rows of string or ribbon on the back, and use clothes pins to display photos or greeting cards. This could also make a creative family chore / reward chart!


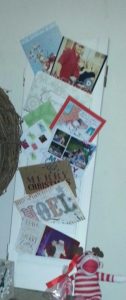
8.  Find an old shutter from a home?  Use it to display cards or mementos.


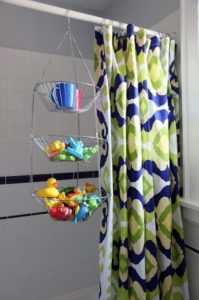
9.  Is your kids bathroom a place that is in need of serious organization?  A tiered mesh basket (usually used for fruit in a kitchen) makes bath toy organization a breeze.  Hang from the curtain rod.  It keeps toys contained and allows them to dry.


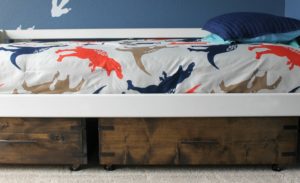
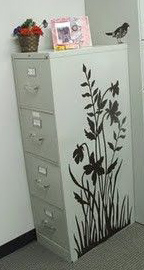
10.  Two-drawer metal file cabinets are a regular find at Goodwill.  These gems have so many uses for organization in your home. Toss a pretty throw, scarf or table cloth over the top and you have an instant end table with hidden storage.  You can also paint it and apply a stencil to give the storage unit a new look   Do a Pinterest search on re-purposing metal cabinets and you will be shocked at all the ideas!


This months guest blogger is Cathy Fairchild from Say Yes to Less.

Get in touch with Cathy at:  http://www.sayyestoless.guru  

https://www.facebook.com/sayyestoless.guru/


Spring Home Project – Easy DIY Terrarium

Spring Home Project DIY… bringing a little outside inside

Bringing the outside into your home with plants is a great way to (literally) bring some life Into your Spring home projects.  There are a ton of resources available at your local Goodwill to create an amazingly easy DIY terrarium!

With Spring upon us, I have been anxious to test my green thumb.  But at the same time, terrified the temperature changes will result in mass garden casualties! So, this easy DIY Terrarium is an easy indoor plant option.

Not only are terrariums perfect for our unruly weather, they’re also a beautiful option for decorating with thrift store finds. If you like budget friendly home décor options, you’ll love the Easy DIY Terrarium!

Easy as 1-2-3

To get started on your own Easy DIY Terrarium, here is what you will need from your local Goodwill for this project:

  1.   Glass Tray
  2.   Terracotta Pots
  3.   Glass Cloche Domes.  What is a cloche?  Simply put, it is a translucent cover used to protect plants. You can use any clear glass for this project. Be creative! Just be sure the class is tall.  This is key. Your plant needs room to grow. Some things that might work: glass jars, glass bowls, mason jars, or a fish bowl.


Get some potting supplies too. If you’re a plant expert, feel free to set up your terrarium however you’d like. If you’re not sure where to start, check out my full post HERE to see how I “layered” my Easy DIY Terrarium. I also shared a trick for finding house plants for cheap!

Once you have your supplies from Goodwill,  start putting together your Easy DIY Terrarium.

Step 1

It’s super simple. First, get your plants into the terracotta pots.


Step 2

Then, arrange on your tray.


Step 3

Finally, add the domes!


Tips

Tip 1:  Because the covered terrariums create a greenhouse effect, there will be some moisture build up. Which is why I highly suggest the glass tray like I used.  This will create a moisture barrier between your Easy DIY Terrariums and whatever surface you’ll be putting them on.

Tip 2:  When you pick out your supplies at Goodwill, make sure the dome fits over the terracotta pots you use. A couple of mine were a pretty snug fit, and I had to experiment with which dome worked best with each pot.

Tip 3:  Goodwill has a ton of great glassware options that would be perfect for Easy DIY Terrariums! You could also try tall vases for open terrariums, or jars and bottles for a more Boho look.

Tip 4:  
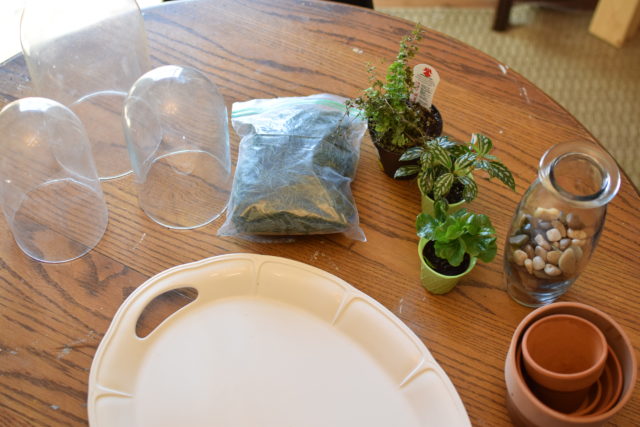
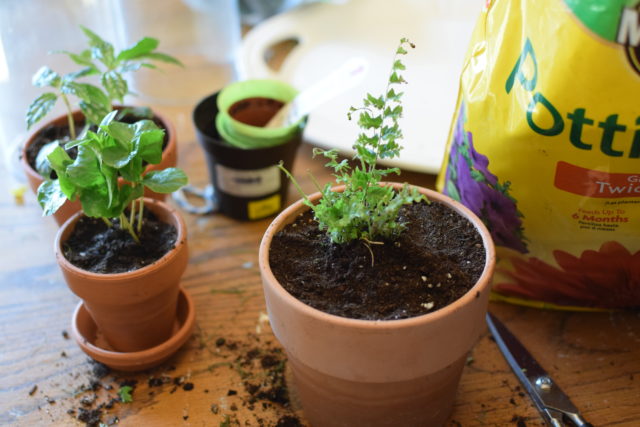
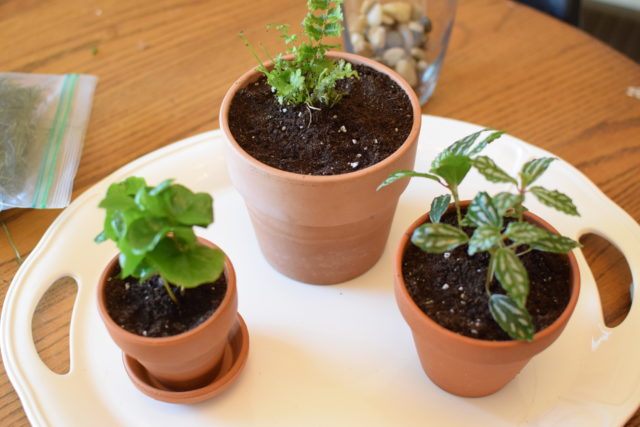
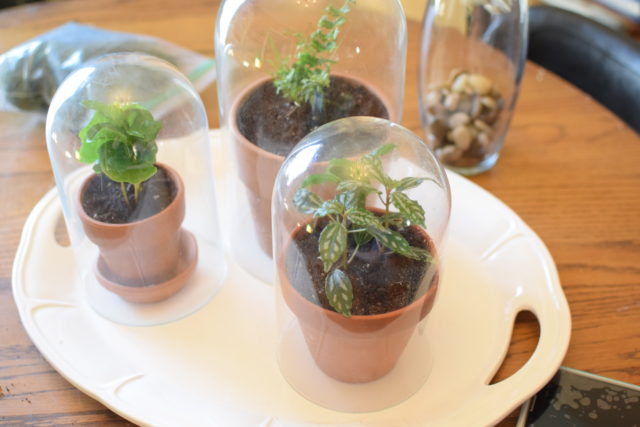
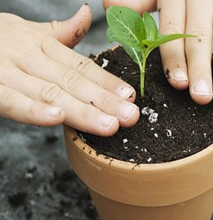
This can be a fun project for kids to get involved with. Let your kids help choose the plants, and get their hands dirty potting.  They will love watching something they created grow throughout the Spring and Summer.


This month’s guest blogger is Amanda DeVries.  Get in touch with her at This Growing Home or find her on Facebook.


Organize Your Basement Using Simple Tips

Last February, many of us had flooded basements when combined snow and rain caused flooding in our area.  For some, it was a total loss (as evidenced by all the “stuff” that went to the curb in the days and weeks afterward).  Organizing your basement using simple tips could have avoided this disaster.

Thinking ahead and organizing with water protection in mind can avoid a catastrophe. Melting snow/rain, an overflowing washing machine, a water heater leak, bathtub on the main floor runs over, all disasters that will ruin your memories that are in storage. 

Organizing basements is on all of our to-do lists. It only takes a few hours and some simple organizing tools. As a result, you will accomplish one of those never ending to-do list items and protect your possessions from water damage.

ISSUE: In this  “Before” picture, the basement floor was used for storage.  Therefore, the clutter is a dangerous tripping hazard, and it makes it hard to see what is underneath the piles. 

SOLUTION: A few hours later, we eliminated the clutter and hazard to reveal an organized space. First, we found several metal and plastic shelves. This kind of shelving is a real treasure when you find it at your local Goodwill Store!

Second, we used several clear storage bins to keep the items safe from dust and moisture. Items in the bins are organized by type; for example holiday decorations, documents, and family memories. Label each bin so in the future, it is easy to see what the bin contains.

Finally, clear the floor and donate to Goodwill!

When you organize your basement using simple tips, you will know what you have, be able to find it easily and quickly, and above all you will able to put things away in a place that makes sense to you.

Your organizing challenge is to go through the things in your basement and declutter!  Keep only what you know to be useful or important and let go of the rest.  Protect what remains in waterproof bins and/or put them up on a shelf.  This will create a safer space for your family and your things will hopefully survive any unexpected water.  


This month’s guest blogger is Cathy Fairchild

Get in touch with Cathy at:

http://www.sayyestoless.guru

https://www.facebook.com/sayyestoless.guru/

Repurposed Picture Frame Wreath

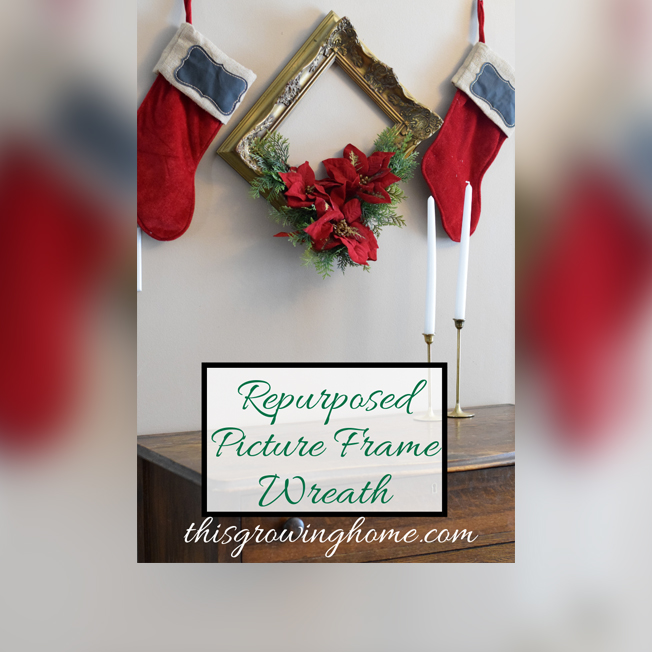
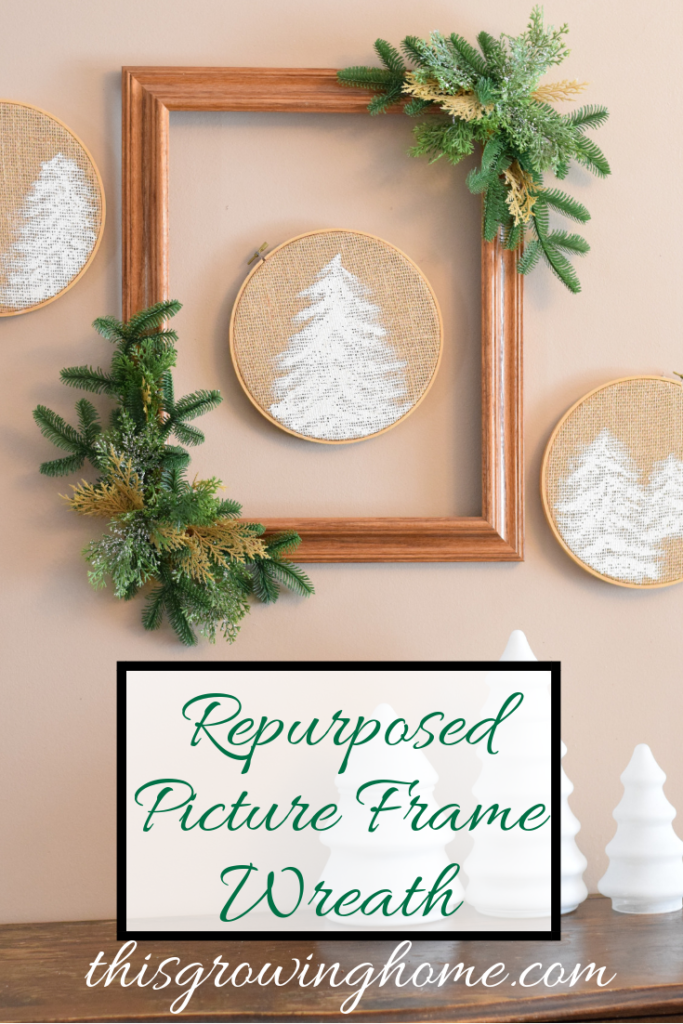
Are you ready for Christmas? This repurposed picture frame wreath is the perfect final decoration for your home, and is an easy DIY Christmas décor project using things found at Goodwill.

What you’ll need:

  1. Frames
  2. Greenery
  3. Hot Glue Gun / Glue Sticks

Supply Run!

You’ll want to start out this repurposed picture frame wreath project by going on a supply run to your local Goodwill Store. They will have a ton of picture frame options for you to choose from!

Once you’ve picked out your frame or frames for this easy DIY Christmas décor project, head over to the Christmas aisle at Goodwill for some greenery. This is where you’ll need a little vision. Any donated Christmas arrangements will work as long as they can be disassembled.

Here’s What I Used

For my wreaths, I found a rustic wood frame, an elaborate gold frame, and a lighter wood frame. I also used an evergreen centerpiece, a potted poinsettia arrangement, and some red poinsettias I found on a previous trip. With those I was able to create three repurposed picture frame wreath decorations!

I preferred mine to be more minimal, and so was able to stretch the greenery farther. If you prefer a fuller look, you can easily add more to your own DIY Christmas décor project.

Pull It All Apart

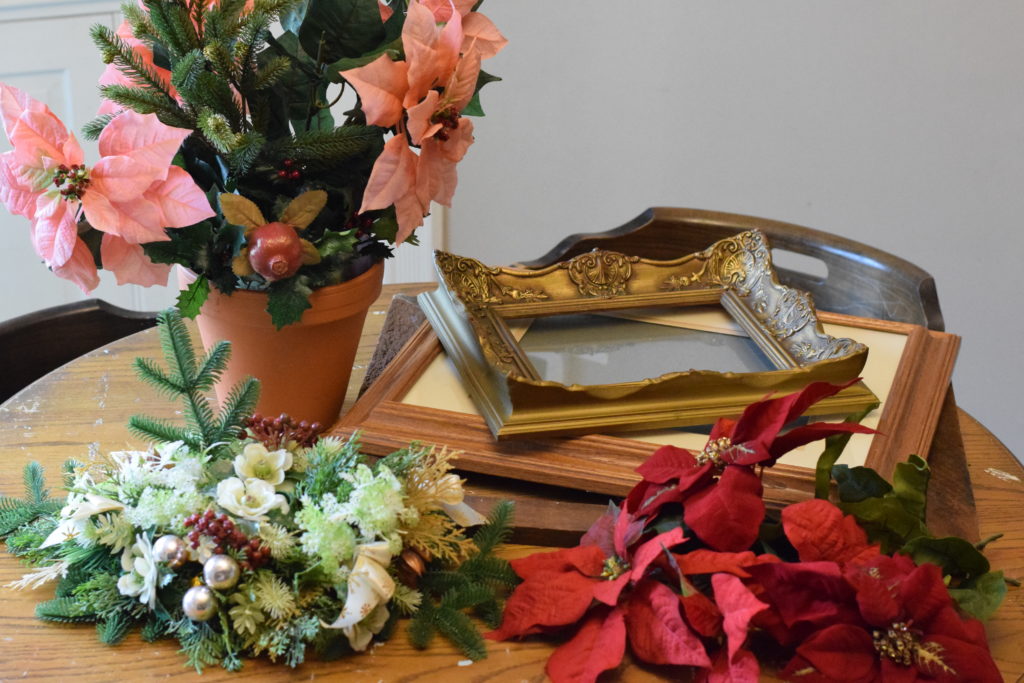
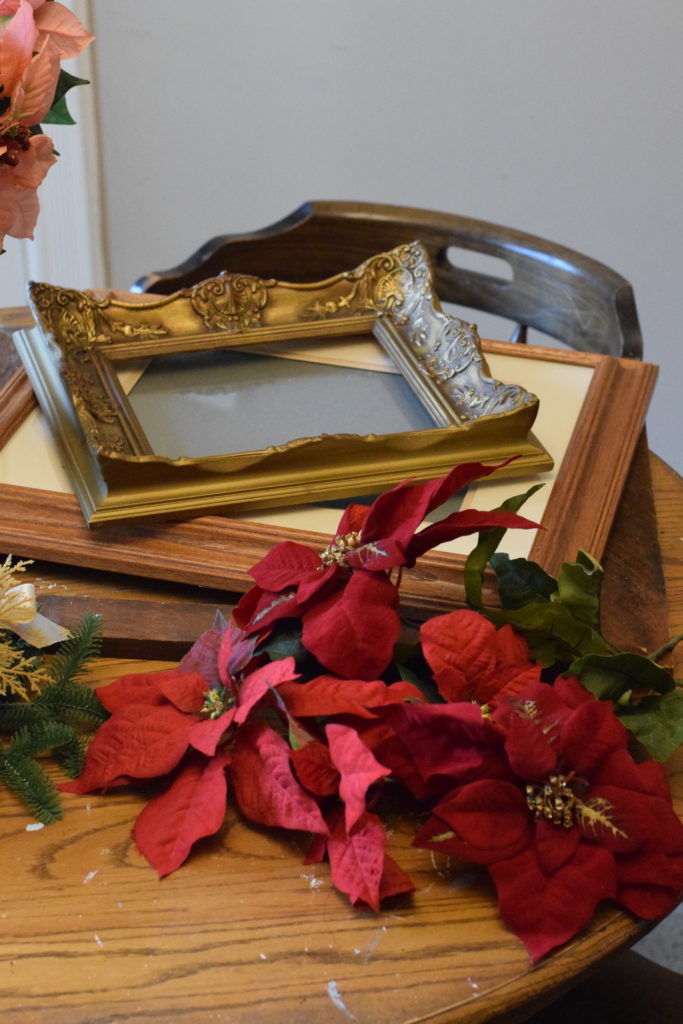
The next thing you’ll want to do for your repurposed picture frame wreath, is disassemble your supplies. Remove any pictures and glass from your frames, and separate the greenery you found.

I pulled mine apart and piled all the similar kinds together to see what I had of each. Then I organized which piles I wanted to go with each frame. Feel free to mix and match or stick to only one. Design it however you’re inspired! The beauty of this easy DIY Christmas décor project is that you can personalize it for your own preferences.

Lay It All Out

Once you’ve decided what greenery goes with each frame, you’ll want to lay it all out to make sure you have enough and perfect how it will be arranged on the frame. Find a center point that you will be working out from. For mine, I used the corner of the frame as the center point and laid it out so the greenery met at that point.

When that’s done, you can pull out the hot glue gun and get it warmed up.

Finishing Touches

When the glue gun is all warmed up, you can start applying the greenery to your repurposed picture frame wreath. Start with the farthest greenery from the center point and work toward the center. That way, you will hide any stems or glue under the next piece. Once you get to the center, you can nest the stems and glue under pieces that are already glued down so they aren’t visible.

If you are nervous about being able to disguise the glue points, you can add your own embellishment to the center point like a ribbon or bulb. You may even have one laying around after disassembling your greenery!

Get Hanging!

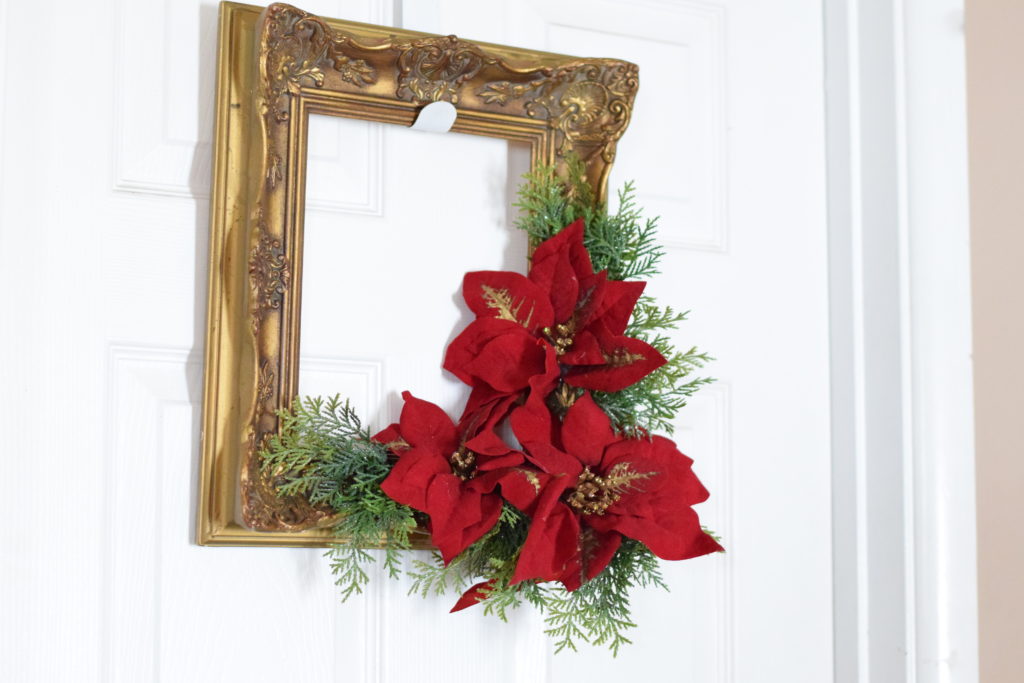
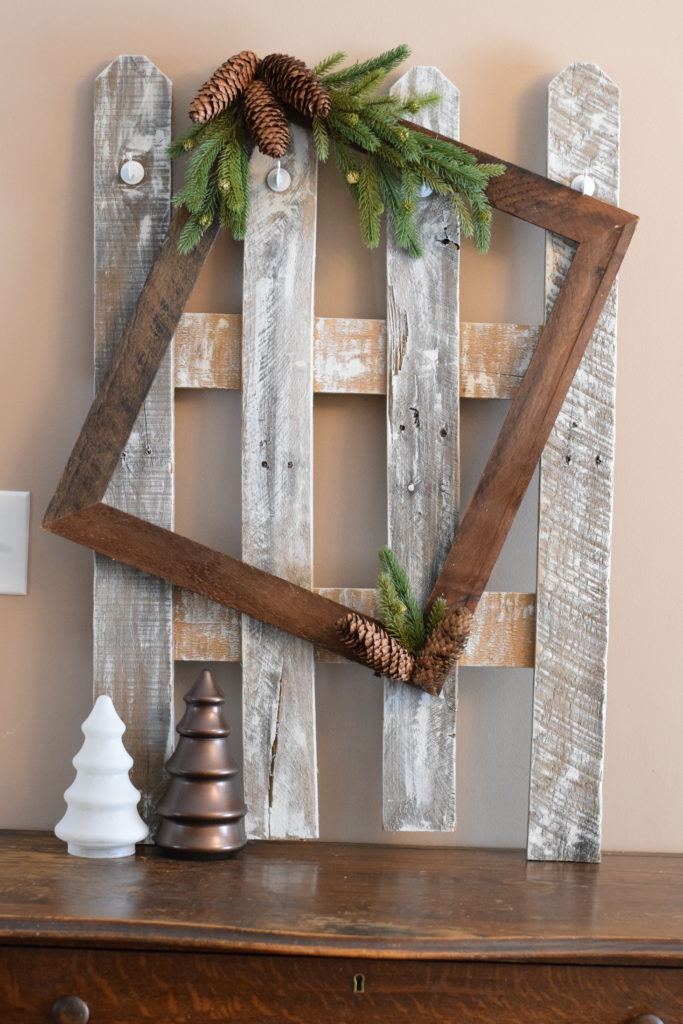
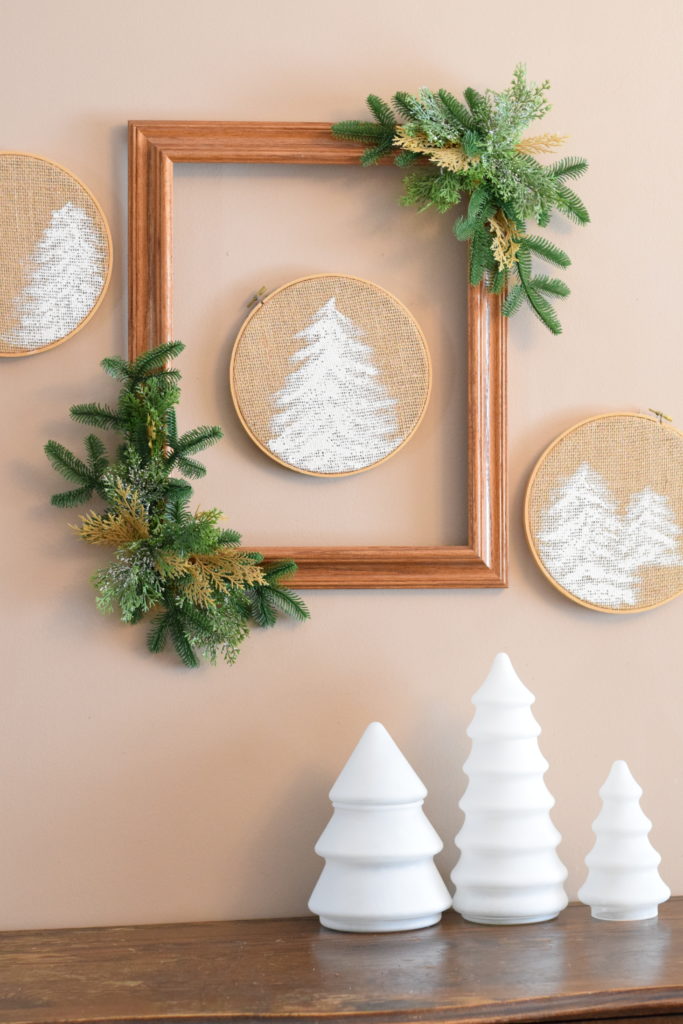
After the glue dries, your easy DIY Christmas décor is ready to be displayed! You can hang your repurposed picture frame wreath, or display it from a shelf.

I was so happy with how mine turned out! They look great on their own or as the focal point of your holiday wall arrangements! Enjoy your DIY Christmas décor pieces! You can find tutorials for the DIY Winter Décor Glass Trees and picket fence DIY Stocking Hanger on my website www.ThisGrowingHome.com

Or go directly to the posts:

https://www.thisgrowinghome.com/diy-winter-decor-glass-trees/

https://www.thisgrowinghome.com/diy-stocking-hanger/

Hopefully you enjoyed this fun and easy DIY Christmas décor project and are already getting started on your own repurposed picture frame wreath! Check in later for more fun and easy projects supplied by your local Goodwill! And… Happy Decorating!!

Guest Bloggers Wanted!

We are looking for a few experts as

guest bloggers!

 
We are looking for a few key people to partner with us to post amazing and useful content for our Goodwill blog community.  Specifically, experts in the following areas we see as a good fit:
  • Artist / crafter (that uses supplies found at Goodwill for their art)
  • Lover of repurposing (taking things purchased at Goodwill and repurposing them into something new)
  • Organizer – are you someone that helps people clear the clutter?
 All Interested Bloggers Must:
  • Currently have a blog with a following
  • Be ‘known’ for the expert area you wish to blog about
  • Live near these areas
    • Indiana: South Bend, Elkhart, Granger, Goshen, Warsaw, Rochester, Logansport, Gary, Crown Point, Hammond, Valparaiso, LaPorte, Dyer, Hobart, St. John, Michigan City, Portage
    • Michigan: Niles
    • Illinois: Lansing
Please submit your interest to [email protected] and include:
  • Contact information
  • Links to your blog / website / social media
 Once we receive your interest to be a Guest Blogger, we’ll send you more details about how to submit posts, guidelines etc.
Please Note:  Guest bloggers will not be paid for their submissions posted on the Goodwill Blog managed by: Goodwill Industries of Michiana.  Guest bloggers will receive name recognition for the content submitted and exposure to the over 5,000 followers on our blog.

text 2018 all rights reserved