DIY Jewelry Organizer

One of the things I seem to struggle with is wearing all of the great accessories I’ve collected over the years.  It seems I always wear the same few pieces…because I can see them, they are on top of the pile (know what I mean?).

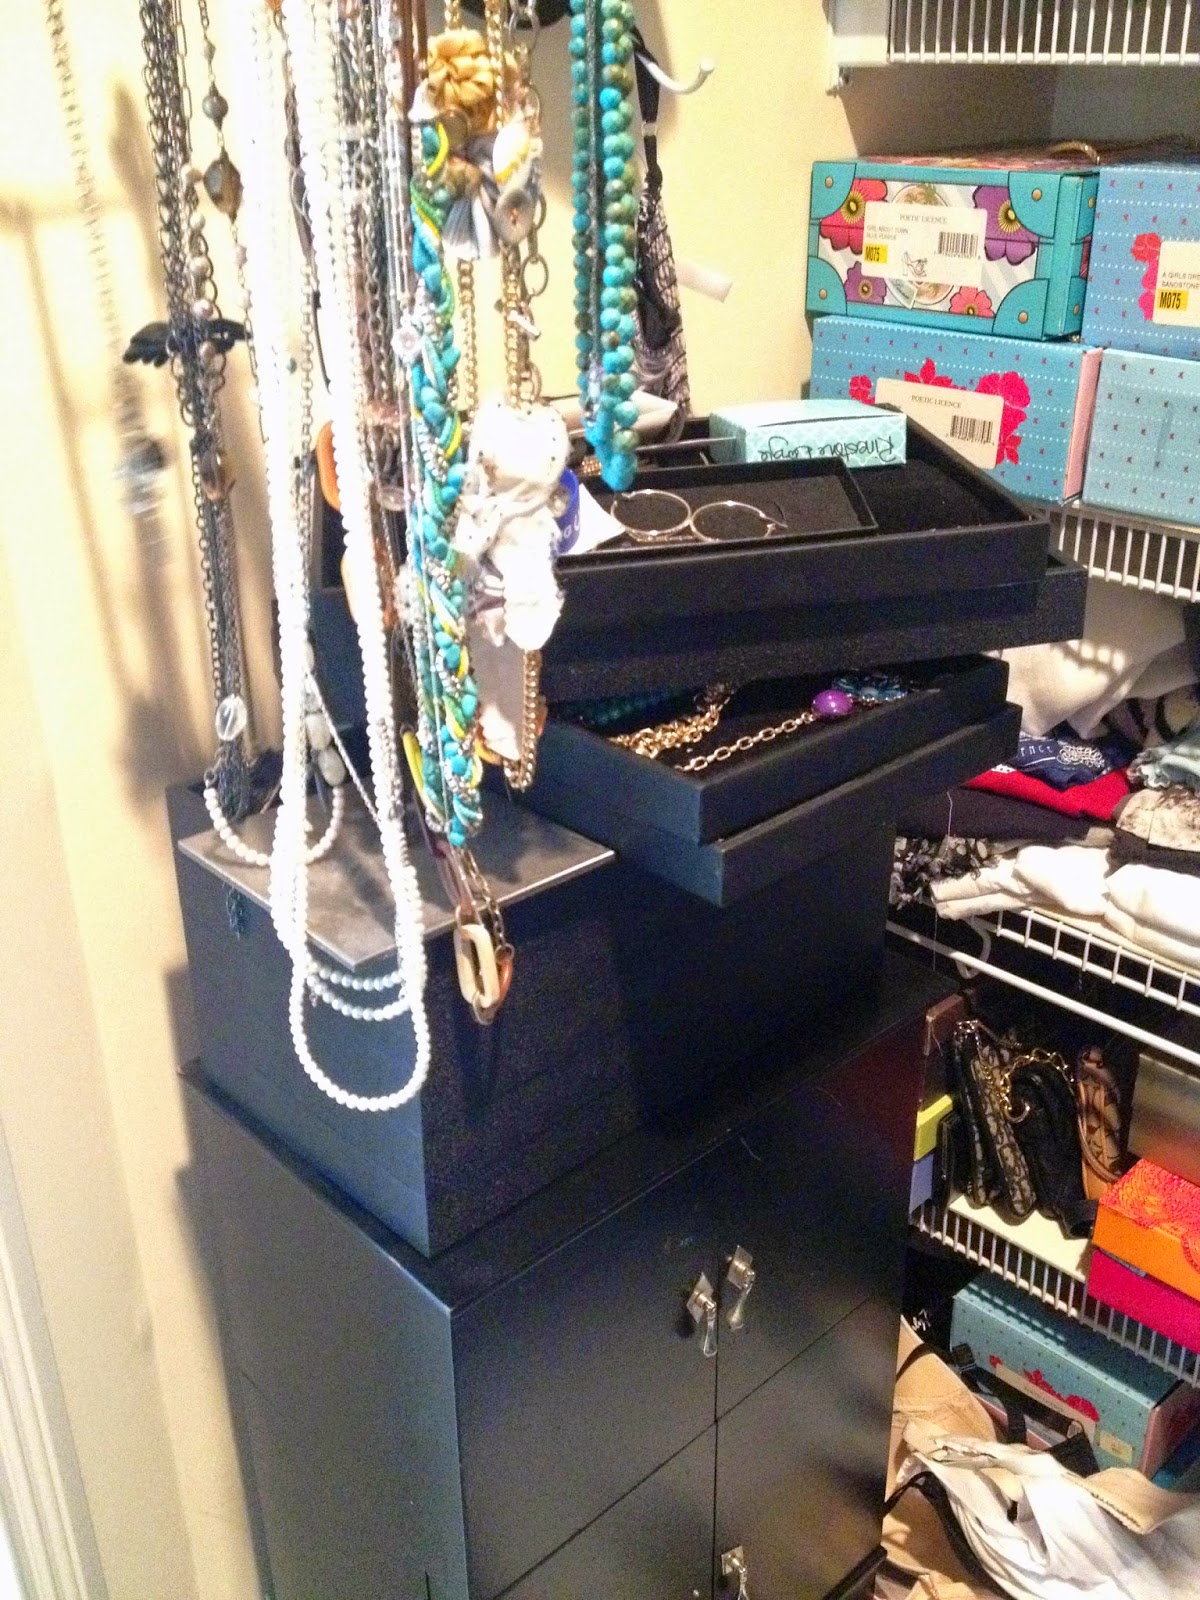
The notion of being able to see all of my jewelry coupled with a good storage option has been something I’ve been frustrated with for a long time.  I’ve tried hanging everything on a necklace tree, I purchased a piece of furniture that held my jewelry, I even invested in stack-able trays thinking that was the ticket to storing all of my jewelry pieces.

None of those things worked.

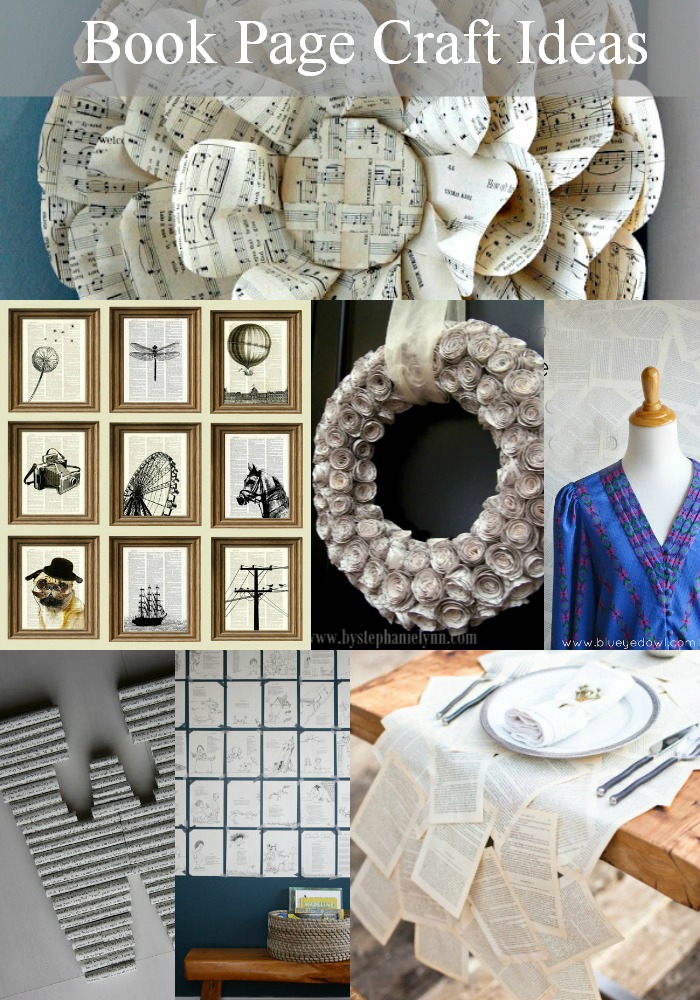
When a modern mom has a problem like this, what does she do?  She turns to Pinterest of course!  I saw some DIY jewelry organizers that I thought might work, so I decided to make my own.  And I must say, it is working very well!  The best thing about this DIY project is you don’t have to be crafty or own a bunch of tools to have a great looking final product.
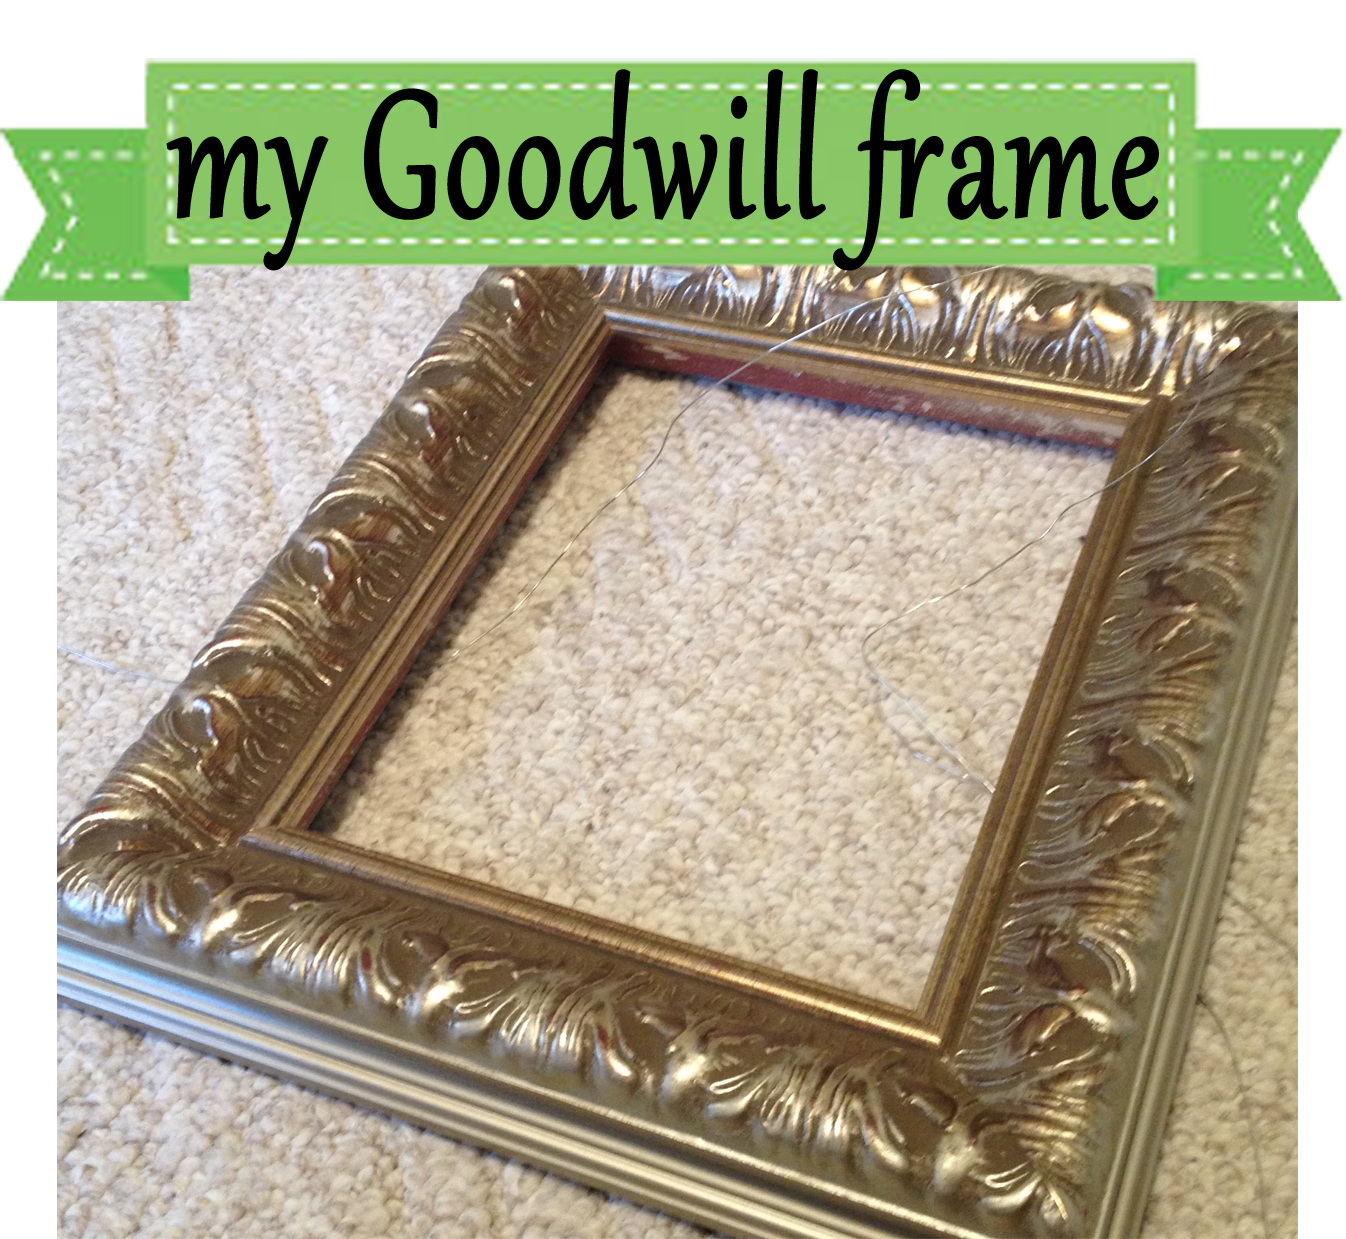
DIY PICTURE FRAME JEWELRY ORGANIZER


STEP 1
First, head to your local Goodwill store and find a picture frame that you love.  It doesn’t matter what is inside (what the picture is), just look for a decorative frame (or maybe something simple) that will match your decor. The best frames for this project will be large bulky frames.  Look for something that is made of wood  and that is at least 1 1/2″ thick. I found 3 frames to use for this project.  Two smaller frames (about 8×10), and one larger frame (about 24×30).  I will use the smaller one for bracelets and earrings, and the larger one for necklaces.

STEP 2

The second step is to head to a craft store or hardware store.  I stopped by a hardware store and purchased $14 worth of supplies.  They include:

  1. A variety of small ‘S’ hooks
  2. A roll of chicken wire (sometimes called Hardware Cloth)
  3. Some heavy duty thumb tacks

STEP 3
Prepare the picture frame by removing all of the backing.

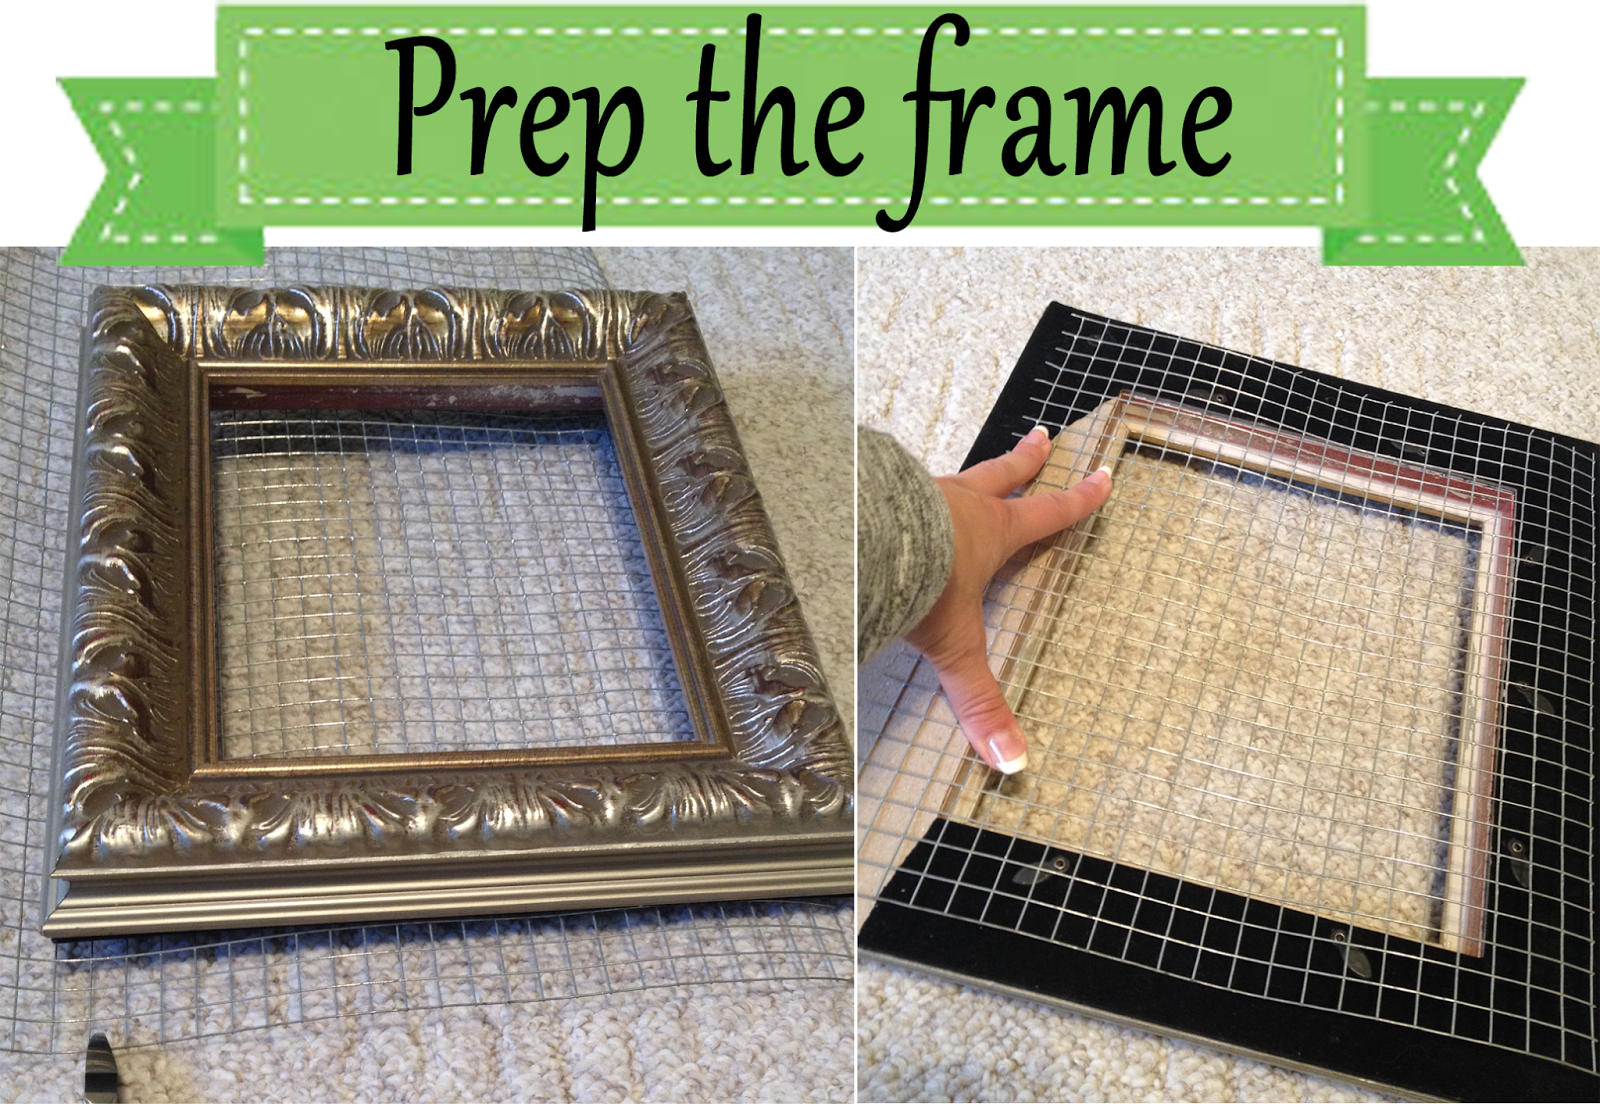
Next, measure how much of the Chicken Wire you will need to cut to fit the frame.  I cut the piece to fit the back of the frame, leaving about 1/4″ border. Using wire cutters (mine are technically floral cutters), trim a piece of the Chicken Wire to fit the back of your frame.

STEP 4

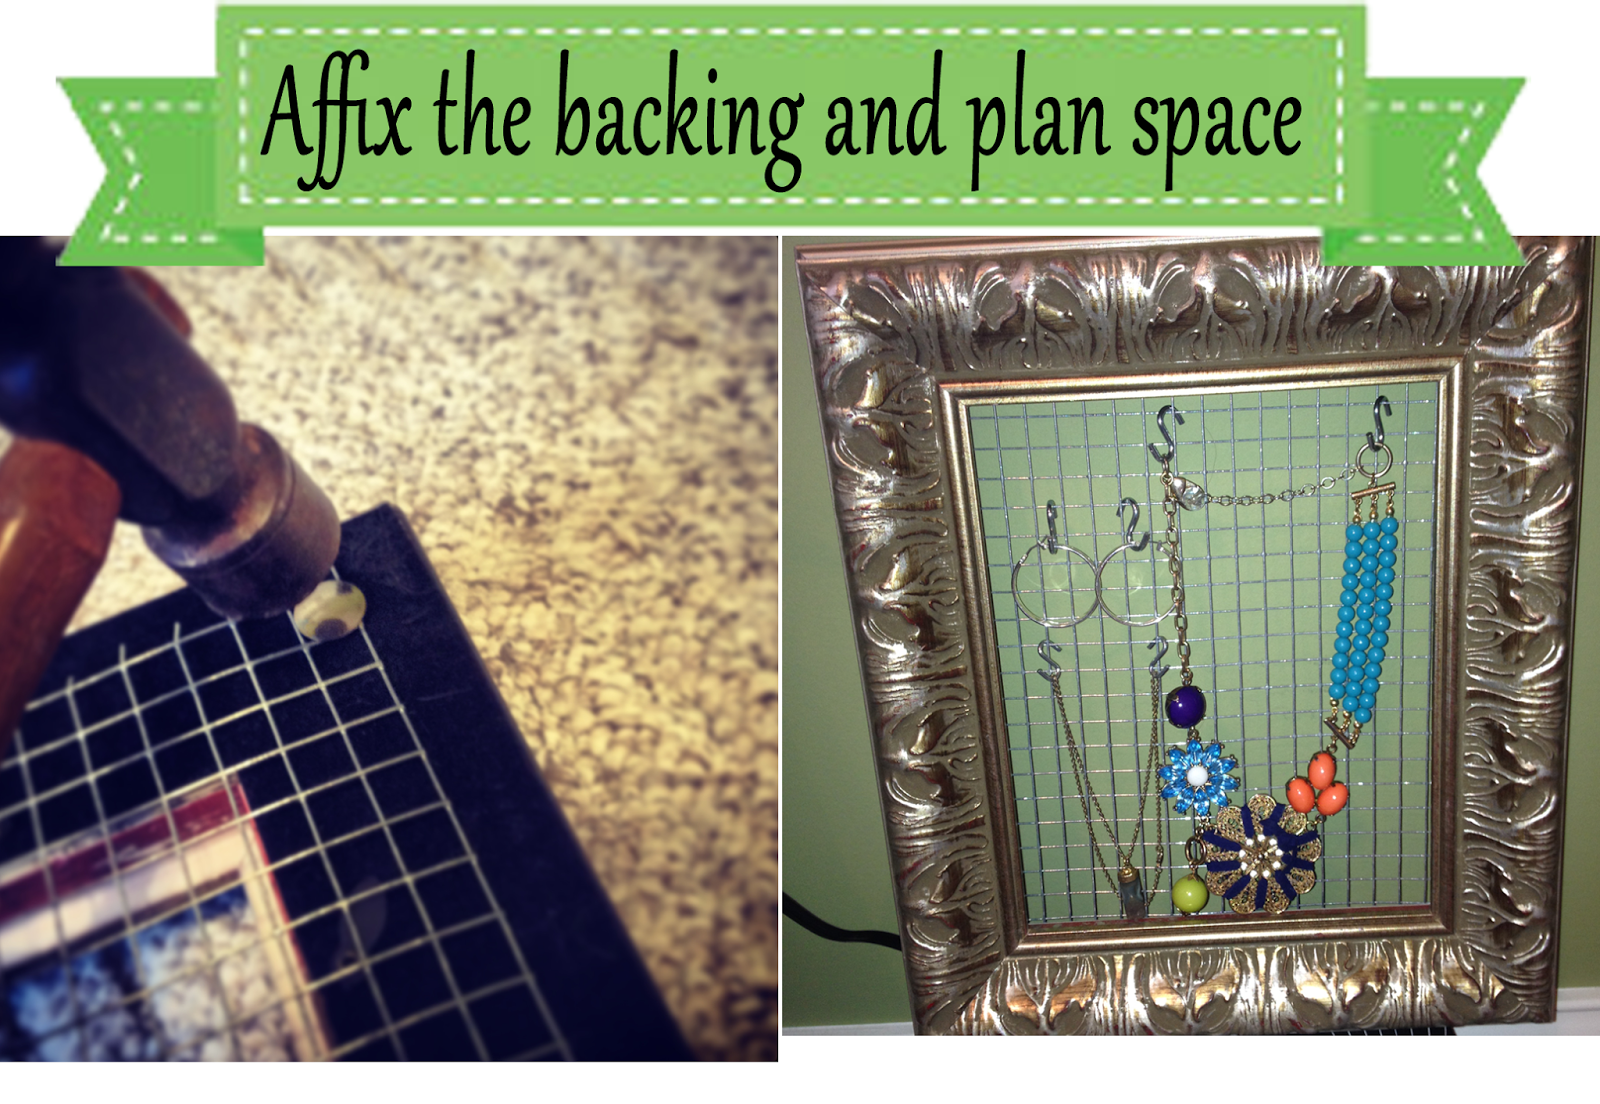
Affix the backing using a hammer and the large thumb tacks.  Next, using the ‘S’ hooks, plan how you will organize your jewelry pieces on the frame. It is OK if the chicken wire is a little loose, or not flat.  If the wire is flat against the wall, it will make it harder to hang the ‘s’ hooks.

I didn’t finish the edges of mine, but I think I might add some heavy duty tape (like packing tape) to the edges on the back of the frame. This will help secure the wire to the frame, and protect the wall from the raw edges of the wire.

Step 5

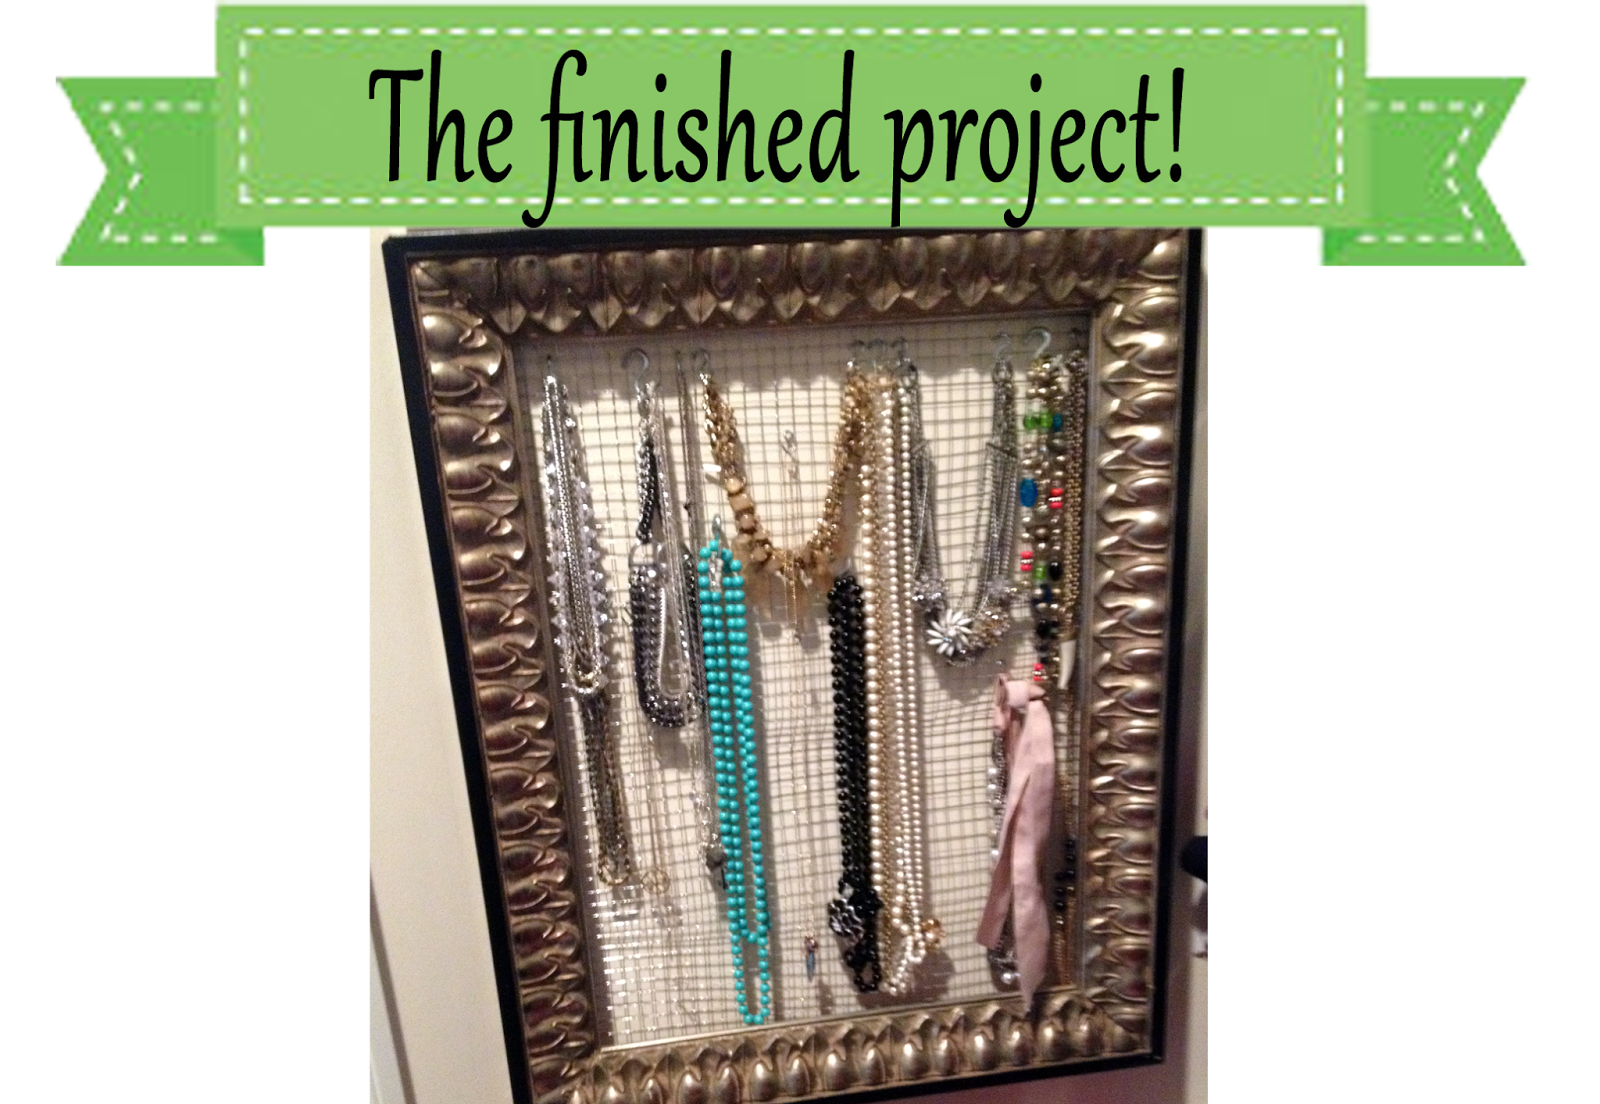
The last step is to nail your jewelry organizer to the wall.  I used 2 basic picture hanging nails. Enjoy seeing all of your jewelry pieces neatly organized!  And the best part, it takes up unused wall space in your closet! BONUS!

Fun Book Page Crafts

One thing you will find a lot of at Goodwill are books of all shapes and sizes. I consider Goodwill my bargain resource (at a mere $.50- 2.00) for finding great reads as well as my number one resource for book page crafts.

You may not have looked at the books section as craft materials before, but book page crafts are a hot trend in magazines that you probably browse through when doing your ” window shopping,” like Anthropologie, West Elm, & Pottery Barn… just to name a few.

Today I wanted to showcase some fun crafts you could try with books found at your local Goodwill store. I have a feeling that once you see these ideas, you will run right out to find the perfect book to get started!

Adorn a Letter (Or Four!) 

Letters are always a fun trend to try in your home whether it is your family name, your child’s name, or a fun word like, “EAT,” in the kitchen. I love this idea for rolling book pages to create a letter or word that is special to you. Little Things Brings Smiles offers a great tutorial on how you can make these with just a few items from the craft store! (@ Little Things Brings Smiles)

Make a Unique Table Runner

As a bookworm, this table runner makes me swoon! This table runner would be perfect for an evening with your book club or as a creative party display. The best part about this is that it is just created from  book pages and a little craft glue. (@ Elizabeth Anne Designs)

Make a Gallery Wall Of Your Child’s Favorite Books

Making a gallery wall of photos can be an expensive project, but a gallery of book pages is a fun spin on the gallery wall that could be easily switched out and an inexpensive way to decorate a wall. This fun display was created from a Shel Silverstein book, a book that just happened to be one of my favorites when I was a kid. Use Washi tape to hang the book pages so you can add another fun color to your display and easily move or remove the pages when done.

If you want to try this on a smaller scale, consider framing the book cover jackets of your child’s favorite books or select a series of pages that can be hung gallery-style on a wall. To pull it all together, look for frames at Goodwill that can be spray painted in matching colors. (@ Rice Design)

Make a Fun Photo Backdrop

I do a lot photography with my job and buying photo backdrops are often out of my limited budget. I am so inspired though by the idea to create a book page photo backdrop, both for its inexpensiveness as well as for its beauty, that I can’t wait to create one of these of my own. This would be a fun backdrop behind your kids on their first day of school or for a fun backdrop to creatively display wares you might be selling on eBay or Etsy. (@ The Blue Eyed Owl)

Create an Eclectic Art Display

Kids shouldn’t have all the fun with book pages and this art display is easy to achieve by simply printing over your book pages with a creative image. For this craft, look for old encyclopedias or a similarly sized book that can can truly fill out your frame. I am so excited to see this fun tutorial from Crafted Niche for how to create a display like this of my own (@ Crafted Niche, image from Ruffles & Stuff)

Adorn a Door

One search on Google will yield a plethora of creative book page wreaths that can be made, but this wreath made from book pages rolled into little rosettes gets my win for both beauty and creativity. The best part is that this one could be personalized with other layers for the seasons. A felt flower in a fun pop of color or a different color of ribbon to hang it can change the look of the wreath for the changing seasons. I can’t wait to make one of these myself (@ Under the Table And Dreaming)

Add Book Page Fun to a Mantle

Decorating a mantle can be expensive and require switching with the changing seasons. I love decor that is timeless and can be enjoyed all year long. This beautiful book page flower would look beautiful propped up on a mantle and is made from just a few inexpensive items from the craft store. While you are at the store picking up your books, be sure to take a peek at all of the other lovely housewares you can find at Goodwill!  (@ Whimsical Perspective)

Have you tried any crafts with book pages before? I would love to hear what you have done with old books in your home!