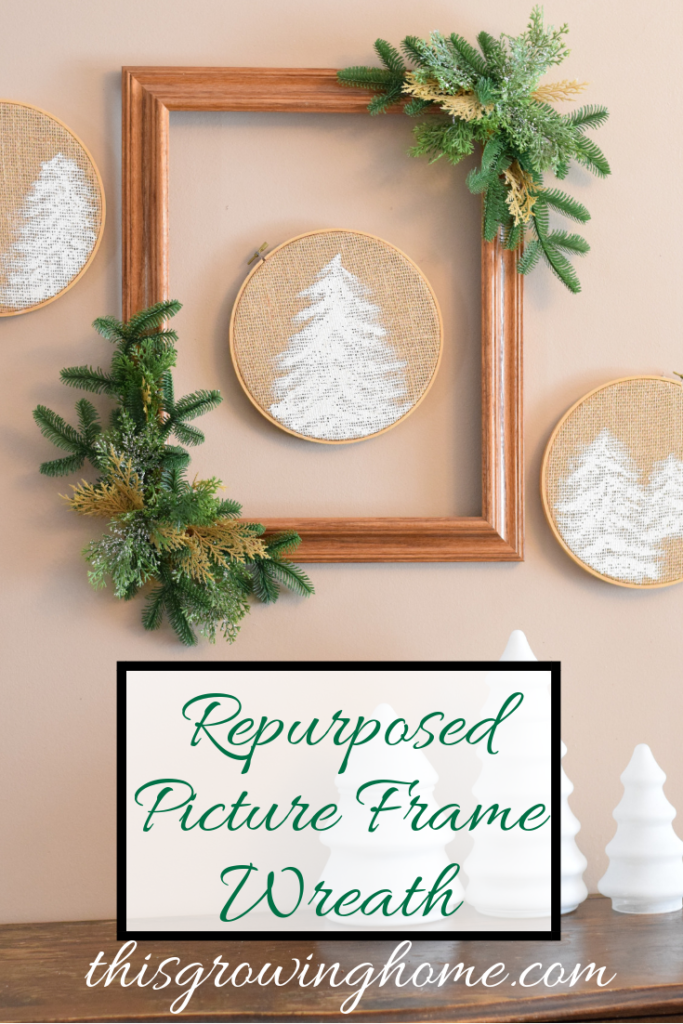
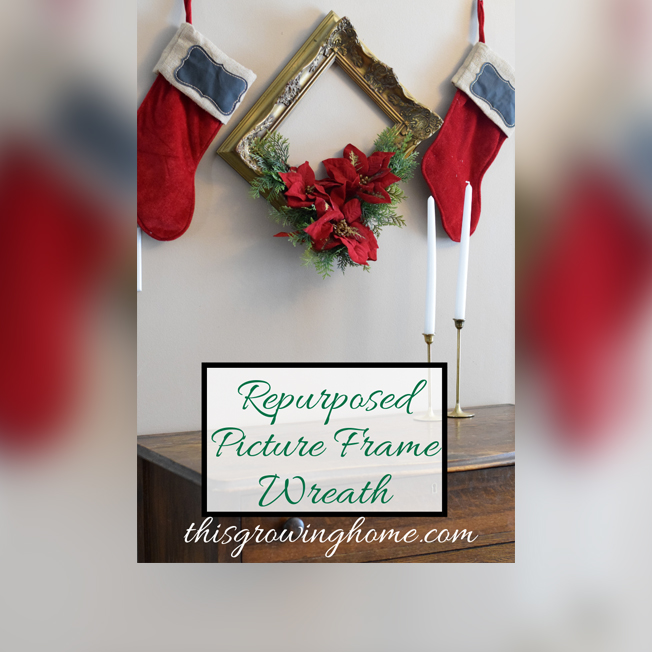
Repurposed Picture Frame Wreath

Are you ready for Christmas? This repurposed picture frame wreath is the perfect final decoration for your home, and is an easy DIY Christmas décor project using things found at Goodwill.

What you’ll need:

  1. Frames
  2. Greenery
  3. Hot Glue Gun / Glue Sticks

Supply Run!
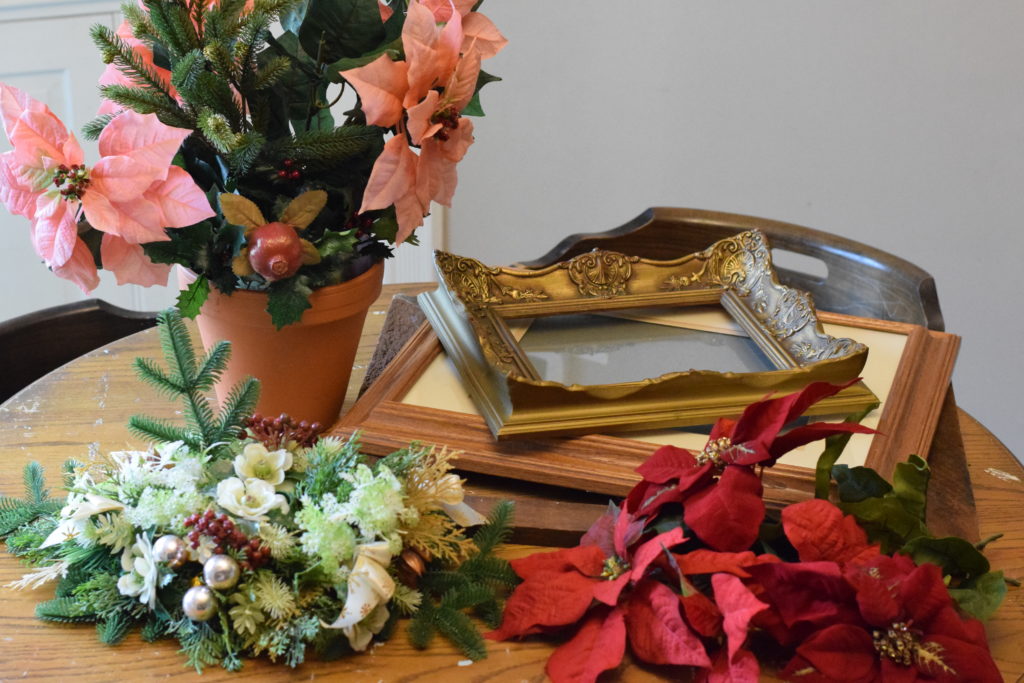
You’ll want to start out this repurposed picture frame wreath project by going on a supply run to your local Goodwill Store. They will have a ton of picture frame options for you to choose from!

Once you’ve picked out your frame or frames for this easy DIY Christmas décor project, head over to the Christmas aisle at Goodwill for some greenery. This is where you’ll need a little vision. Any donated Christmas arrangements will work as long as they can be disassembled.

Here’s What I Used

For my wreaths, I found a rustic wood frame, an elaborate gold frame, and a lighter wood frame. I also used an evergreen centerpiece, a potted poinsettia arrangement, and some red poinsettias I found on a previous trip. With those I was able to create three repurposed picture frame wreath decorations!

I preferred mine to be more minimal, and so was able to stretch the greenery farther. If you prefer a fuller look, you can easily add more to your own DIY Christmas décor project.

Pull It All Apart
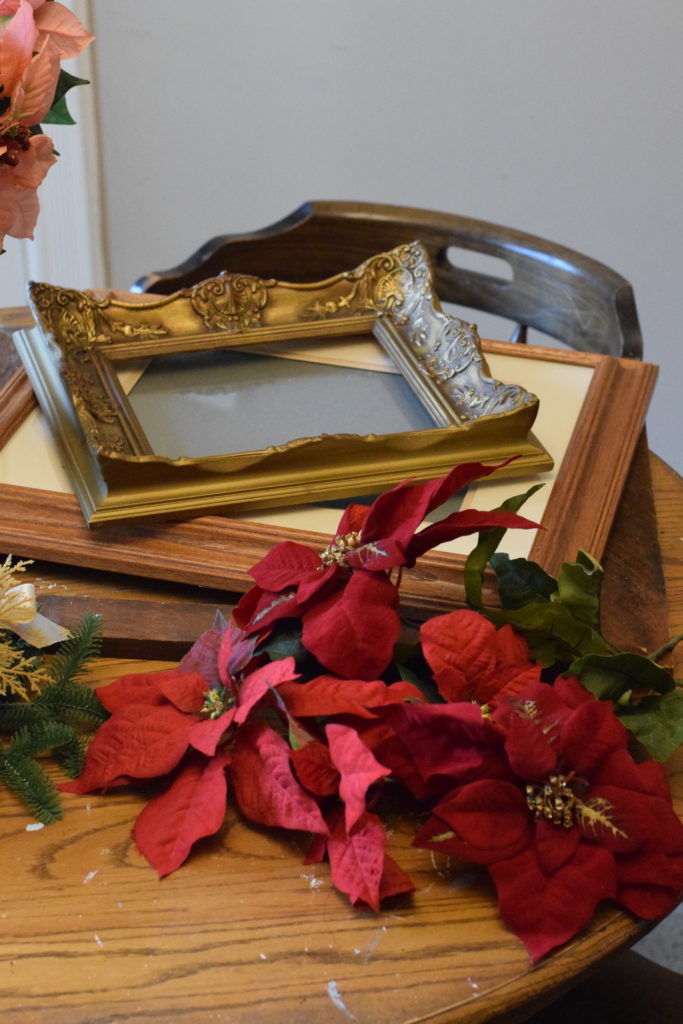
The next thing you’ll want to do for your repurposed picture frame wreath, is disassemble your supplies. Remove any pictures and glass from your frames, and separate the greenery you found.

I pulled mine apart and piled all the similar kinds together to see what I had of each. Then I organized which piles I wanted to go with each frame. Feel free to mix and match or stick to only one. Design it however you’re inspired! The beauty of this easy DIY Christmas décor project is that you can personalize it for your own preferences.

Lay It All Out
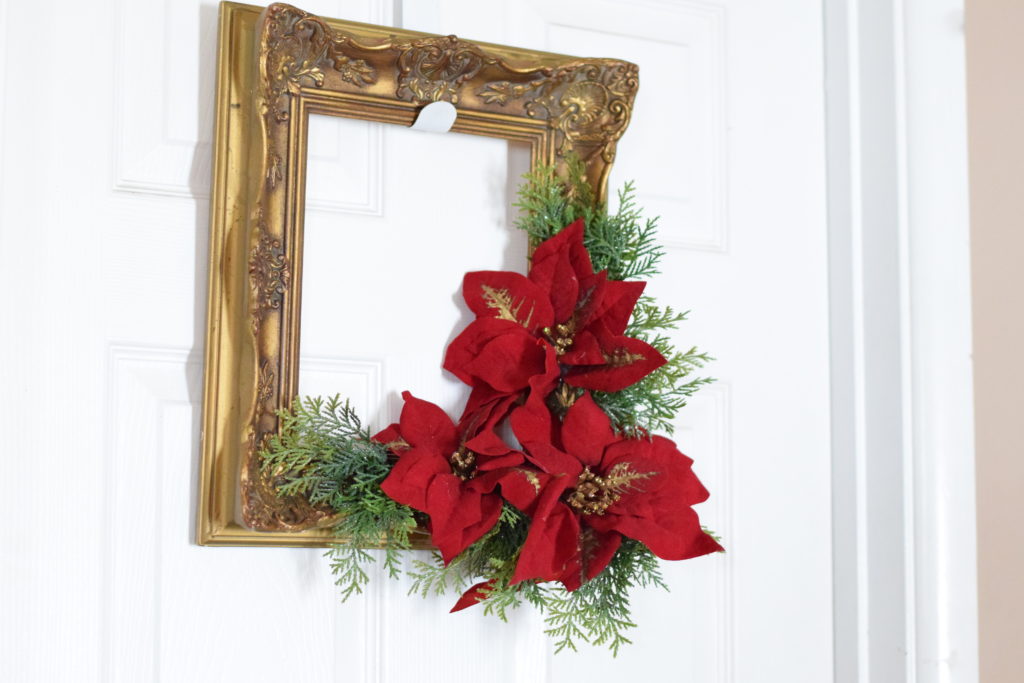
Once you’ve decided what greenery goes with each frame, you’ll want to lay it all out to make sure you have enough and perfect how it will be arranged on the frame. Find a center point that you will be working out from. For mine, I used the corner of the frame as the center point and laid it out so the greenery met at that point.

When that’s done, you can pull out the hot glue gun and get it warmed up.

Finishing Touches
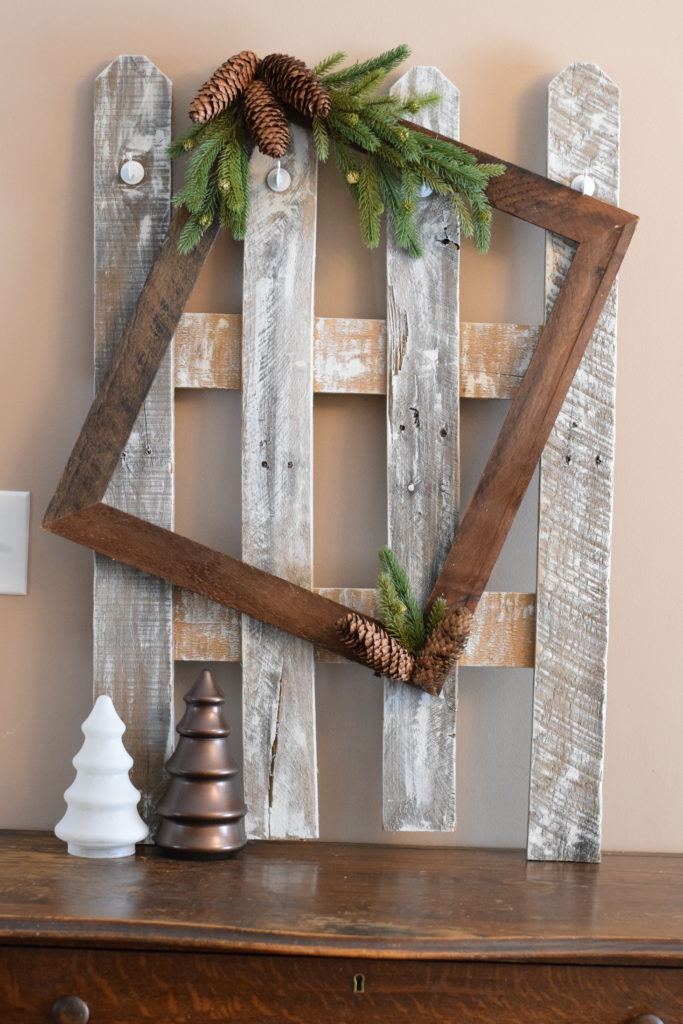
When the glue gun is all warmed up, you can start applying the greenery to your repurposed picture frame wreath. Start with the farthest greenery from the center point and work toward the center. That way, you will hide any stems or glue under the next piece. Once you get to the center, you can nest the stems and glue under pieces that are already glued down so they aren’t visible.

If you are nervous about being able to disguise the glue points, you can add your own embellishment to the center point like a ribbon or bulb. You may even have one laying around after disassembling your greenery!

Get Hanging!
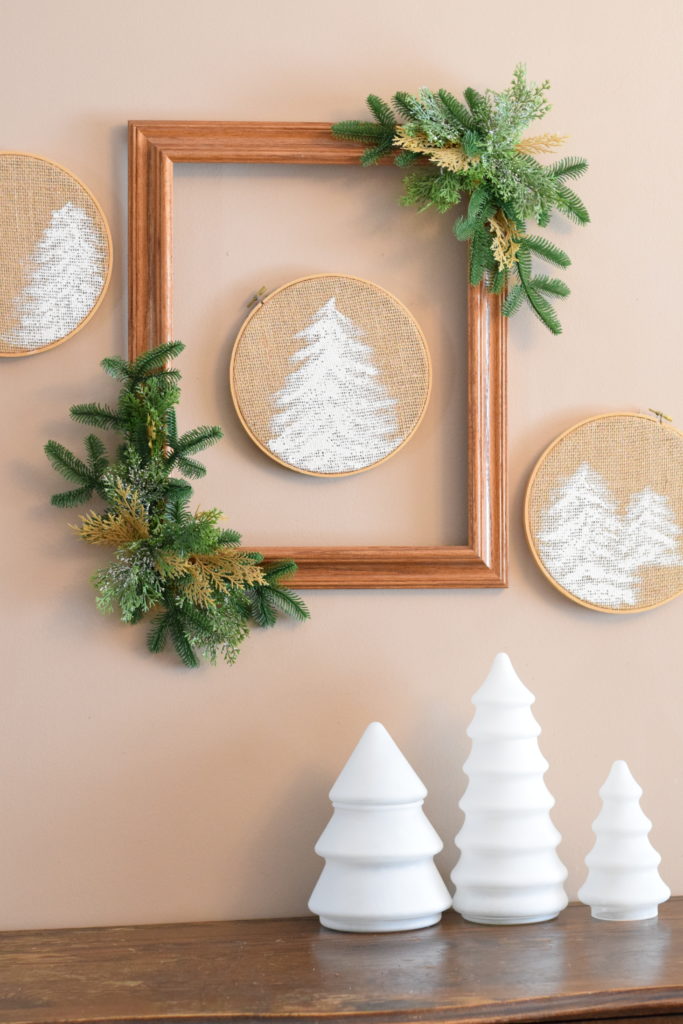
After the glue dries, your easy DIY Christmas décor is ready to be displayed! You can hang your repurposed picture frame wreath, or display it from a shelf.

I was so happy with how mine turned out! They look great on their own or as the focal point of your holiday wall arrangements! Enjoy your DIY Christmas décor pieces! You can find tutorials for the DIY Winter Décor Glass Trees and picket fence DIY Stocking Hanger on my website www.ThisGrowingHome.com

Or go directly to the posts:

https://www.thisgrowinghome.com/diy-winter-decor-glass-trees/

https://www.thisgrowinghome.com/diy-stocking-hanger/

Hopefully you enjoyed this fun and easy DIY Christmas décor project and are already getting started on your own repurposed picture frame wreath! Check in later for more fun and easy projects supplied by your local Goodwill! And… Happy Decorating!!
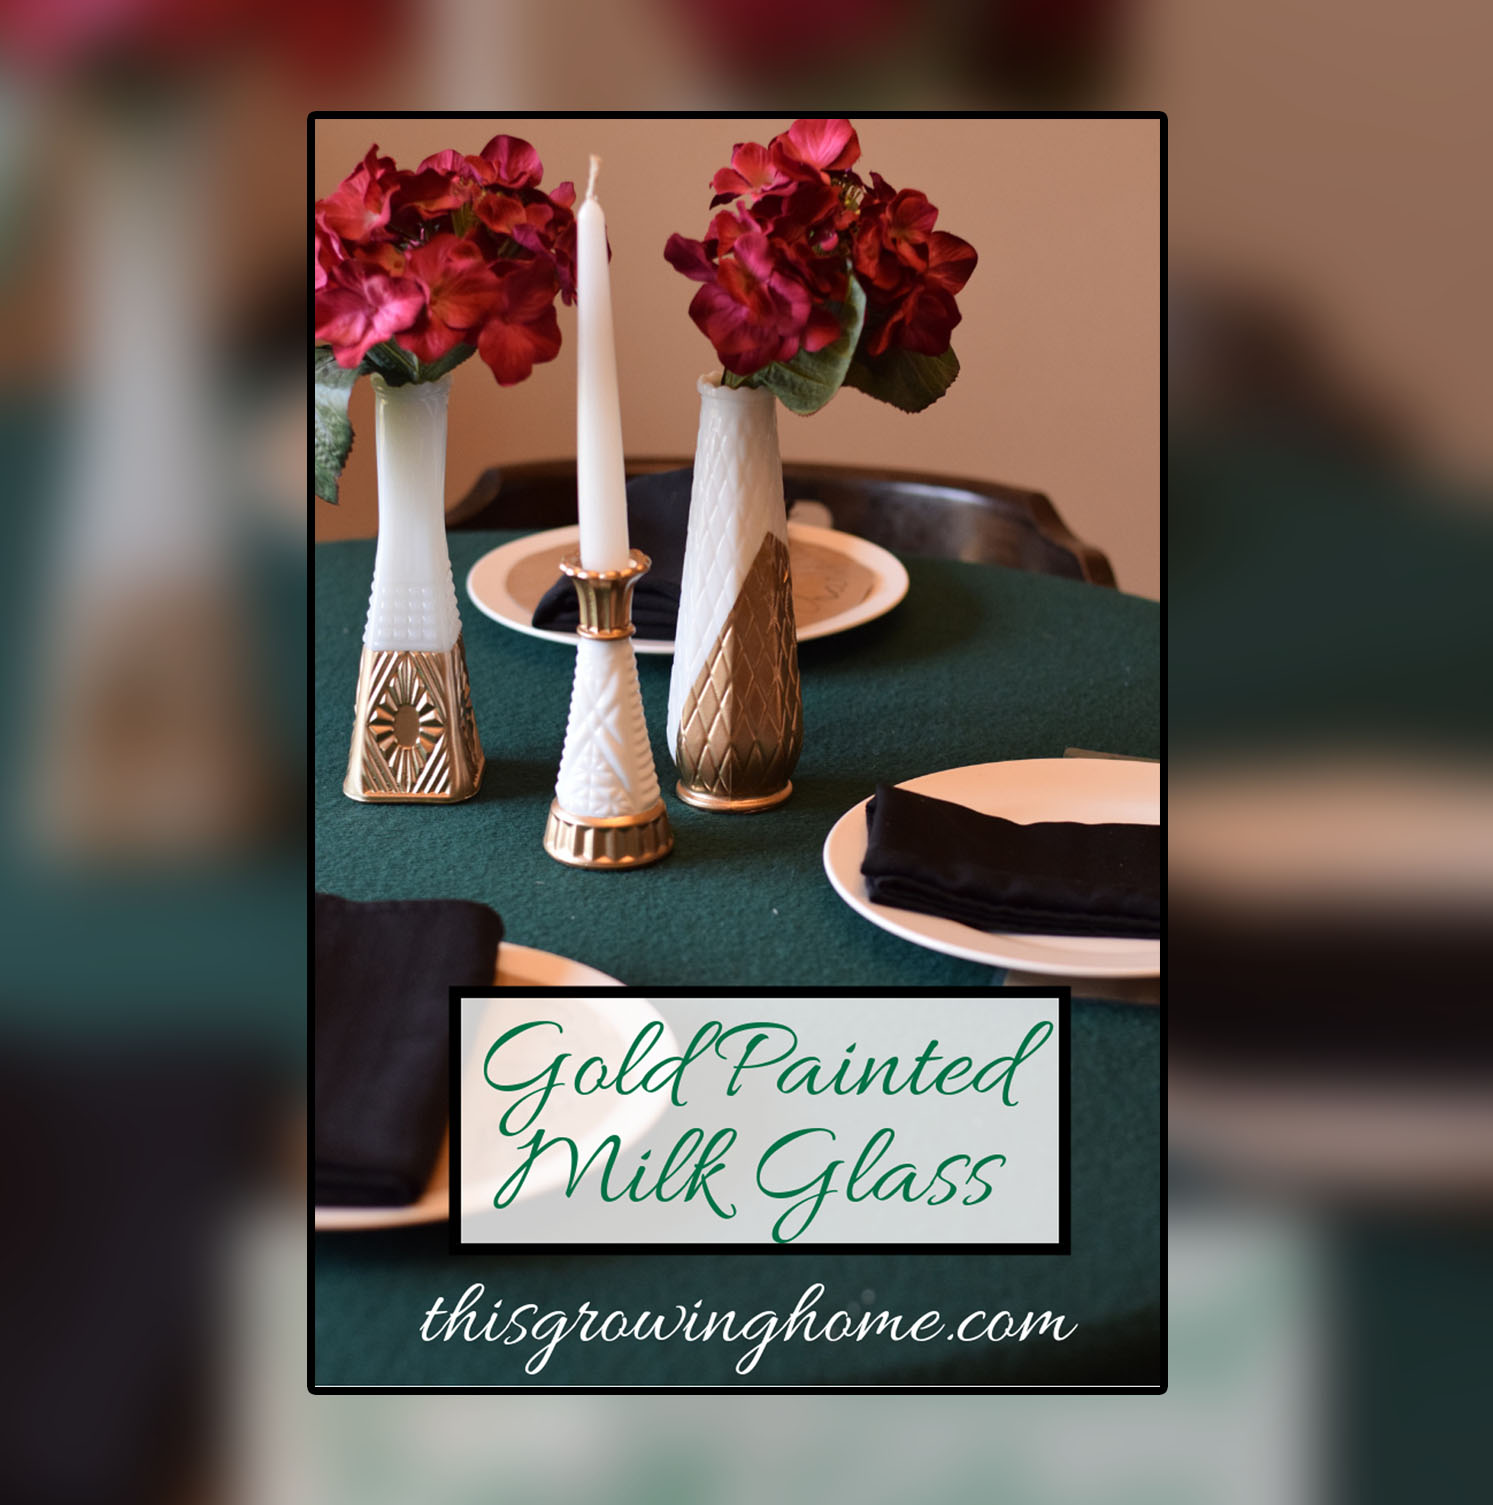
Gold Painted Milk Glass

Easy DIY Home Decorating Ideas

2018_Gold-Painted-Milk-Glass-.png

Thanksgiving is just around the corner and that means it’s time to start party planning! I love any excuse to host family and friends in my home, but it doesn’t take long for the budget to get out of control. So, I always start my party planning at my local Goodwill. It’s the perfect place for easy diy home decorating ideas!

This year I was inspired by a modern vintage theme for my diy Thanksgiving table decorations and decided painted milk glass was the way to go! I’m always coming across unique milk glass pieces during my Goodwill trips and have been hoping to find an excuse to pick some up.

As a mom of three, I’m all about easy diy home decorating ideas, and these painted milk glass vases were super simple and affordable. So head out to Goodwill and grab some vases to follow along with this post on diy Thanksgiving table decorations!

2018_Tgiving1

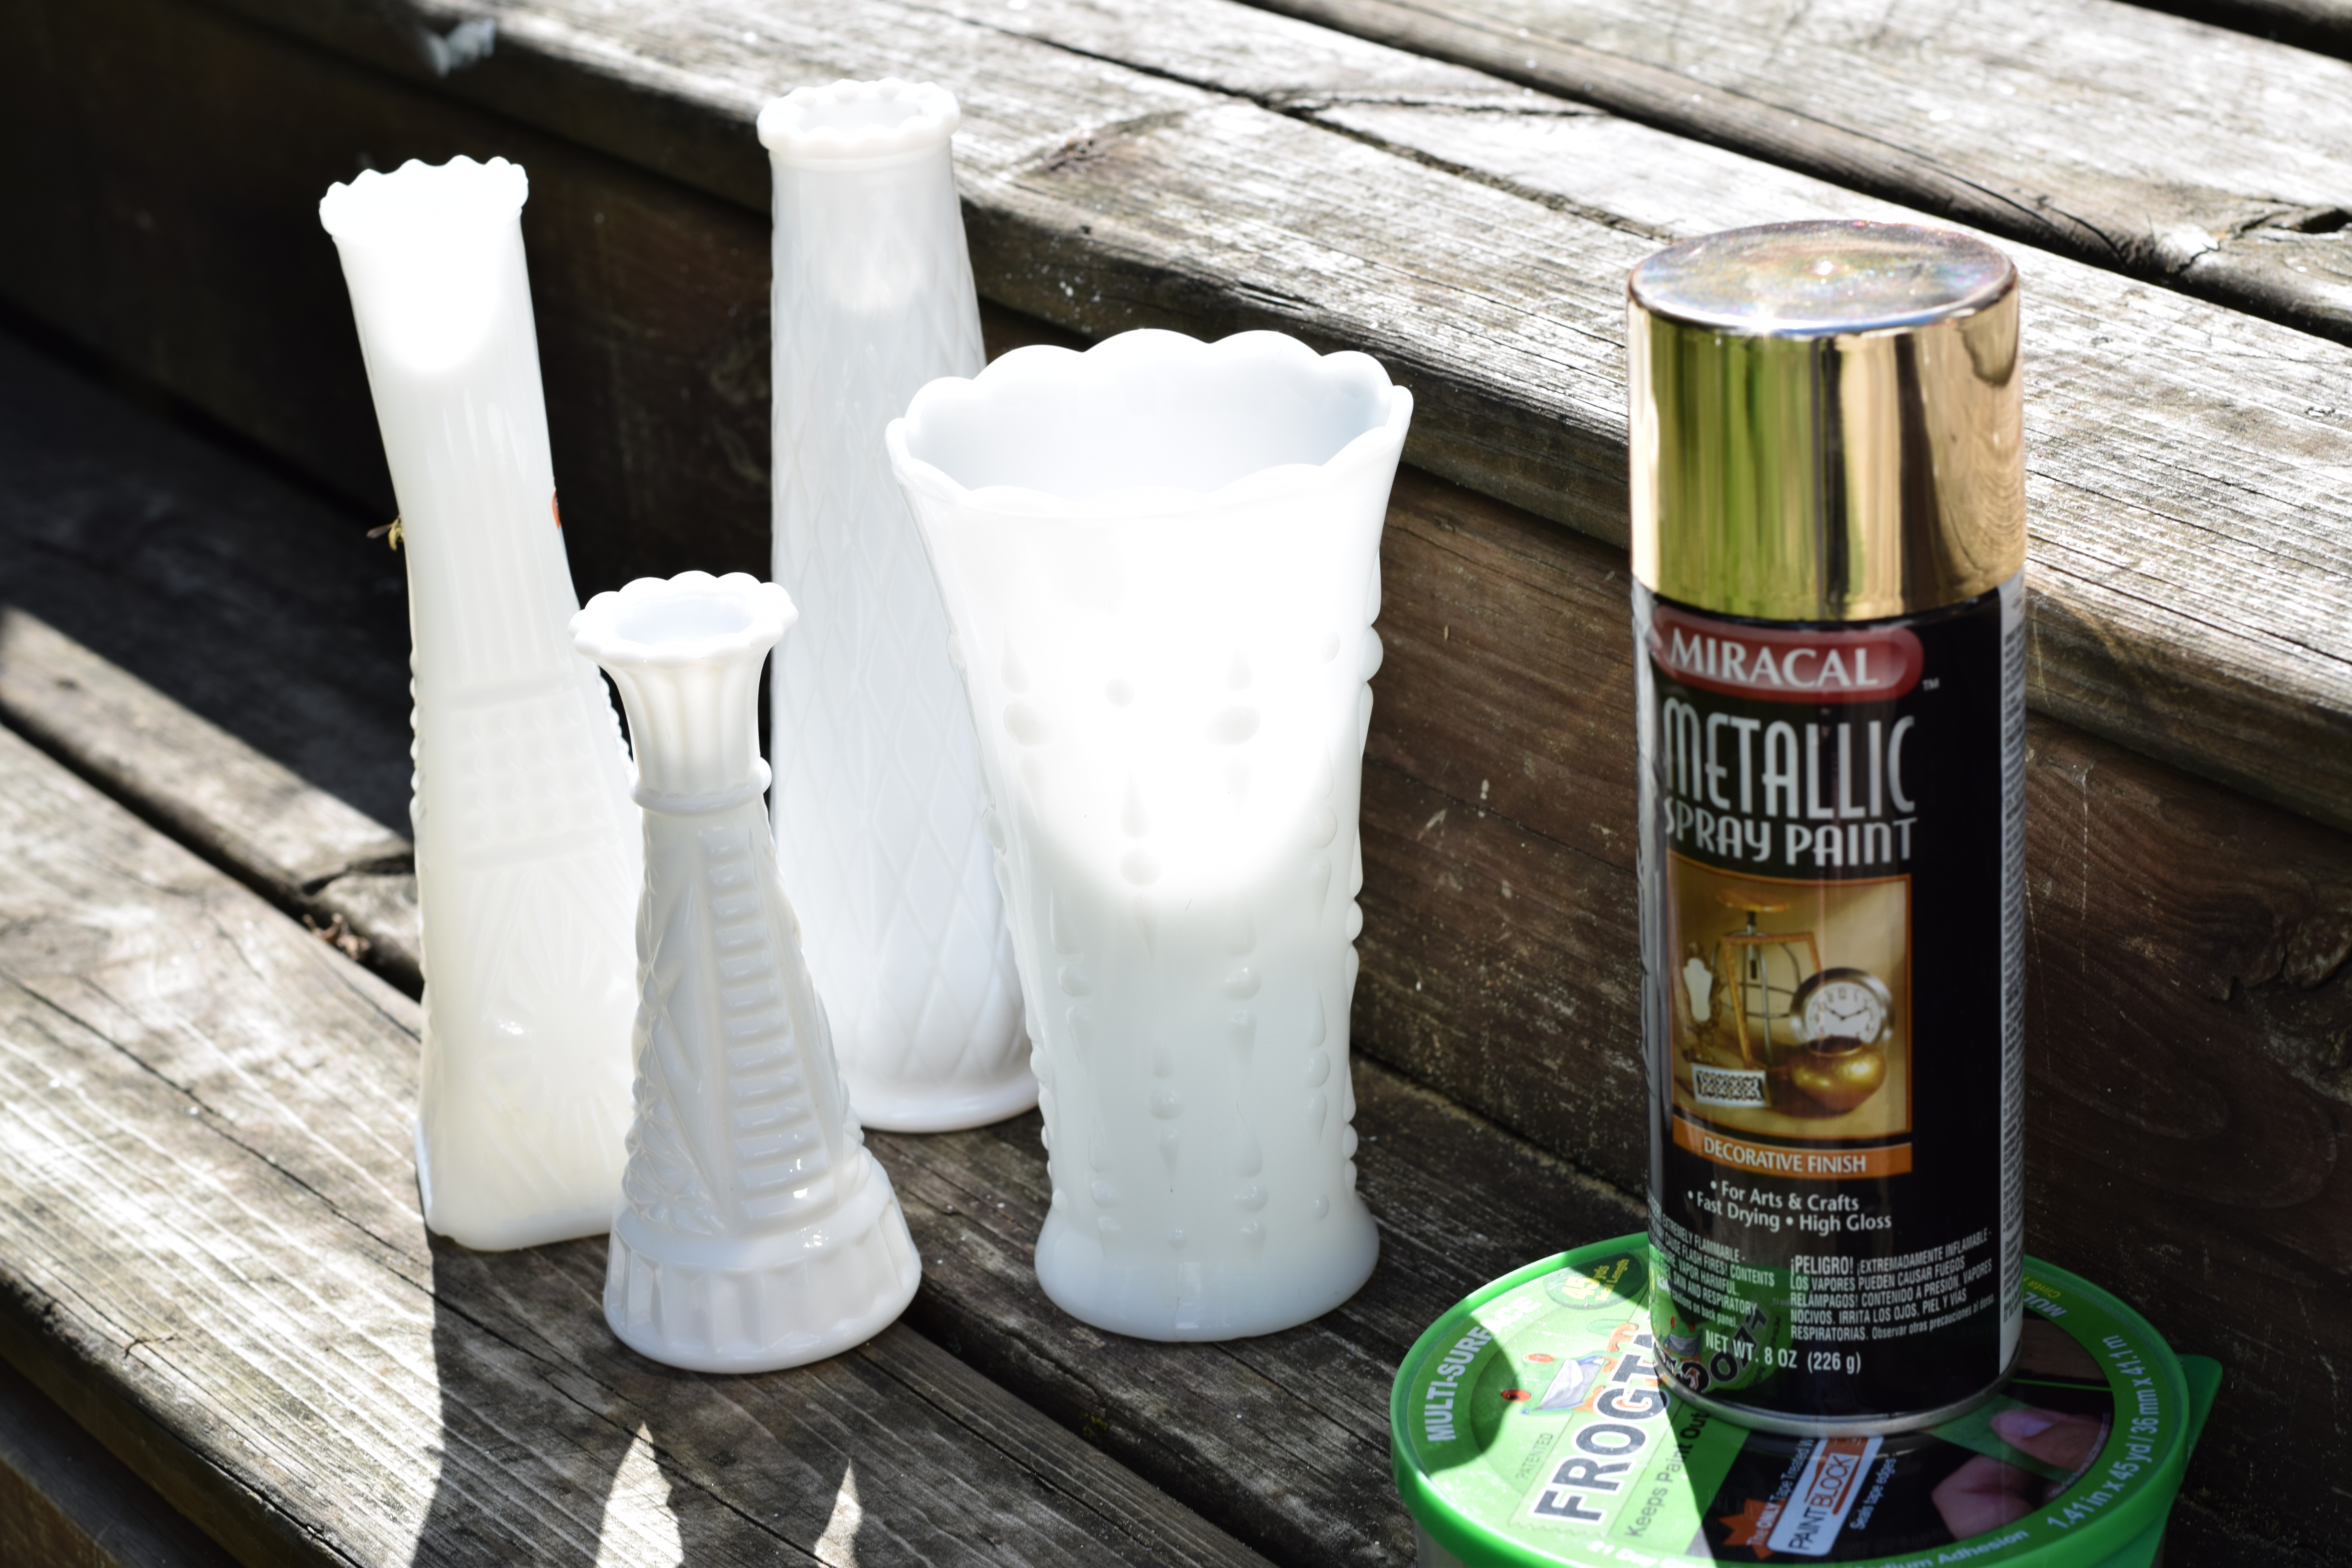
Your supply list is pretty simple. All you’ll need for these painted milk glass diy Thanksgiving table decorations are:

  1. Milk Glass Vases
  2. Spray Paint
  3. Painting tape

That’s it! Like I said, super simple.

To start out, scrub down all of the vases you plan on using for your painted milk glass project. You’ll want them to be super clean so the paint sticks well.

Next you can start applying the painting tape. Some of the vases I chose had a lot of detail and I tried to highlight that while applying the tape. I stuck with easy simple lines for those. I also had one vase that was more basic or neutral in design. For that vase, I added more geometric lines and shapes.

This step is super flexible and you can create whatever layouts you want. The goal is to have clean closed lines so your paint won’t bleed everywhere.

Once your tape is applied, you can move on to the painting part of your diy Thanksgiving table decorations project! Nothing complex here, just spray your paint within the taped off area of your milk glass vases and let dry.

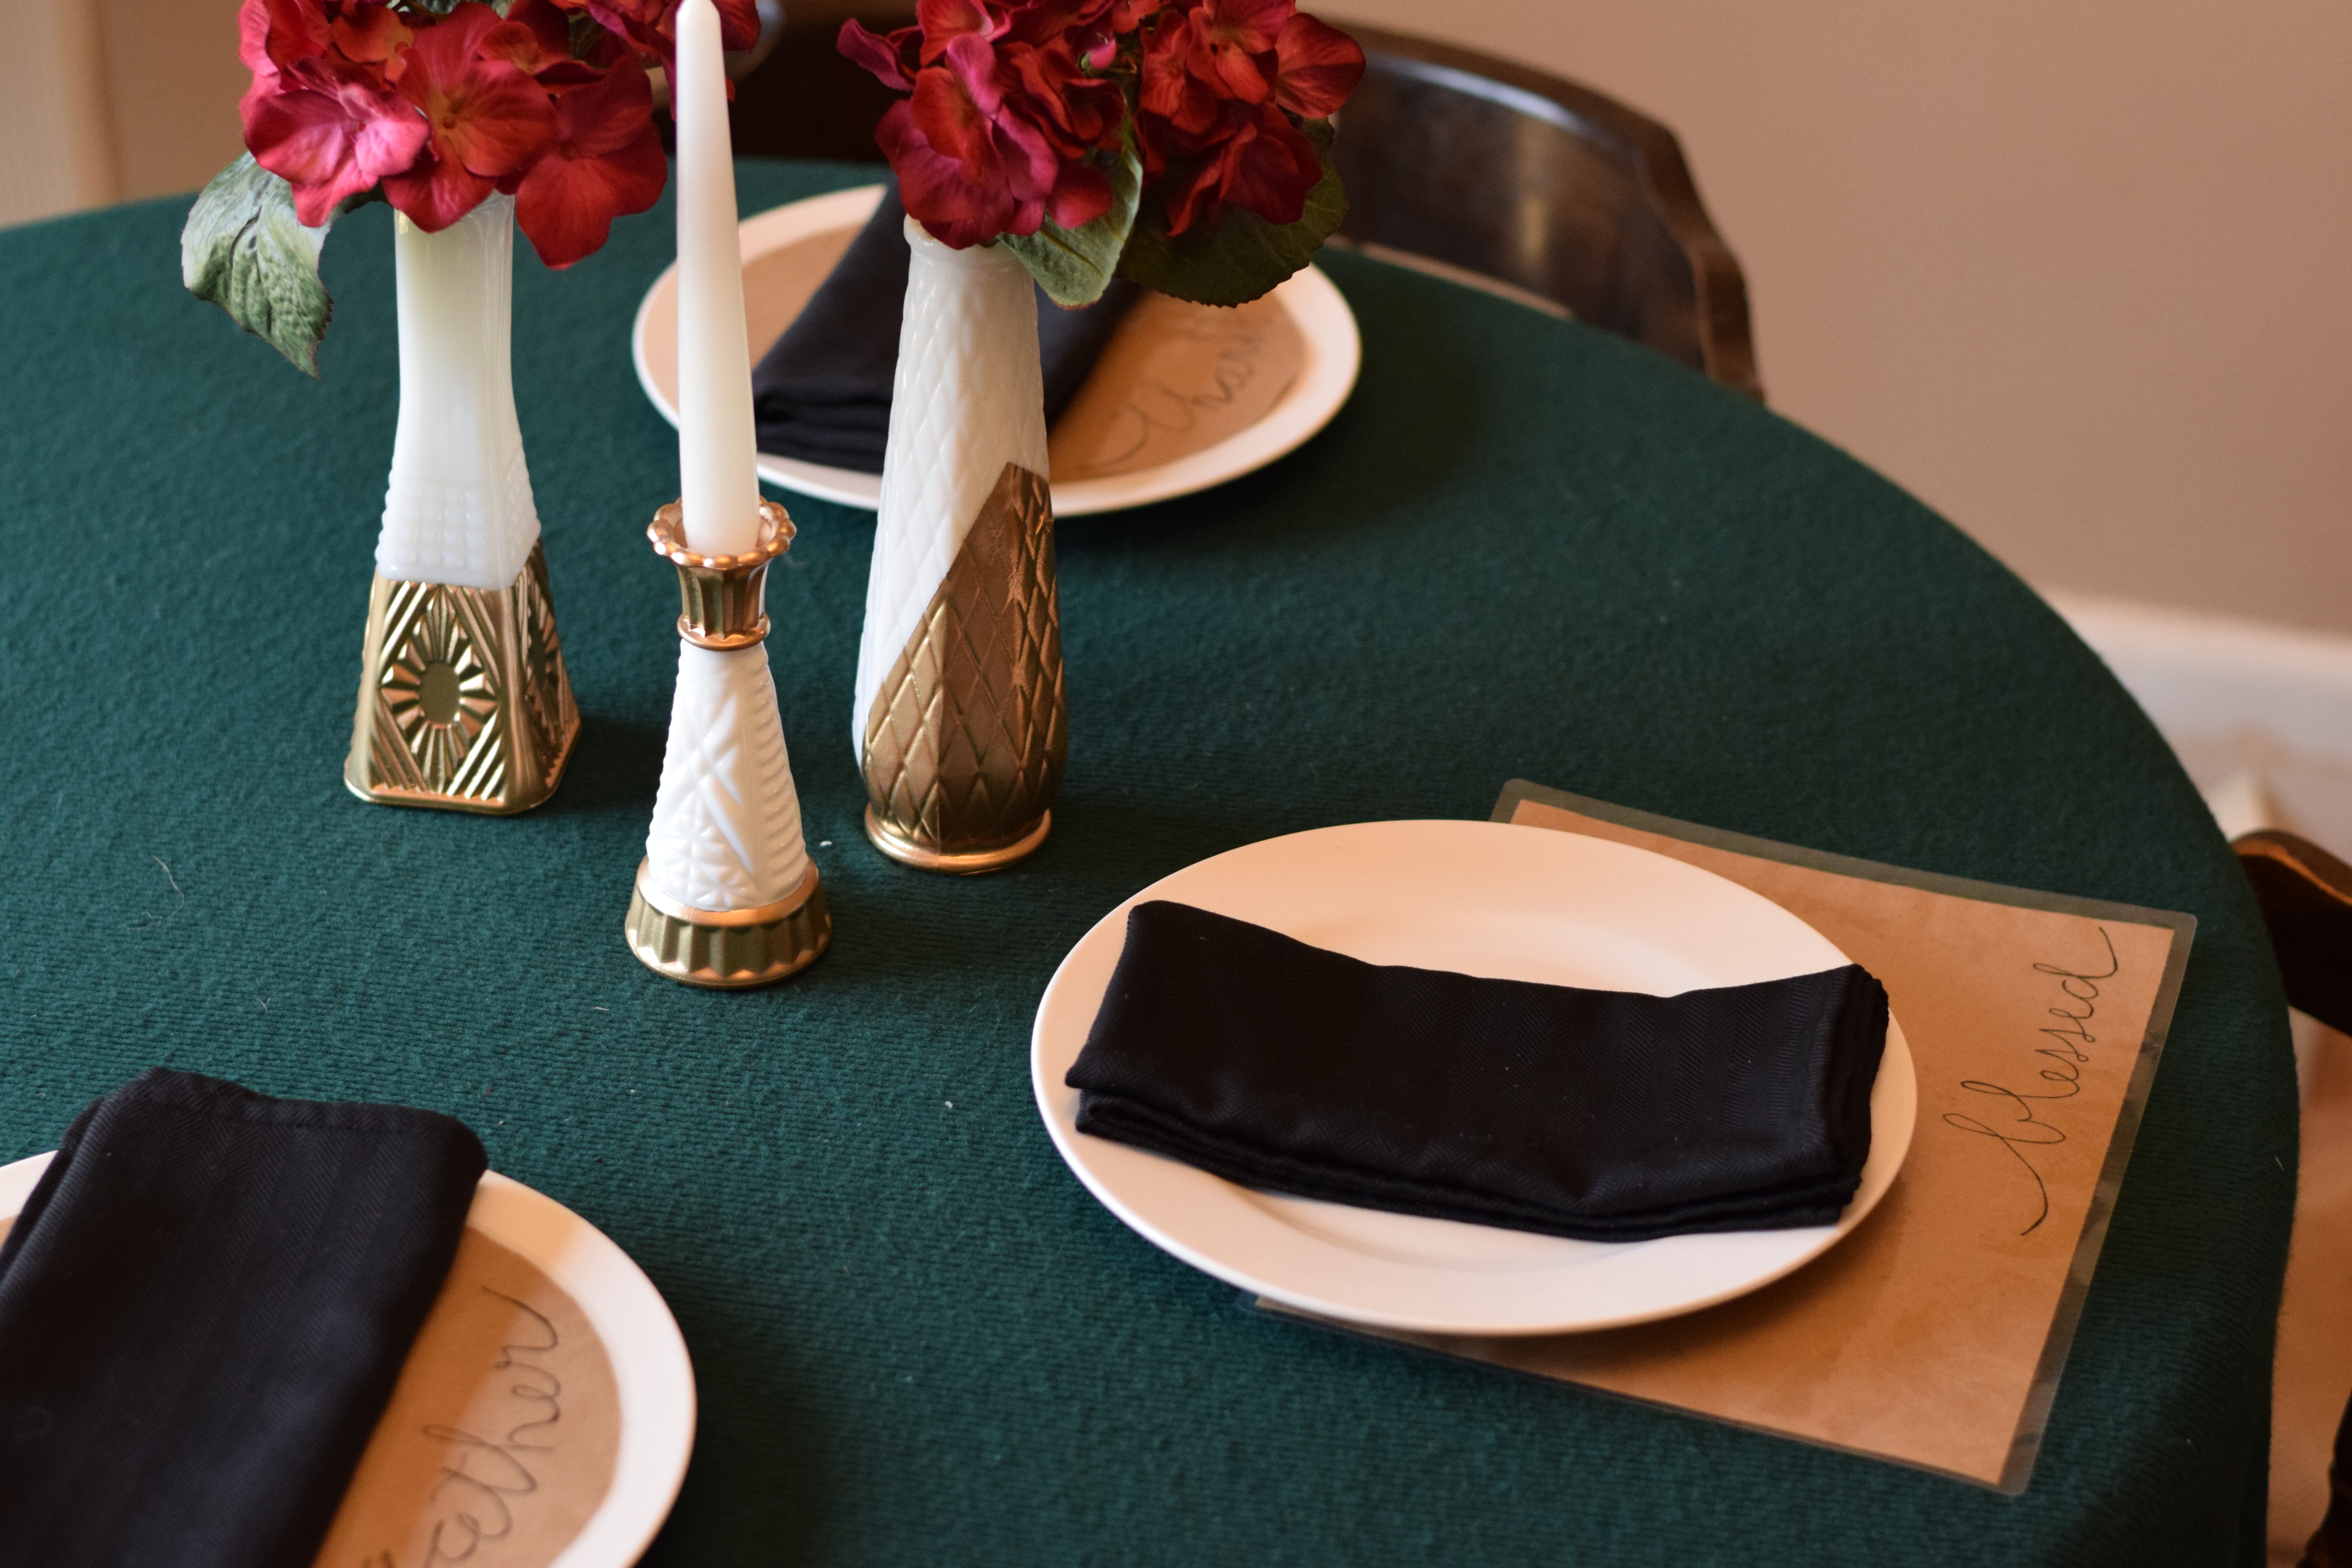
Because I plan on using these for Thanksgiving decor, I wanted a warm color and went with gold. If you are thinking of using this painted milk glass project for a different theme or occasion, you can easily change out the color to fit.2018_tgiving3-3980039292-1542211741402.jpg

I’m telling you guys, when it comes to easy diy home decorating ideas, it doesn’t get easier than these painted milk glass vases! And hunting down supplies at Goodwill will save you a ton on decoration expenses. As an added bonus, you can trade the cheap paper decor look for something that “appears” more expensive!

2018_tgiving2

Once your paint has dried, all that’s left is to throw a party and show off your new diy Thanksgiving table decorations! You can go with a minimal look and only use a few, or have an elaborate tablescape with as many as you can fit.

Hopefully you enjoyed this post and are already planning a supply trip to Goodwill. Check in later for more easy diy home decorating ideas!

P.S. if you liked the table place mats or round plate covers in the photos, I’ll be sharing how to make them along with some styling examples for everyone subscribed to my website!

2018_guest_blog_amanda

Find Amanda at:

DIY Jewelry Organizer

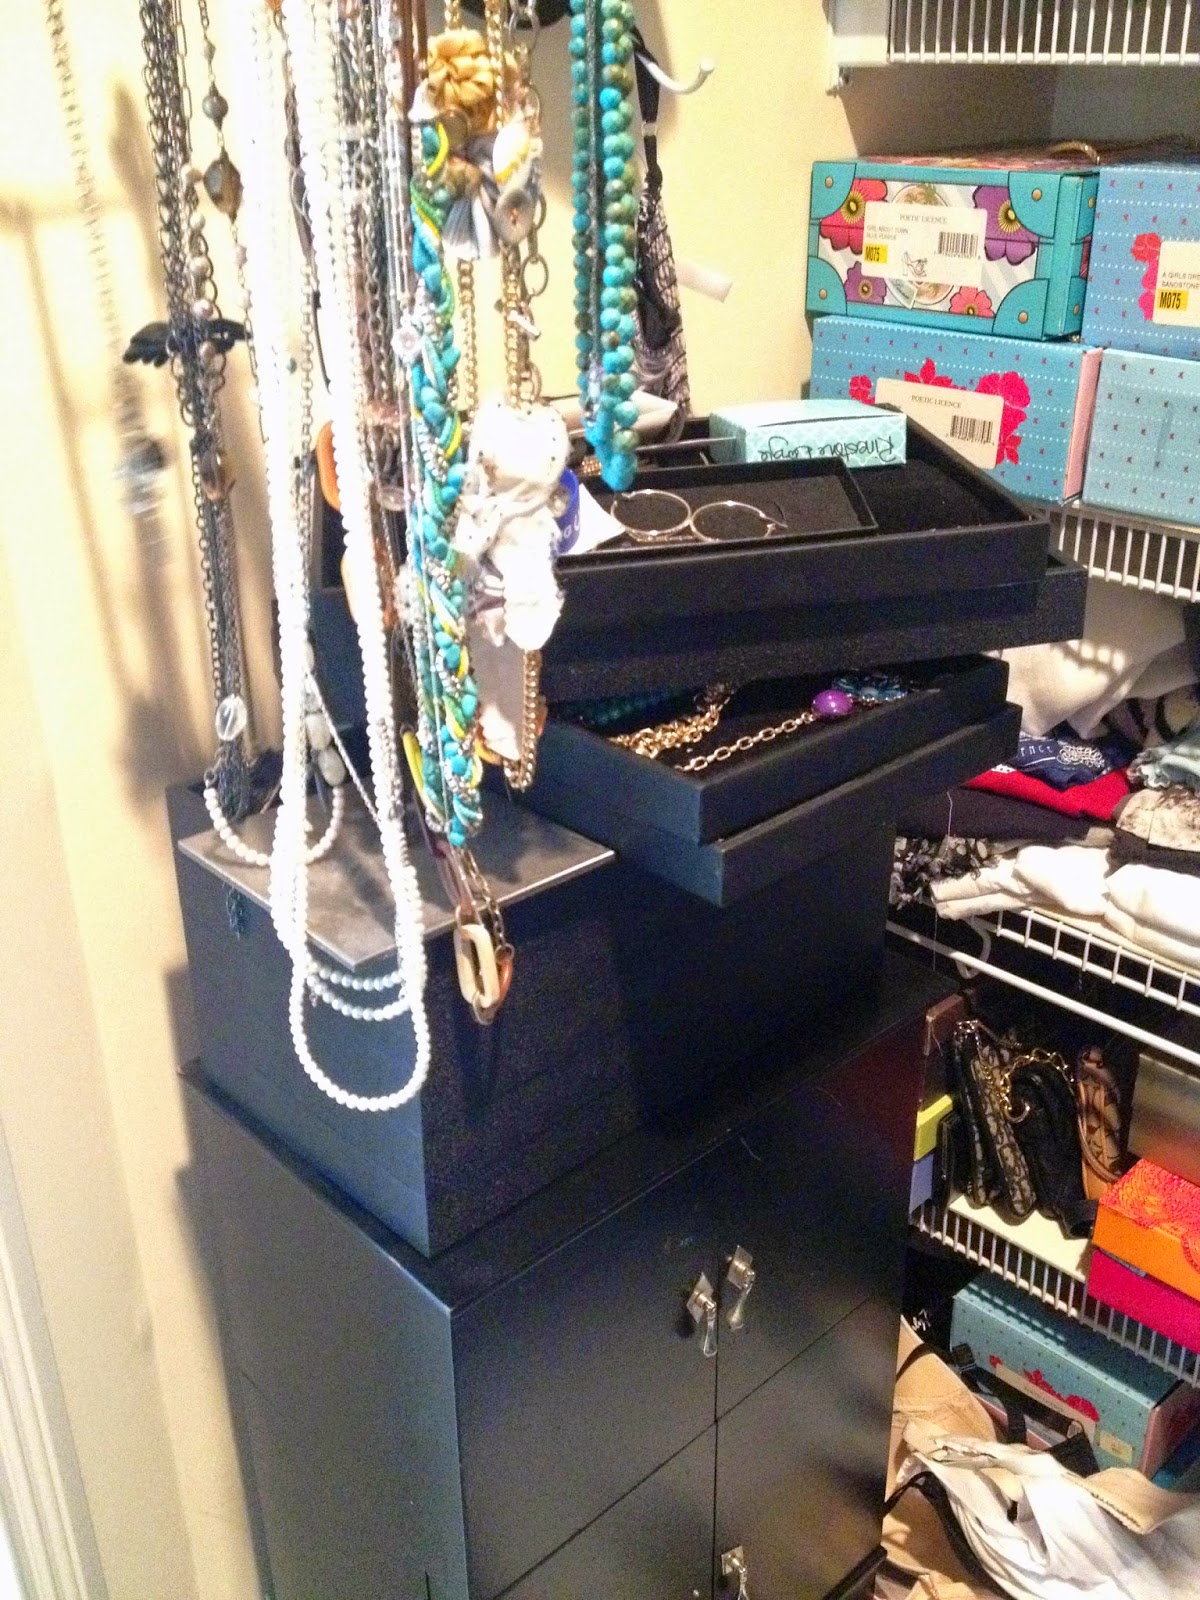
One of the things I seem to struggle with is wearing all of the great accessories I’ve collected over the years.  It seems I always wear the same few pieces…because I can see them, they are on top of the pile (know what I mean?).

The notion of being able to see all of my jewelry coupled with a good storage option has been something I’ve been frustrated with for a long time.  I’ve tried hanging everything on a necklace tree, I purchased a piece of furniture that held my jewelry, I even invested in stack-able trays thinking that was the ticket to storing all of my jewelry pieces.

None of those things worked.

When a modern mom has a problem like this, what does she do?  She turns to Pinterest of course!  I saw some DIY jewelry organizers that I thought might work, so I decided to make my own.  And I must say, it is working very well!  The best thing about this DIY project is you don’t have to be crafty or own a bunch of tools to have a great looking final product.

DIY PICTURE FRAME JEWELRY ORGANIZER


STEP 1
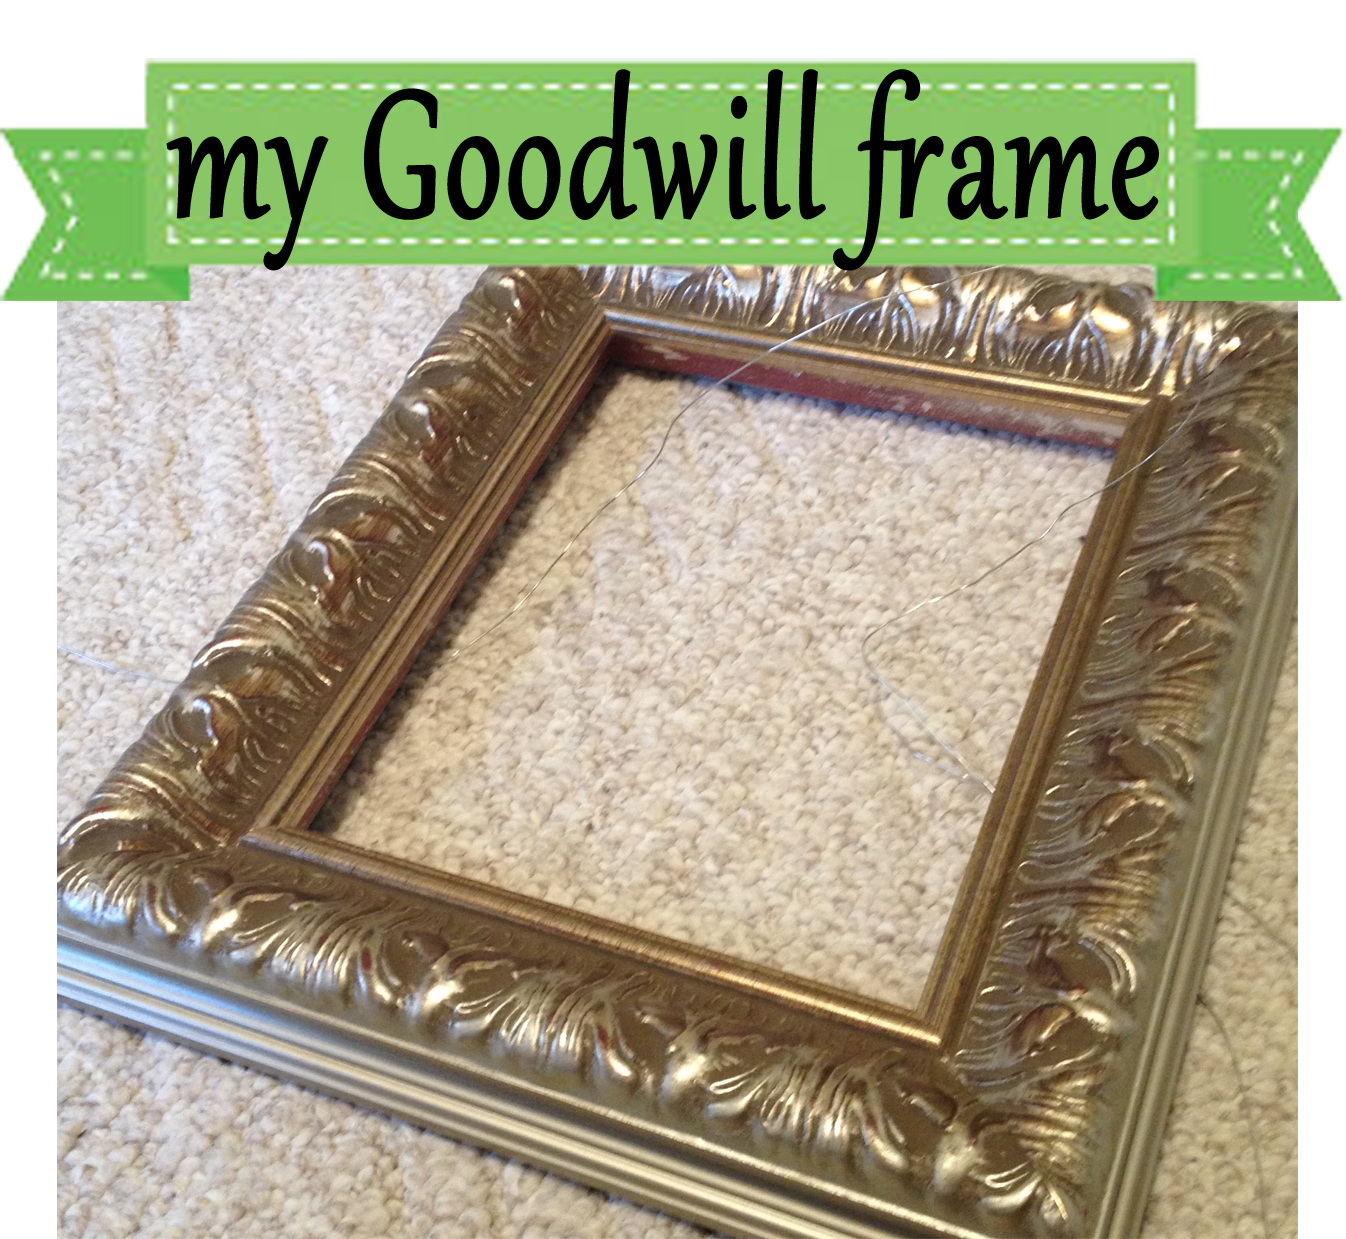
First, head to your local Goodwill store and find a picture frame that you love.  It doesn’t matter what is inside (what the picture is), just look for a decorative frame (or maybe something simple) that will match your decor. The best frames for this project will be large bulky frames.  Look for something that is made of wood  and that is at least 1 1/2″ thick. I found 3 frames to use for this project.  Two smaller frames (about 8×10), and one larger frame (about 24×30).  I will use the smaller one for bracelets and earrings, and the larger one for necklaces.

STEP 2

The second step is to head to a craft store or hardware store.  I stopped by a hardware store and purchased $14 worth of supplies.  They include:

  1. A variety of small ‘S’ hooks
  2. A roll of chicken wire (sometimes called Hardware Cloth)
  3. Some heavy duty thumb tacks

STEP 3
Prepare the picture frame by removing all of the backing.

Next, measure how much of the Chicken Wire you will need to cut to fit the frame.  I cut the piece to fit the back of the frame, leaving about 1/4″ border. Using wire cutters (mine are technically floral cutters), trim a piece of the Chicken Wire to fit the back of your frame.

STEP 4

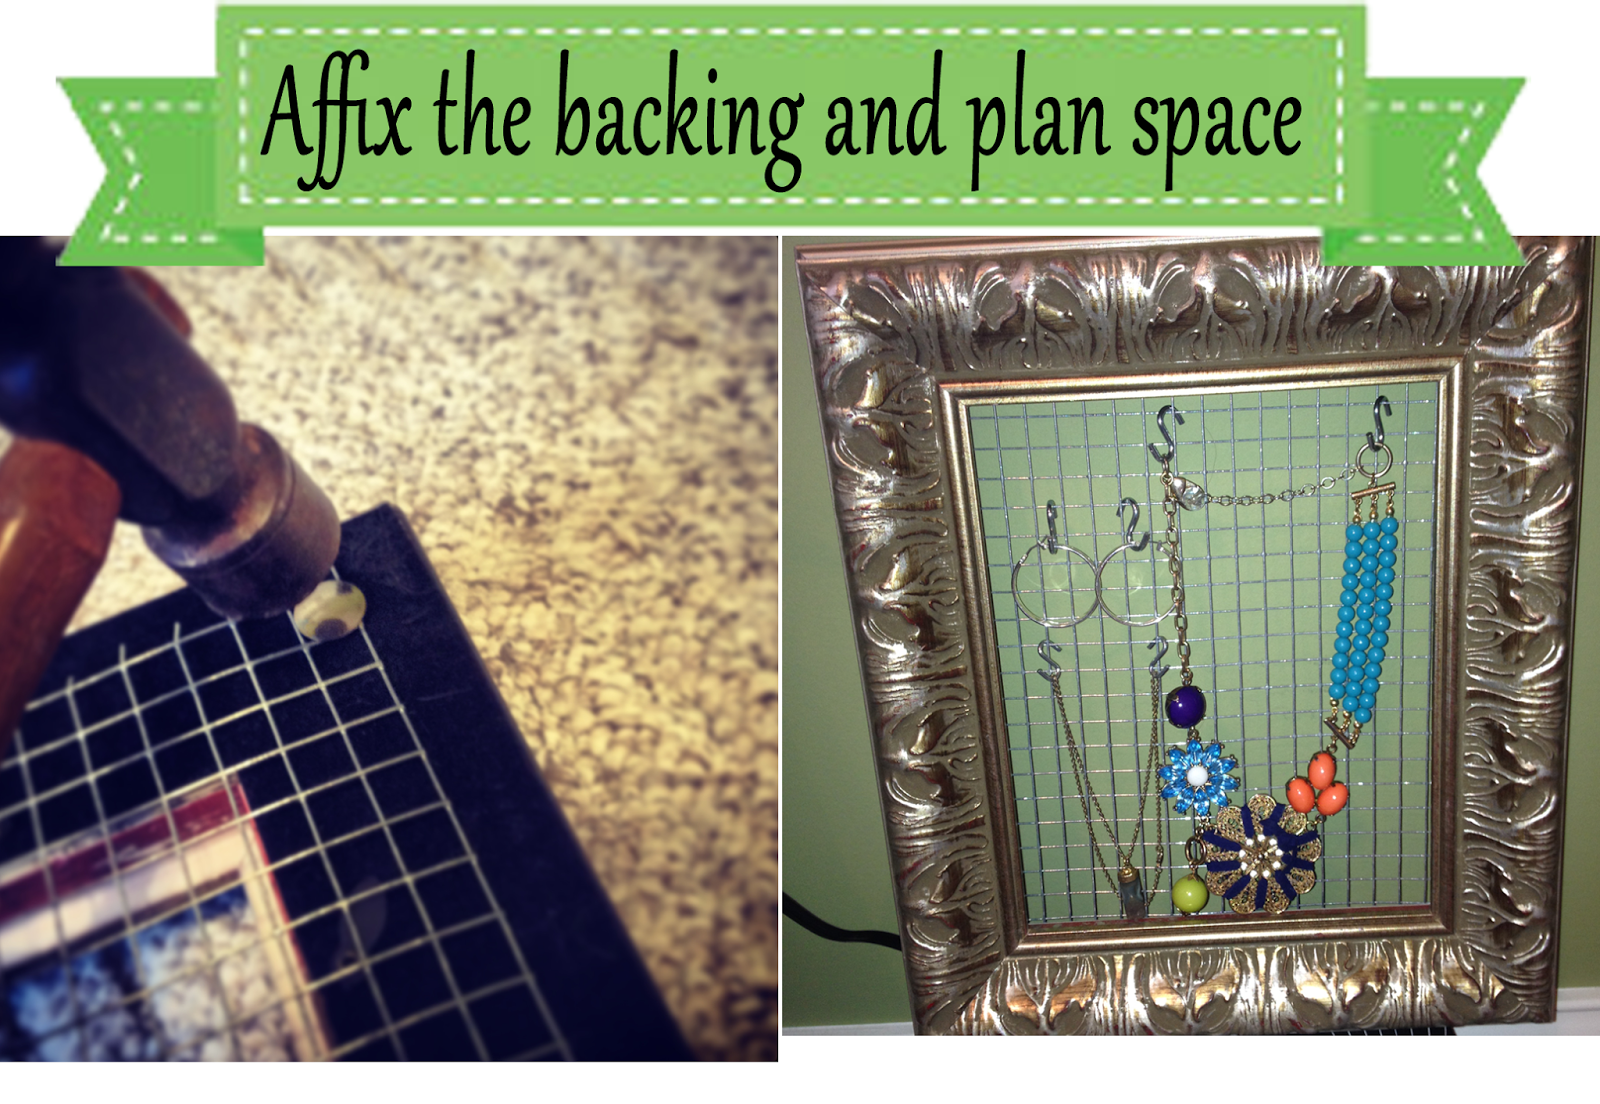
Affix the backing using a hammer and the large thumb tacks.  Next, using the ‘S’ hooks, plan how you will organize your jewelry pieces on the frame. It is OK if the chicken wire is a little loose, or not flat.  If the wire is flat against the wall, it will make it harder to hang the ‘s’ hooks.

I didn’t finish the edges of mine, but I think I might add some heavy duty tape (like packing tape) to the edges on the back of the frame. This will help secure the wire to the frame, and protect the wall from the raw edges of the wire.

Step 5

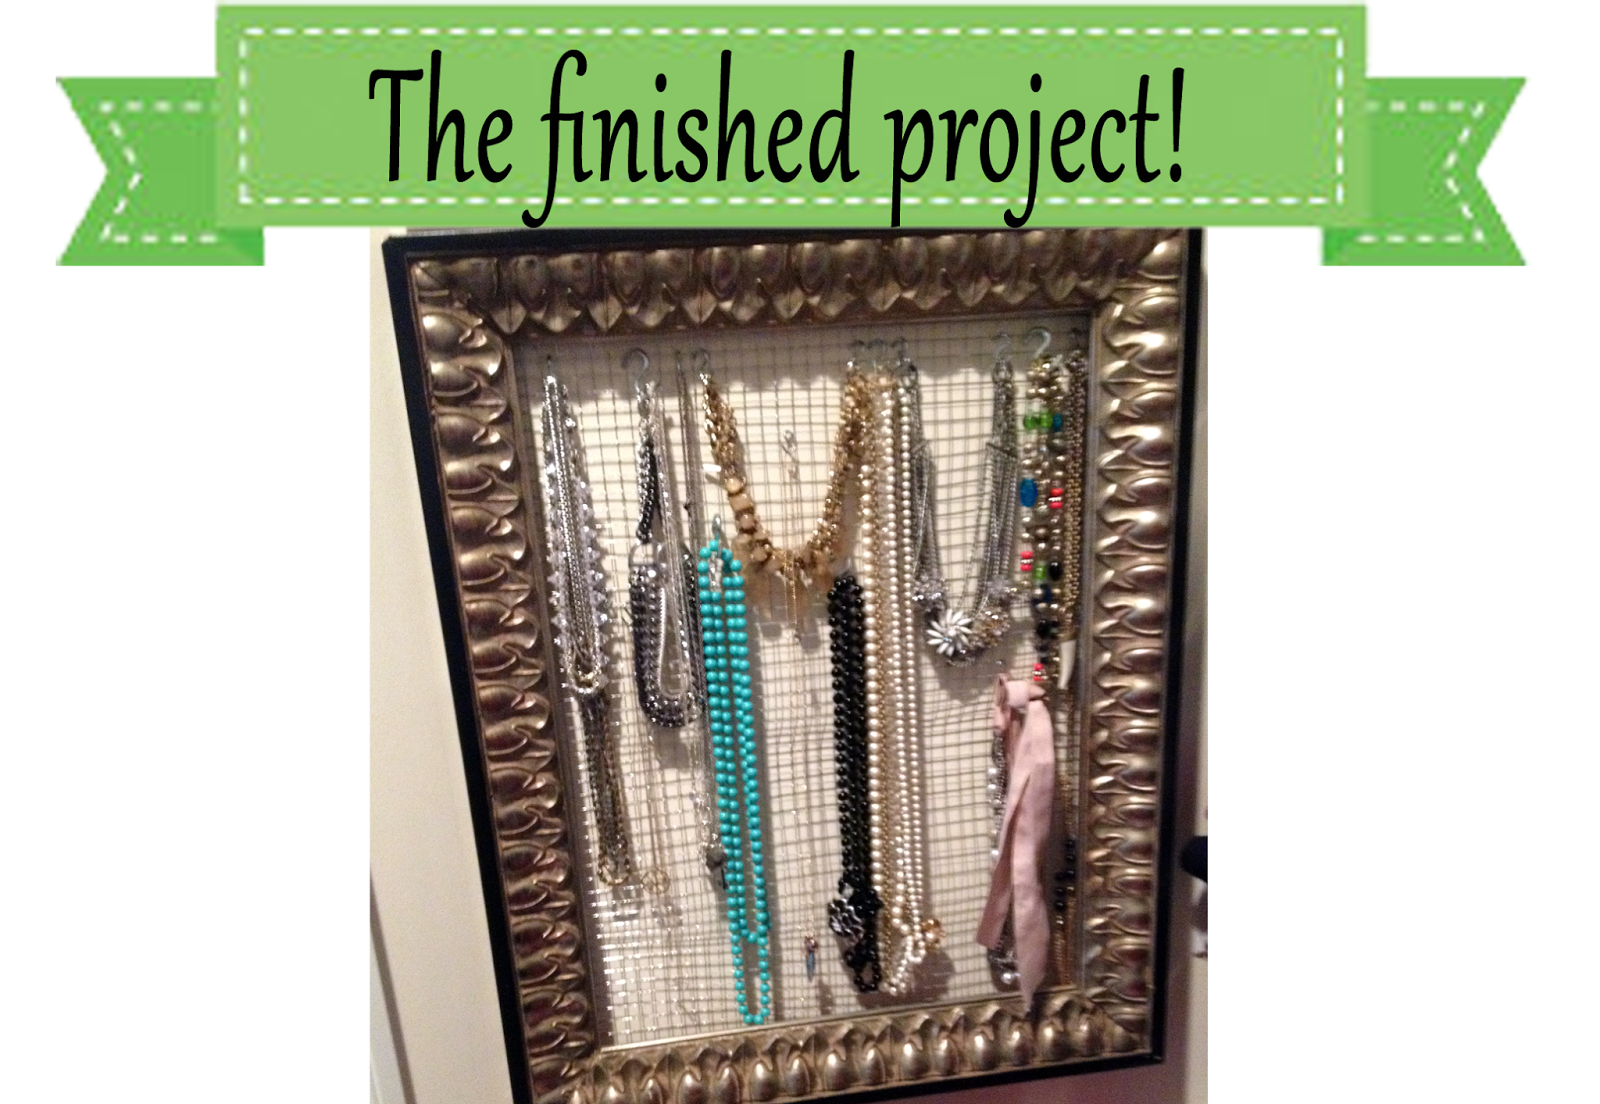
The last step is to nail your jewelry organizer to the wall.  I used 2 basic picture hanging nails. Enjoy seeing all of your jewelry pieces neatly organized!  And the best part, it takes up unused wall space in your closet! BONUS!